
Phishing attacks and email spoofing are at an all-time high nowadays. Therefore, setting up DMARC is necessary to prevent cyber attackers from impersonating you.
DMARC (Domain-based Message Authentication, Reporting, and Conformance) is an essential protocol that helps protect your domain from unauthorized use, ensuring that only legitimate emails are sent on your behalf.
If you’re using GoDaddy to manage your domain, setting up DMARC records might seem like a technical task, but it’s easier than you think. This guide will walk you through the process of creating and configuring a DMARC record in GoDaddy account.
Why Set up a DMARC Record in GoDaddy?
Setting up a DMARC record in GoDaddy ensures that only legitimate emails reach their intended inboxes. It acts as a security filter, authenticating emails based on SPF and DKIM protocols and protecting your domain from phishing or spoofing attacks.
Moreover, a DMARC record provides valuable reporting capabilities, allowing you to gain insights into your email ecosystem. These reports help you identify unauthorized email activity, detect potential threats, and take proactive measures to secure your domain.
By monitoring these detailed reports, you can maintain complete control over your email infrastructure and build stronger trust with your recipients.
SPF and DKIM: What are These?
In simple terms, these two terms are email domain authentication methods that help verify the authenticity of your domain and prevent others from impersonating your domain.
SPF stands for Sender Policy Framework, and it specifies servers or IP addresses that can send emails from your domain. And, if an incoming email comes from a server or an IP address that isn’t specified in the SPF records, email receivers can easily understand that the email is illegitimate.
DKIM stands for DomainKeys Identified Mail, which uses two email keys. First, a private key that only you can see. Second, a public key which is available for anyone to see. When the email server receives the email, it checks the public key in your domain’s DNS to ensure the email was not altered in the process.
Finally, DMARC relies on SPF and DKIM to verify the sender’s identity and the integrity of the email content and lets you set a policy for how you want the recipient email servers to handle emails if they do or do not follow these (SPF and DKIM) policies (more on this later.)
There is much more to these two. If you want to learn more, check out this guide: What are SPF, DKIM, and DMARC?
Understanding DMARC Records
A DMARC record looks like this: v=DMARC1; p=reject; rua=mailto:dmarc@yourdomain.com.
It comprises three main components, including v, p, and rua. In the example above, we can see v=DMARC1, v indicates the version of the DMARC. Since there is only one version of the DMARC yet, this value should always be DMARC1.
The next one is p, which indicates policy. Basically, it is what you want to do with the email if it fails the necessary protocol that we learned earlier about (SPF and DKIM.) There are three policies to choose from:
- None: The SMTP server will not take any action and will only send the information to the set email address.
- Quarantine: The mail will be sent to spam/junk.
- Reject: The receiver will not receive the email if it didn’t follow the security protocols.
The third and last component is ‘rua.’ It is the email address to which the aggregate reports should be sent.
Now that you understand the records well, let’s look at the string again.
v=DMARC1; p=reject; rua=mailto:dmarc@yourdomain.com.
The example communicates that the version is DMARC1, and the policy is none. This means no action will be taken if an email fails the authentication protocols except to send the aggregate report to the “rua” email, dmarc@yourdomain.com, as shown in the example above.
Let’s jump into the setup now!
How to Set up DMARC Record in GoDaddy: 05 Steps
Now that you understand the importance of the DMARC record and how it helps maintain your business’s integrity, here are five actionable steps for setting up DMARC records in GoDaddy.
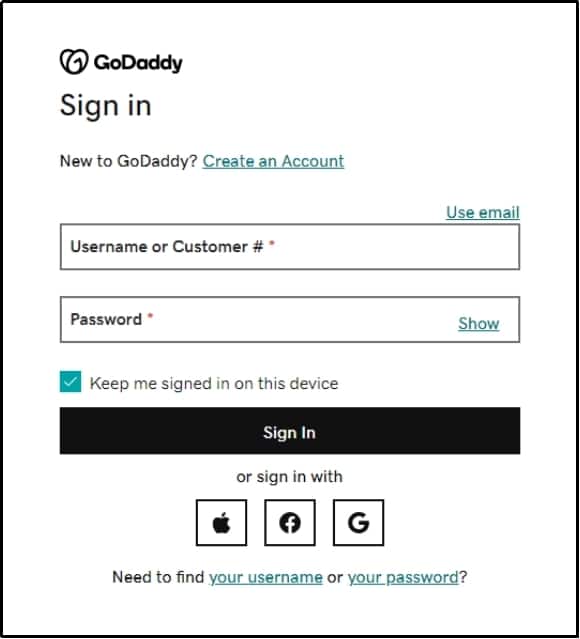
Step #1: Log in to your GoDaddy account.
Visit the GoDaddy official login page, type your username and password and hit the “Sign in” button.
Step #2: Generate your DMARC records
Now that you know how DMARC records work, you can create your own text file. Alternatively, you can utilize an online DMARC records generator, such as EASYDMARC. You can simply enter your domain name, select policy type, enter rua and ruf address to send aggregated or failed reports and click generate.
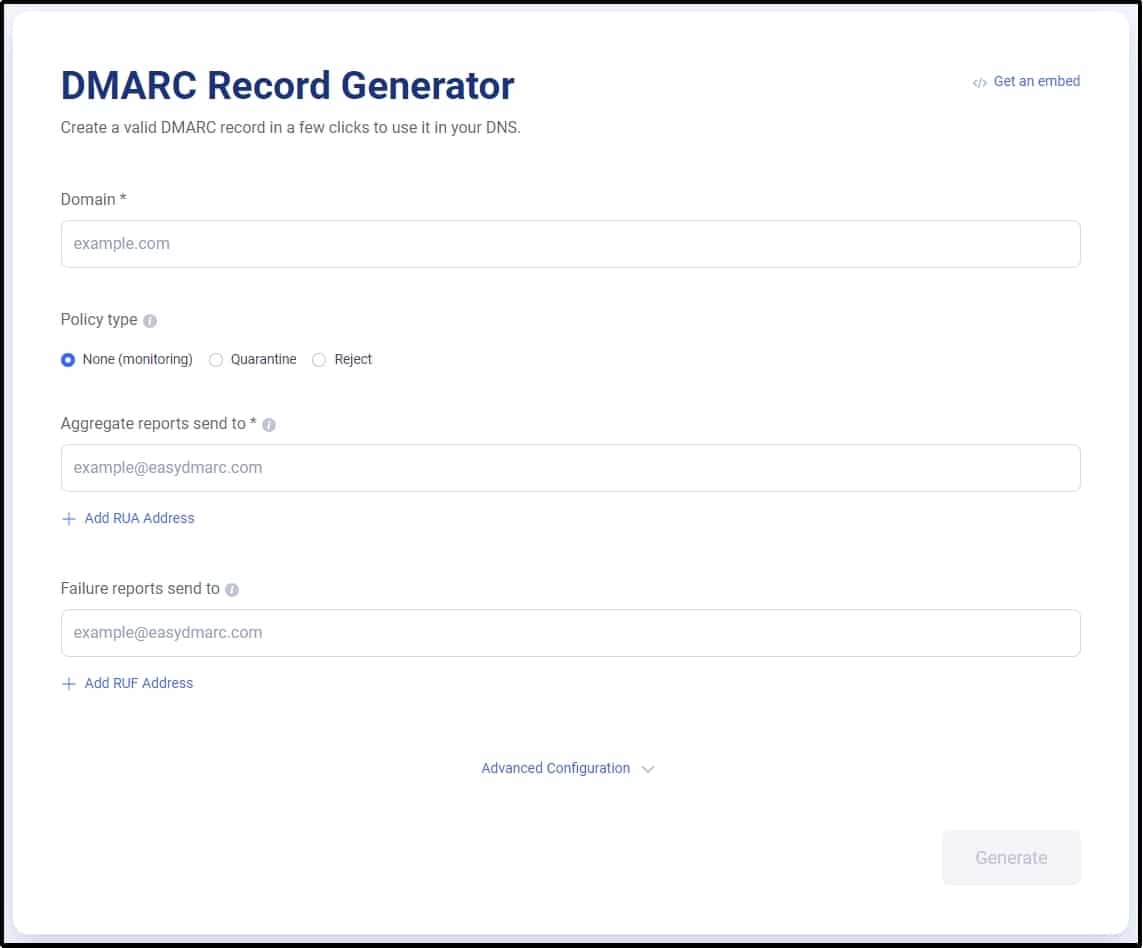
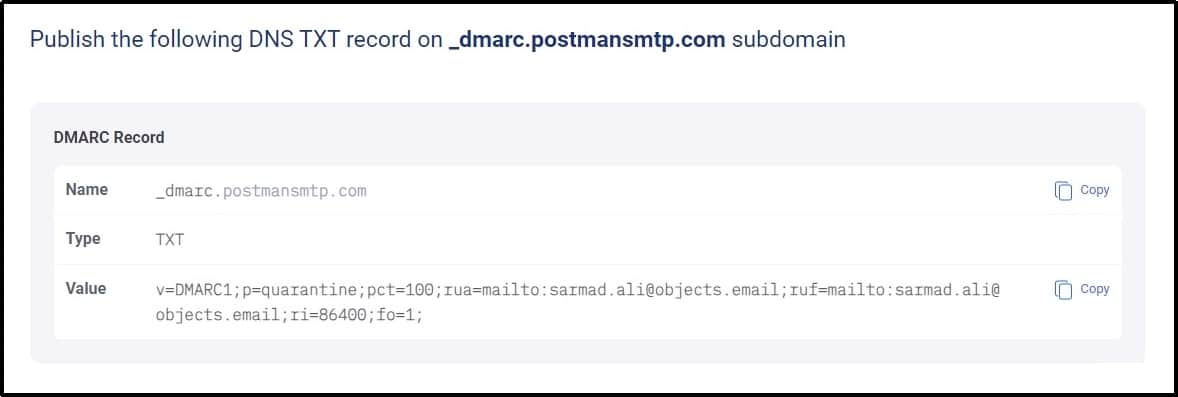
Once you click activate, you will receive your DMARC records like this.
Step #3: Select your domain and manage DNS.
Navigate to My Account >> Domain Manager.
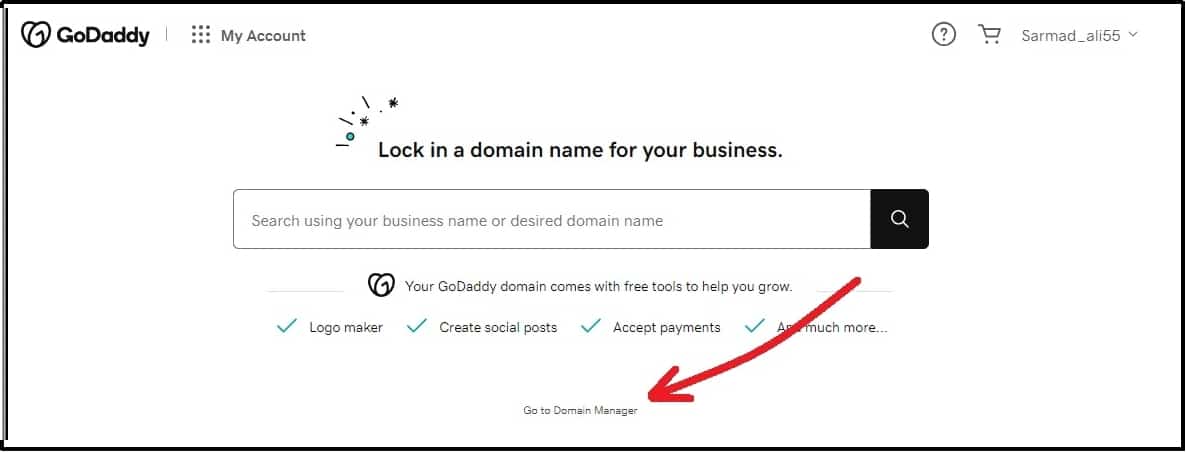
Choose your domain from the list and go to the Settings.
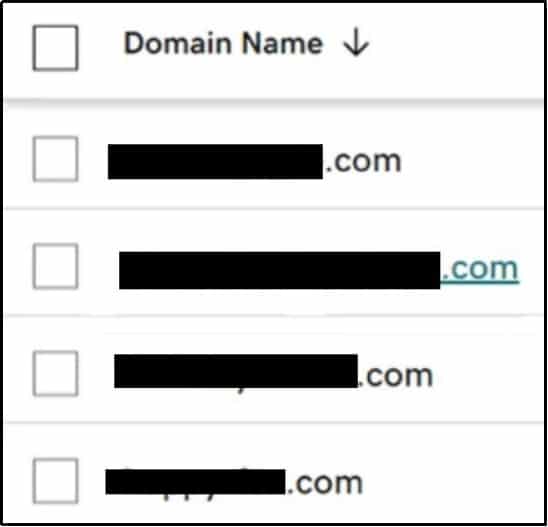
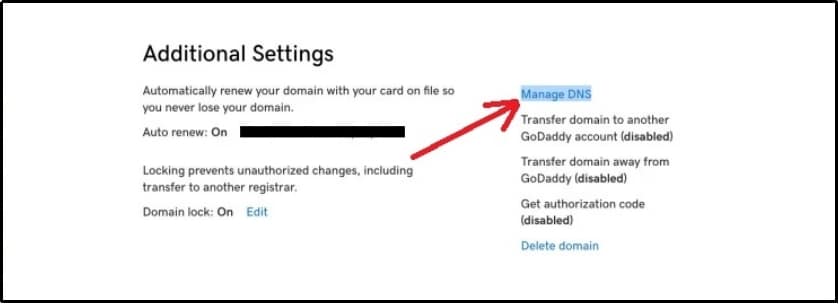
Select manage DNS.
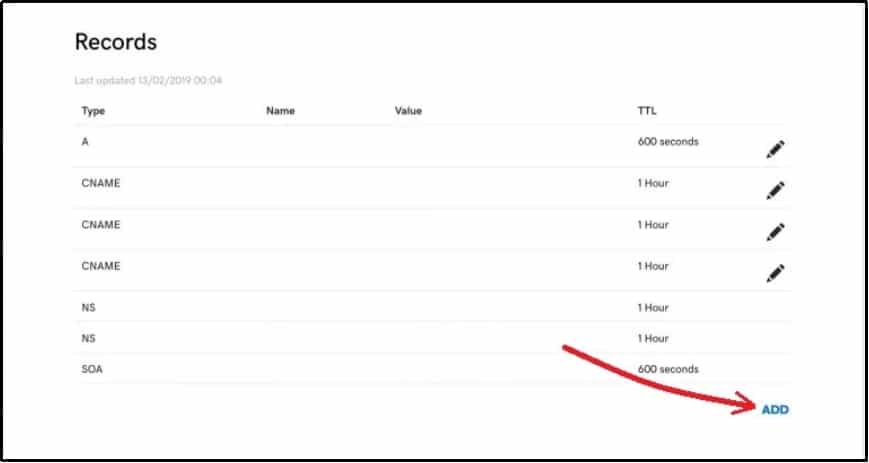
Afterward, click “ADD” at the bottom of the screen.
Step #4: Add the DMARC records
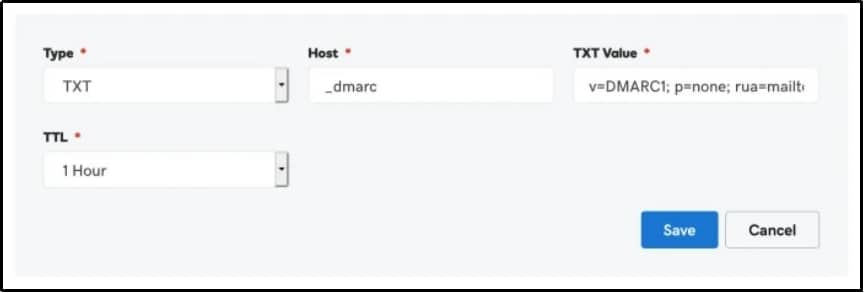
The following screen will allow you to add DMARC records. As you can see, in the Type field, select TXT from the drop-down. In the Host field, enter “_dmarc.” Moving on to the TXT Value, enter your DMARC value that we generated in the first step. Finally, for TTL, select 1 Hour.
Congratulations! That’s it. You just set up a DMARC record in GoDaddy. However, the change will take time. Usually, it is propagated across the DNS within a few hours. However, sometimes, it may take up to 48 hours.
Step #5: Check your DMARC records.
For the last step, let’s check your DMARC records using a tool that we already used in the second step. Go to EASYDMARC again, but this time, switch it from DMARC Generator to DMARC Lookup and enter your domain name in the input box.
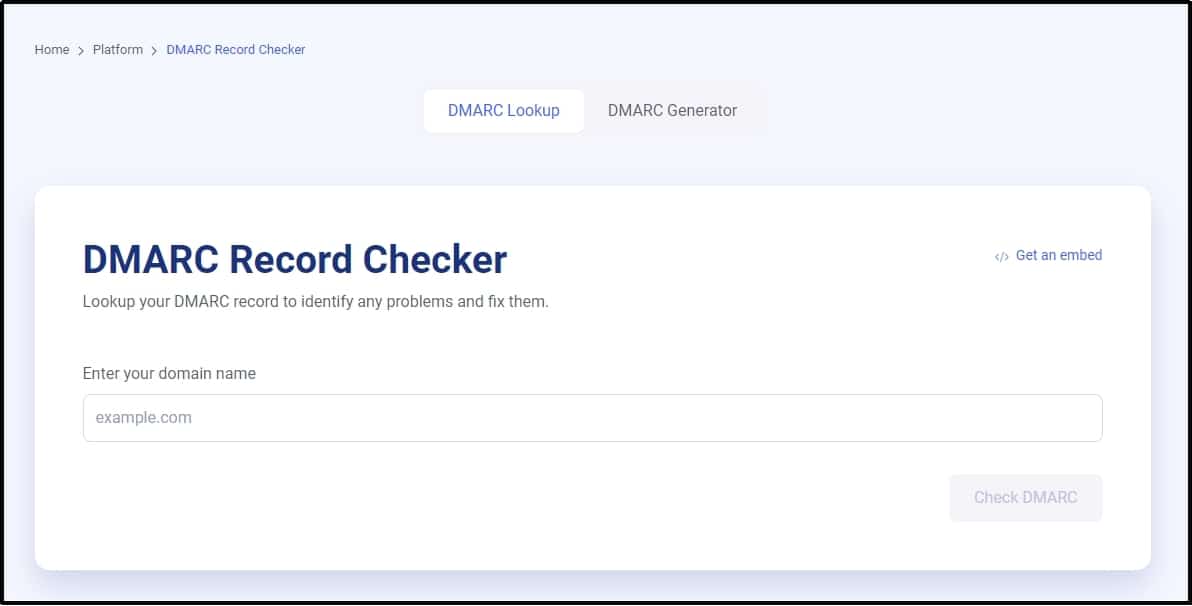
If your DMARC records are set correctly, you will see active results.

DNS changes, including DMARC record updates, take time to propagate across the internet. Depending on your DNS provider, it can take anywhere from a few minutes to 24–48 hours for the changes to be fully distributed.
Get Expert Live Assistance
If you want our team of Technical Email Specialists to set up the DMARC record in GoDaddy for you, buy our Business Plan and get Expert Live Assistance as a perk.
Our experts will configure the SPF, DKIM, and DMARC for you and set up an SMTP server using the best WordPress SMTP plugin to improve your email deliverability.
Even if your DMARC records are correctly set, emails might still get lost in the process or land in spam. Thus, checking your domain’s spam score is essential. You can easily do that using our free Spam Score Checker tool.
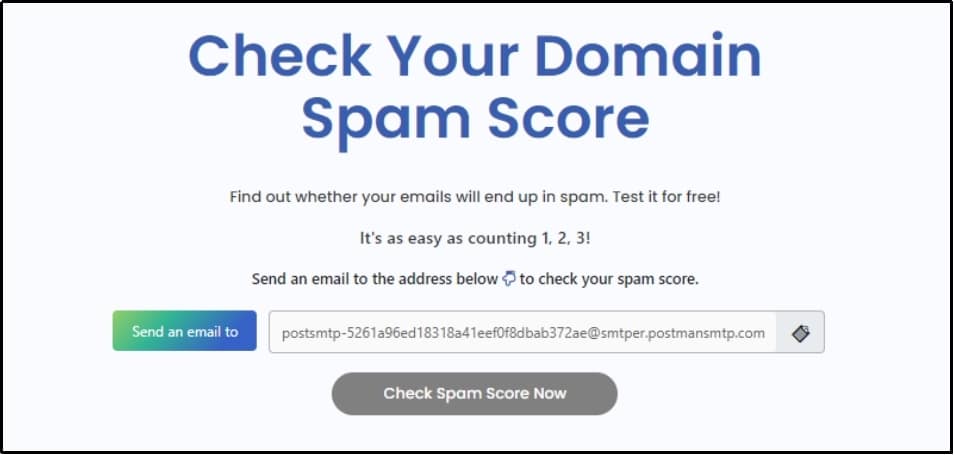
Just send an email to the given address and click the Check Spam Score Now button. Enter your email address and get the reports sent directly to your email address.
Conclusion
Setting up DMARC records in GoDaddy is a vital step to safeguard your domain from phishing attacks and email spoofing. By implementing DMARC, SPF, and DKIM protocols, you can authenticate your emails, monitor their integrity, and ensure only legitimate messages reach your recipients.
Remember, DNS changes take time to propagate, so patience is key. If you encounter challenges, don’t hesitate to reach out for professional assistance.
To enhance your email deliverability, try Post SMTP today!
Frequently Asked Questions
Do I need a GoDaddy Pro account to manage DMARC settings?
No! You do not need a GoDaddy Pro account to manage DMARC settings. These settings are typically managed through your domain’s DNS records. You can configure DMARC settings directly in your domain’s DNS management panel, which is accessible through your GoDaddy account or the platform where your domain is registered.
How do I know if my DMARC policy is working correctly?
You can use an online DMARC record checker to check if your DMARC policy is working correctly or not. Tools like EASYDMARC can check your DMARC records and return active or inactive results based on your status.
How long does it take for changes to a DMARC record to take effect?
The changes usually take effect in an hour or two, but sometimes, it can take up to 48 hours. Factors that influence the DNS propagation time include your time to live (TTL) settings, your internet service provider (ISP), and your domain registrar.

 OpenAI
 Perplexity

