


Are you looking for a way to configure a Free SMTP Server to Send WordPress Emails? If so, you’ve come to the right place!
As a default, WordPress uses the PHP mail function for all types of transactional emails (i.e., order confirmation, password reset, etc.), which causes some issues with sending or receiving emails. But, using an SMTP server can ensure the deliverability of your WordPress emails.
In this article, we will show you how to configure a free SMTP server to send WordPress emails without hassle. Ready? Let’s get started!
Why Should You Use an SMTP Server for WordPress Emails?
SMTP stands for Simple Mail Transfer Protocol, which is the industry standard for sending and receiving emails. It allows you to send emails from your website through a dedicated email (SMTP) server. In turn, this improves the reliability of your email delivery and decreases the chances of emails ending up in spam.
Unlike the default WordPress mail function (wp_mail), which uses the PHP mail function, SMTP allows you to authenticate your emails with a third-party service provider. This has several benefits for your WordPress site, such as:
- Better Deliverability and Security
You can use an SMTP server to ensure your emails are delivered to the intended recipients and not marked as spam or bounced back. This is because SMTP servers use encryption and authentication methods to verify the sender and recipient of the email.
Also, with TLS encryption (Transport Layer Security), an SMTP server protects your emails from hackers, spoofers, and spammers who might try to intercept or impersonate your email address.
- Avoid WordPress Email Issues
Many WordPress hosting providers impose strict limits on the number of emails you can send from your site, or they may block the PHP mail function altogether. Generally, this can cause problems with your WordPress email notifications, such as password resets, comment replies, contact form submissions, and more.
But, by setting up an SMTP server, you can bypass these restrictions so your WordPress emails deliver properly.
- Different SMTP Options Available
Many SMTP service providers offer free or paid plans for sending WordPress emails. Some of the popular ones are Gmail, Outlook, Brevo (formerly Sendinblue), Mailgun, and Amazon SES.
Depending on your needs and preferences, you can choose the one that suits you best. You can also use multiple SMTP servers simultaneously so that if one server fails, another will send your emails.
- Easy SMTP Plugin Setup
Setting up an SMTP server for WordPress is not difficult at all. You just need to install a plugin that allows you to configure the SMTP settings in your WordPress dashboard.
There are many plugins available for this purpose. Still, we recommend using Post SMTP, which is a free and reliable plugin that supports many SMTP services, including Brevo (formerly Sendinblue), Gmail, Mailgun, Office365, Amazon SES, SendGrid, PostMark, SparkPost, etc.
Moreover, Post SMTP offers unique features, like email delivery notifications via Slack, Twilio(SMS), Chomre Extension, robust email logging, and much more that make your email management easy.
Set Up Brevo (Sendinblue) SMTP Server for WordPress Emails [In 3 Easy Steps]
While there are many free SMTP services, we have chosen Brevo (formerly Sendinblue) mainly because it provides reliable SMTP server service and offers a free SMTP server plan with a limit of 300 emails per day.
So, to configure the Brevo (Sendinblue) SMTP server to send WordPress emails, follow the below steps carefully.
Step #1: Install and Configure Post SMTP Plugin for WordPress
The first step is to install and activate the Post SMTP plugin for your WordPress site, which lets you connect the free Brevo SMTP server to your WordPress website.
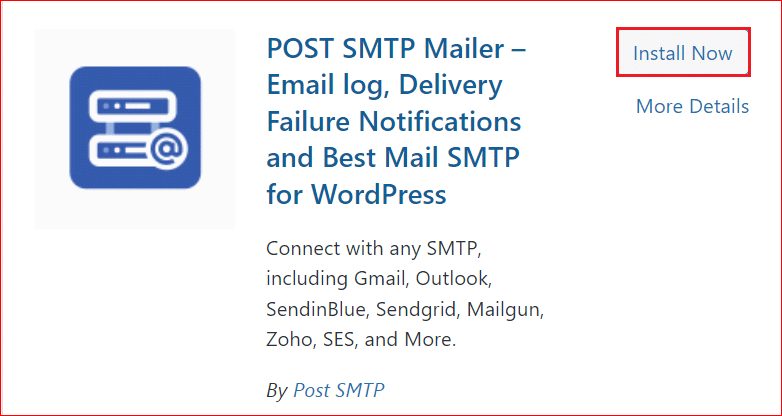
You can do this by going to Plugins → Add New in your WordPress dashboard and searching for Post SMTP. Then click on the Install Now button. Once installed, click on Activate.
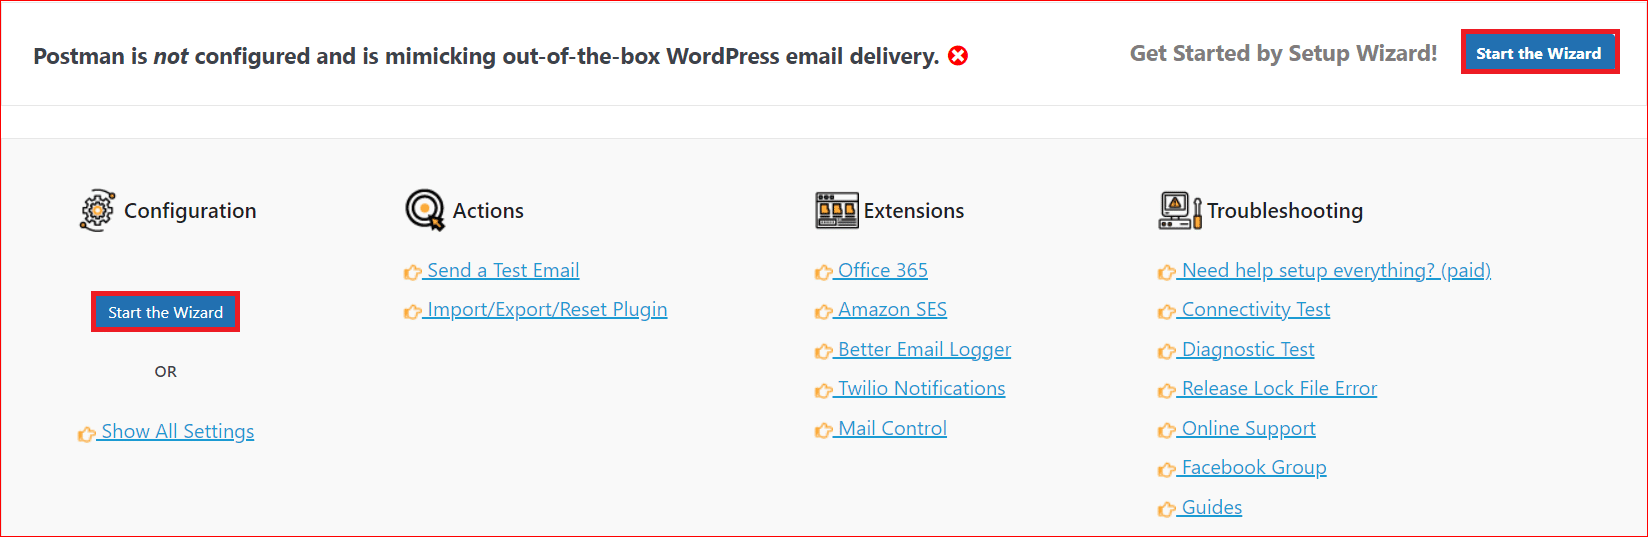
After installing the plugin, the following screen will appear. To configure the plugin, click the Start the Wizard button.
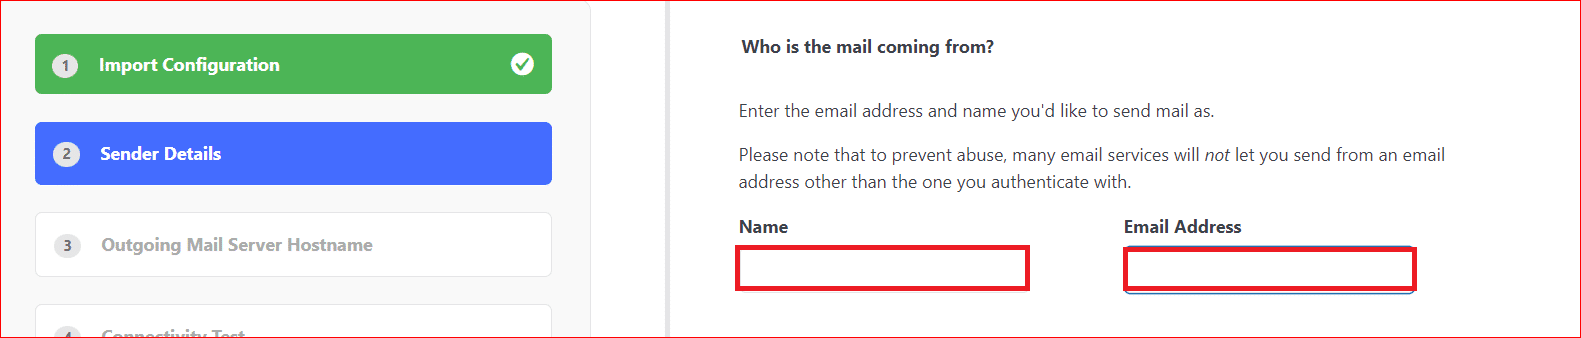
Now, provide the Name and Email Address from which you want to send the email, and then click the Next button at the bottom of the screen.
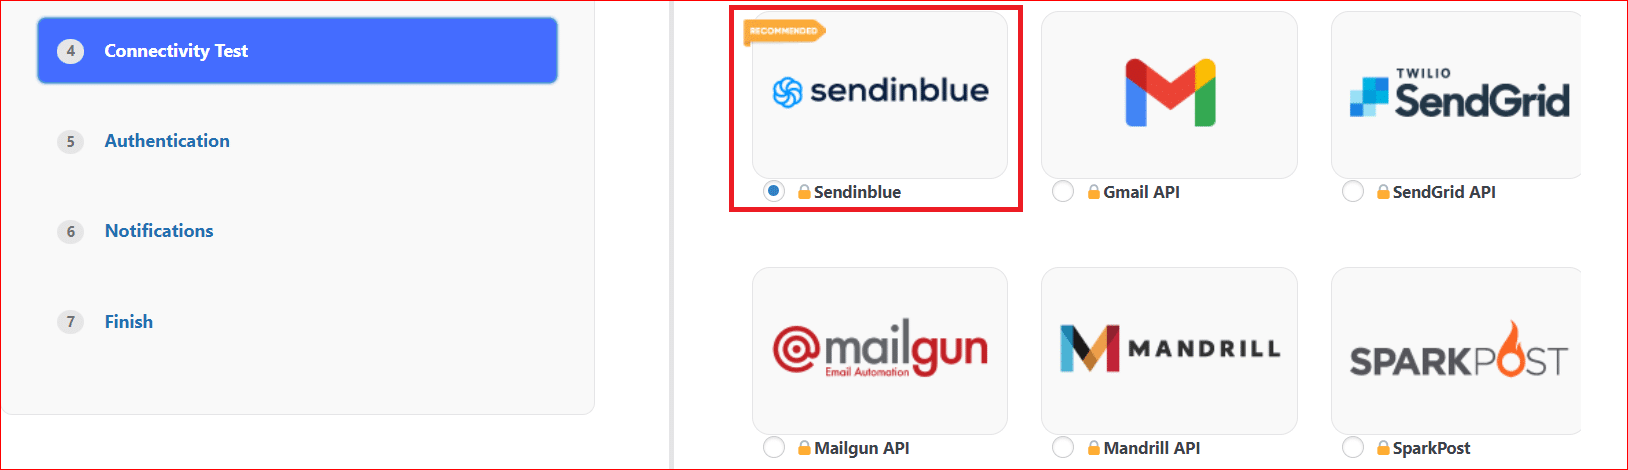
Select the SMTP service of your choice and press Next. Here, we will go with Sendinblue or Brevo, as shown in the image below.
Now, you have to enter the API Key to authenticate the SMTP server, which you can get by signing up for the Brevo (Sendinblue) Free Plan.
For a detailed explanation, check out the step #2.

Step #2: Sign Up for Brevo (Sendinblue) Free Plan
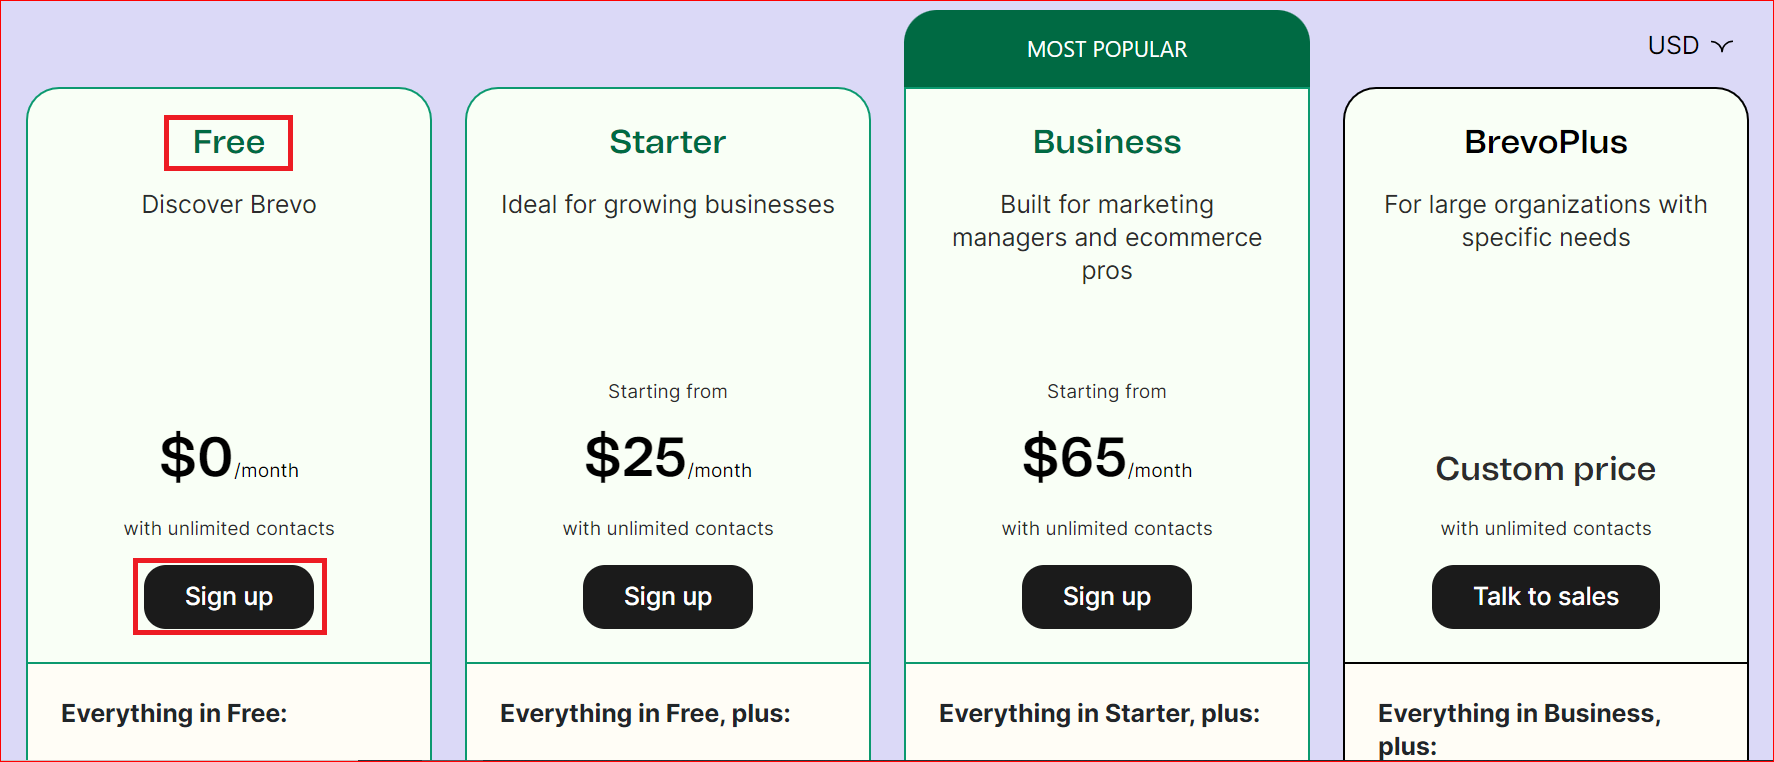
To sign up for the free plan, go to www.brevo.com/pricing/ in a new tab and click the Signup button under the Free Discover Brevo plan.
Once you have signed up successfully, you will be redirected to the Brevo dashboard.
Remember, we need the API Key, which we will generate in step #3.
Step #3: Generate and Configure New API Key
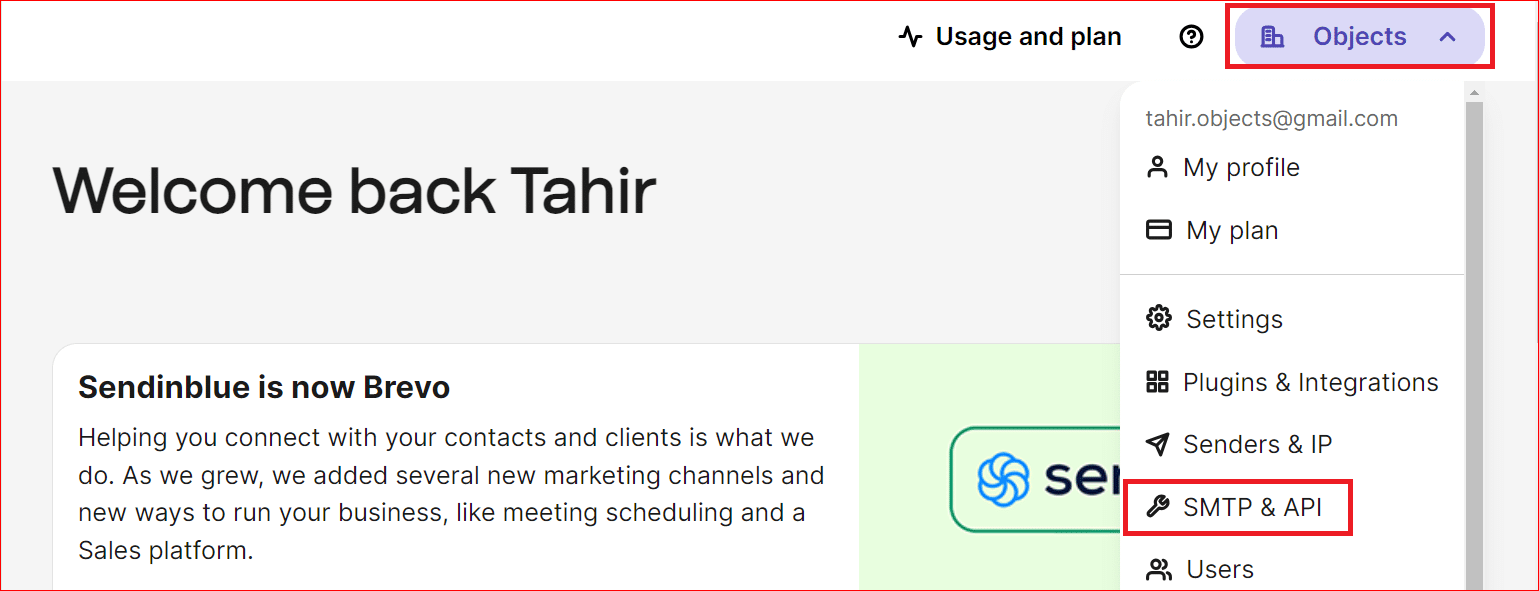
To get the API Key, navigate to the top right corner, where you will see your account title, click on it, and select the SMTP & API option from the drop-down menu.
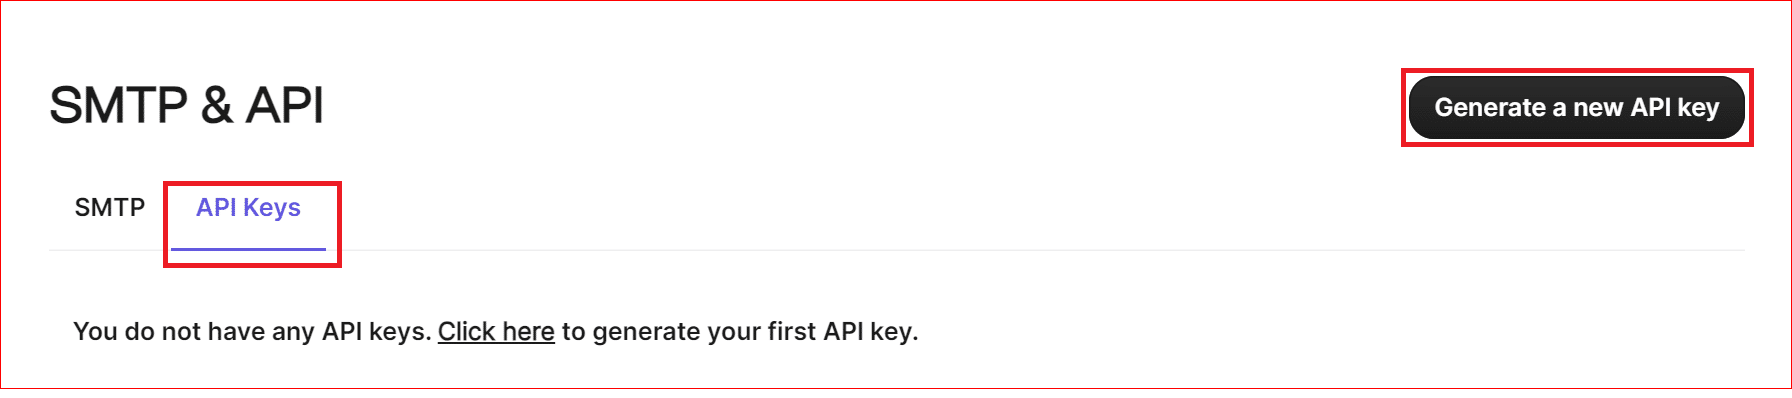
On the SMTP & API page, select the API Keys tab and then hit Generate a new API key button.
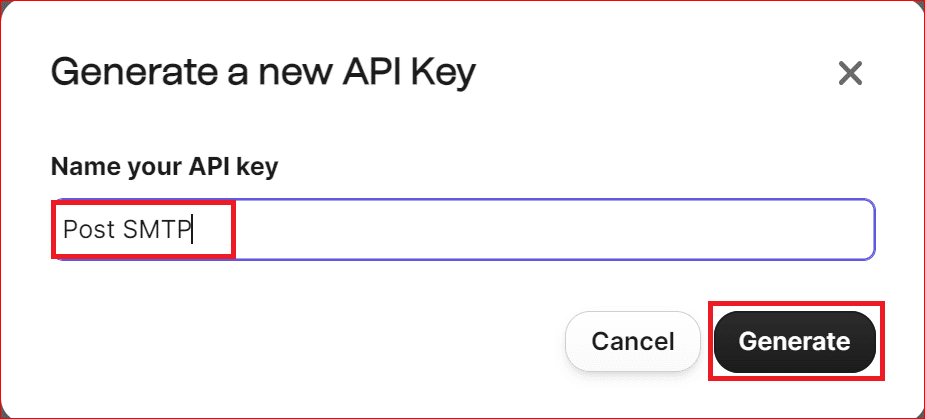
On the subsequent pop-up dialog box, provide the name of your API key. You can type any name you want, for example, Post SMTP, and hit Generate.
Simply copy Your API Key by clicking the Copy button next to it.
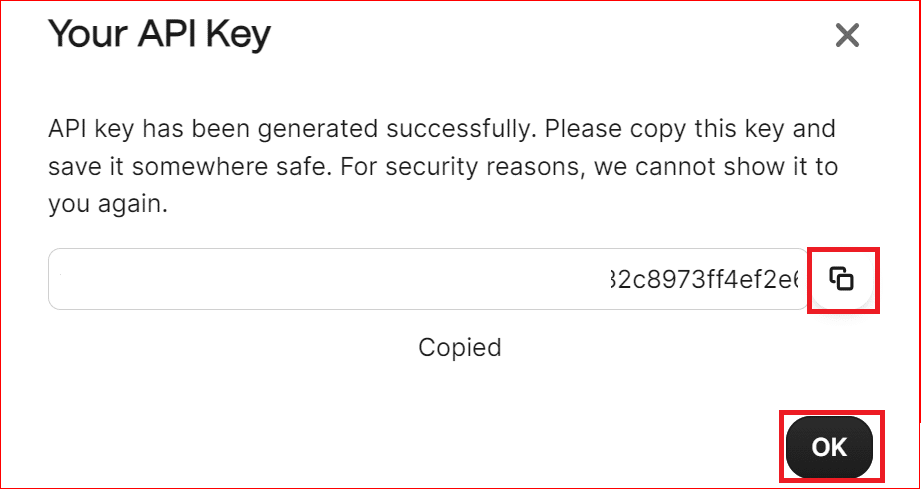
After copying the API Key:
- Switch back to the Post SMTP plugin configuration page.
- Paste it in the API Key field.
- Click Next
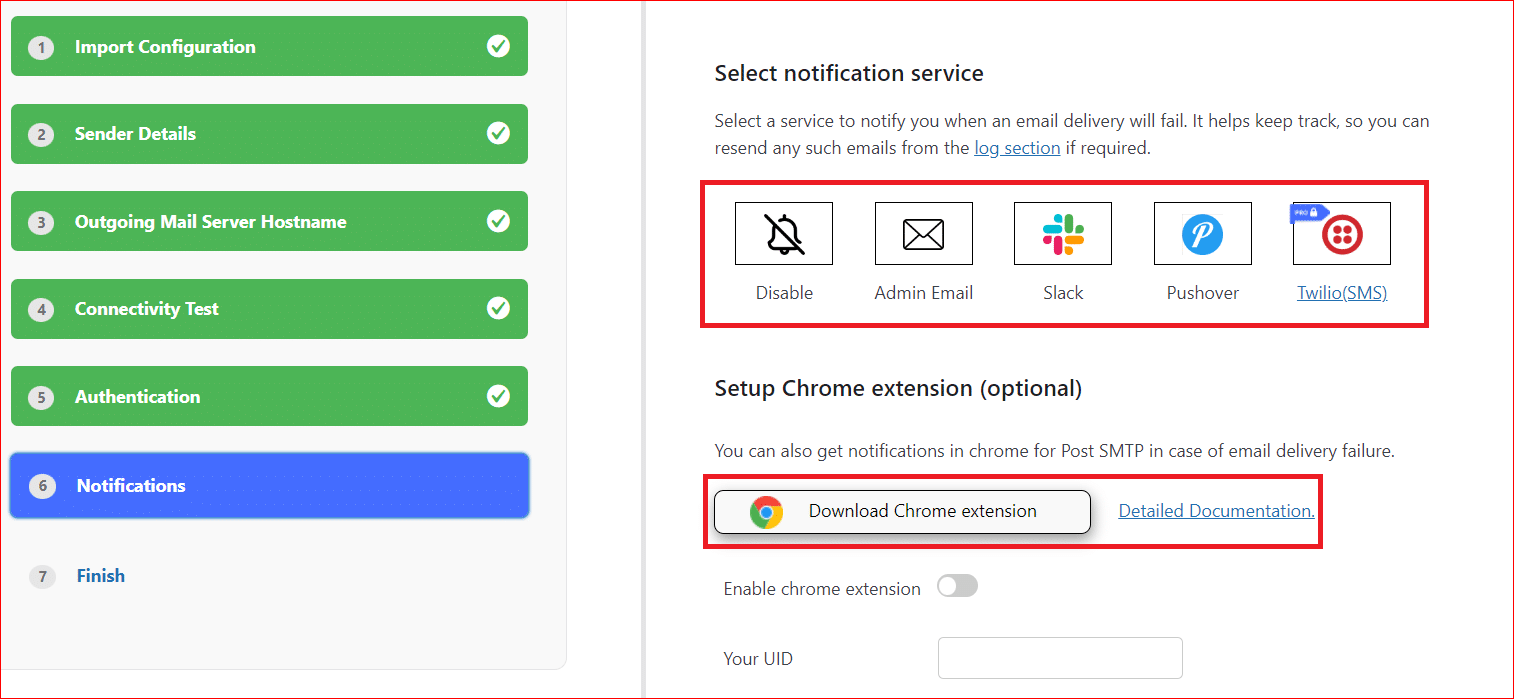
On the next screen, choose an option for email delivery notifications, press Next, and then Finish.
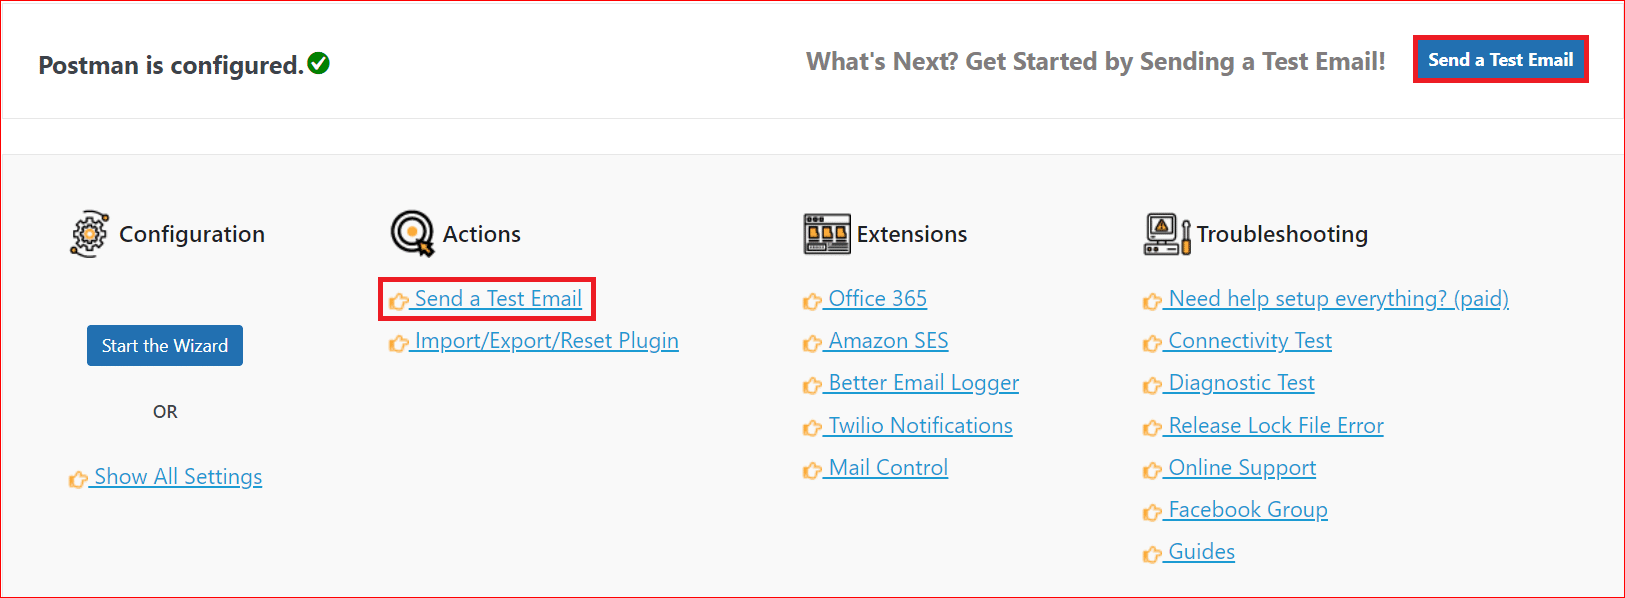
Congratulations! You’ve now successfully configured the free SMTP server to send WordPress emails.
To test the configuration, click on the Send a Test Email button.
On the following screen, provide the recipient’s email address and press Next.
You’ll see the green Success status on the successful email delivery, as shown in the image below.
Important Note: Using Post SMTP, you can add/configure any SMTP server you want. If you don’t find the desired SMTP server option, simply select the Other option and provide the required details, such as the name of the server, SMTP relay port, etc. Also, to optimize your email management, you can add more features with Post SMTP addons.
Final Remarks
Sending emails with WordPress’s default mail function can hinder the reliability and deliverability of your emails. That’s why you must connect an SMTP server to your WordPress site for better email deliverability.
Fortunately, you can easily connect any SMTP server to your WordPress site using the Post SMTP plugin. Furthermore, you can further streamline your email management using Post SMTP addons.
We hope you’ve found this article helpful. If you have any questions or difficulties, don’t hesitate to get in touch with us 24/7 to get expert assistance. Thank you for reading!
Frequently Asked Questions
Is there a free version of Post SMTP?
Yes, Post SMTP is a free plugin you can install on your WordPress site. It has no limitations on the number of emails you can send. However, you will need to use an SMTP service provider that offers a free plan, such as Brevo (Sendinblue), Gmail, Mailgun, etc.
How do I set up an SMTP server for WordPress?
To set up an SMTP server for WordPress, you must install an SMTP plugin to configure the SMTP settings in your WordPress dashboard. One of the best plugins for this purpose is Post SMTP, which supports many SMTP services and features.
Why do I need an SMTP plugin for WordPress?
You need an SMTP plugin for WordPress because it allows you to authenticate your emails with a third-party SMTP service provider, which improves the deliverability, security, and performance of your WordPress emails.
How do I use WordPress SMTP email?
WordPress SMTP email uses an SMTP server to send emails. To use WordPress SMTP email, you have to install Post SMTP (an SMTP plugin) and connect it with an SMTP service provider. That’s it! Now, you can send emails using SMTP.
How to get an SMTP server for free?
There are a lot of SMTP services that offer free plans. The most popular ones include Brevo (Sendinblue), Gmail, Outlook, Mailgun, and Amazon SES. Simply sign up for a free account on their website and generate an API key or a username and password for authentication.
Is Google SMTP free?
Yes, Google SMTP is free if you have a Gmail account. You can use Google SMTP to send up to 500 emails every 24 hours from your WordPress site.

