

 OpenAI
 Perplexity
Our inboxes are flooded with hundreds of messages every day, and businesses are finding it harder than ever to stand out. Security concerns and spam make people hesitant to open emails from brands they don’t immediately recognize.
Hence, companies are looking for new ways to prove they are who they say they are.
Establishing trust is now the most crucial part of email marketing. If a reader doesn’t trust the sender, the message usually ends up in the trash or spam folder. This is why many organizations are adopting new email standards to improve their reputations and visibility.
One of the newest solutions is BIMI. Although it sounds technical, this article will explore everything you need to know about the authentication protocol, including what it is, its essence, how it works, and how to enable it to ensure your emails land where they need to.
What is BIMI?
BIMI stands for Brand Indicators for Message Identification. It is an email standard that allows companies to display their official brand logo next to their emails in the recipient’s inbox. Instead of seeing a generic circle with initials, your customers see your actual logo.
It’s like the “blue checkmark” for your emails. Just like social media platforms verify accounts, this system tells the email provider that your message is official.
According to a study by Red Sift, emails that use a brand logo can increase open rates by up to 21% in the United States and up to 39% in the United Kingdom. This is because the logo acts as a visual seal of approval. When people see a familiar logo, they feel much safer clicking on the message.
Importance of BIMI
Implementing BIMI is about much more than just looking good in an inbox. It is a strategic move that affects your security, your brand’s reputation, and the performance of your marketing campaigns.
Here are the main reasons why it has become so important:
Protects Your Brand from Phishing
The biggest advantage of BIMI is security. Because it requires you to have strict DMARC policies in place, making it almost impossible for scammers to impersonate your domain. If a hacker tries to send a fake email using your name, your logo won’t appear, which serves as an immediate warning to the recipient.
Builds Instant Trust and Credibility
When a customer sees your official logo next to your subject line, they feel a sense of safety.
Using BIMI can significantly reduce the likelihood that your emails will be marked as spam or phishing. This visual “stamp of approval” signals that you care about their security, strengthening their bond with your brand.
Increases Brand Recognition
In a crowded inbox, a colorful logo stands out much more than a plain text name.
It helps your brand stay “top of mind” for your subscribers. Even if they don’t open every single email, seeing your logo regularly builds familiarity and improves brand recall by 44%. This consistent visual presence makes it easier for customers to remember you when they are ready to make a purchase.
Improves Email Deliverability
Email providers like Gmail and Yahoo want to protect their users. When you use BIMI, you are showing these providers that you follow the highest security standards.
As a result, they are more likely to trust your emails and deliver them to the main inbox instead of the “Promotions” tab or the spam folder.
Boosts Open Rates
Ultimately, all these factors lead to one thing: more people reading your content.
Because the logo builds trust and makes the email stand out, users are more likely to click. Studies show that a verified logo can lead to a noticeable increase in engagement, helping you get a better ROI (Return on Investment) from your email campaigns.
Prerequisites for BIMI Setup
Before you can display your logo in the inbox, your email domain must meet specific technical standards. You cannot simply upload a picture and expect it to work. Think of these as the “entry requirements” for the program.
Here is what you need to have in place:
- Proper Email Authentication: BIMI relies on your existing security records. You must have SPF (Sender Policy Framework) and DKIM (DomainKeys Identified Mail) set up. These records prove that your email server has permission to send messages on behalf of your domain.
- Strict DMARC Policy: To qualify for BIMI, your DMARC policy must be set to either p=quarantine or p=reject. This tells email providers to block or flag any emails that aren’t properly authenticated, ensuring only your real emails get through.
- Verified Logo in SVG Format: Your logo must be a specific file type called SVG (Scalable Vector Graphics). It also needs to be formatted as an SVG Tiny P/S profile, which is a more secure version of a standard vector file. The logo should be square and hosted on a public web link (HTTPS).
- A VMC (Verified Mark Certificate) – Optional but Recommended: A VMC (Verified Mark Certificate) is a digital certificate that proves you legally own the logo you are using. While some email providers might display your logo without a VMC, major providers like Gmail require a VMC for the logo to appear. This adds an extra layer of legal protection and trust.
Setting up BIMI in 4 Easy Steps
Once you have met the prerequisites, you are ready to implement BIMI. It involves updating your domain settings so that email providers know where to find your logo.
Step 1: Set Up Your Email Authentication
Before you can even consider BIMI, your email security must be well-protected. You need to configure three specific records in your Domain Name System:
1.1. SPF (Sender Policy Framework)
It is a list of “approved senders” (IP addresses and services) that have your permission to send email on your behalf. To update your SPF records, log in to your domain registrar and find the DNS Management or Advanced DNS section.
If you have one, don’t create a new one, as you can only have one SPF record for a domain. Simply add your email service to it. We have a dedicated guide for SPF records where you can learn how to add them to your DNS.
1.2. DKIM (DomainKeys Identified Mail)
DomainKeys Identified Mail, or DKIM, is a digital “wax seal” on your emails. It uses a secret key to sign your messages so the receiver knows a hacker hasn’t altered the content.
Similarly, go to your email admin settings and look for DKIM Authentication. Create new DMARC records and finally add them to your DNS. For detailed instructions, check out our ultimate DKIM guide.
1.3. DMARC (Domain-based Message Authentication, Reporting, and Conformance)
As discussed in the prerequisites section, this is the most critical part for BIMI. It tells the receiving server exactly what to do if an email fails the SPF or DKIM tests. For BIMI to work, your DMARC policy must be set to “Enforcement” (p=quarantine or p=reject). A policy of p=none will not work for BIMI.
To understand why a strict policy is needed, you have to look at the three levels of DMARC:
- p=none
- p=quarantine
- p=reject
A “none” policy is like having a security guard who watches a thief enter your house but does nothing except write a report about it. Because this policy doesn’t actually stop unauthorized emails, it doesn’t provide the level of trust that BIMI requires.
Email providers like Gmail and Yahoo will only display your logo if they are 100% certain that you are actively stopping impersonators. By choosing “quarantine” or “reject,” you are proving to the world that you have full control over your domain and that any email without your authentication is a fake. Learn to add DMARC the right way.
Step 2: Create Your BIMI Logo File
You cannot use a standard JPG, PNG, or even a basic SVG file for BIMI. To mitigate security risks, the BIMI Group requires a particular, stripped-down version of the SVG Tiny P/S (Portable/Secure) format.
If you use a standard file, email providers like Gmail simply won’t show it. Here is precisely how to build a compliant logo from scratch:
- Email apps display logos in different shapes—some use circles, others squares, and others “squircles” (rounded squares). Ensure your logo goes well with most applications.
- Your canvas must be a perfect square (1:1).
- Do not let your logo touch the edges. Center your logo and leave plenty of “breathing room” around it. If your logo is too wide, its edges will be cut off when displayed in a circular frame.
- Use a solid background color. Transparency is not supported, and it can make your logo invisible when the user has “Dark Mode” enabled on their phone.
Note: BIMI requires “Tiny P/S.” Since no design software can export this automatically yet, you have to edit the file’s code manually. It sounds scary, but it’s just like editing a text document.
- Right-click your SVG file and select “Open With” > Notepad (Windows) or TextEdit (Mac).
- Look for baseProfile=”tiny”. Change it to baseProfile=”tiny-ps”.
- Delete x=”0px” and y=”0px” entirely. These attributes are not allowed in the secure version.
- Right after the <svg…> tag, add a title tag with your company name: <title>Your Company Name</title>.
- Save the file. It is now a valid SVG Tiny P/S file.
Step 3: Apply for a Verified Mark Certificate (VMC)
A VMC (Verified Mark Certificate) is a digital certificate that confirms your organization is the legal owner of the brand logo. Think of it like a passport for your brand.
It tells email providers: “This logo is real, and a third party has verified this company.”
Here is the step-by-step process to get one:
- Register your logo: Before you even talk to a certificate provider, your logo must be a registered trademark with an official intellectual property office (like the USPTO in the U.S. or EUIPO in Europe).
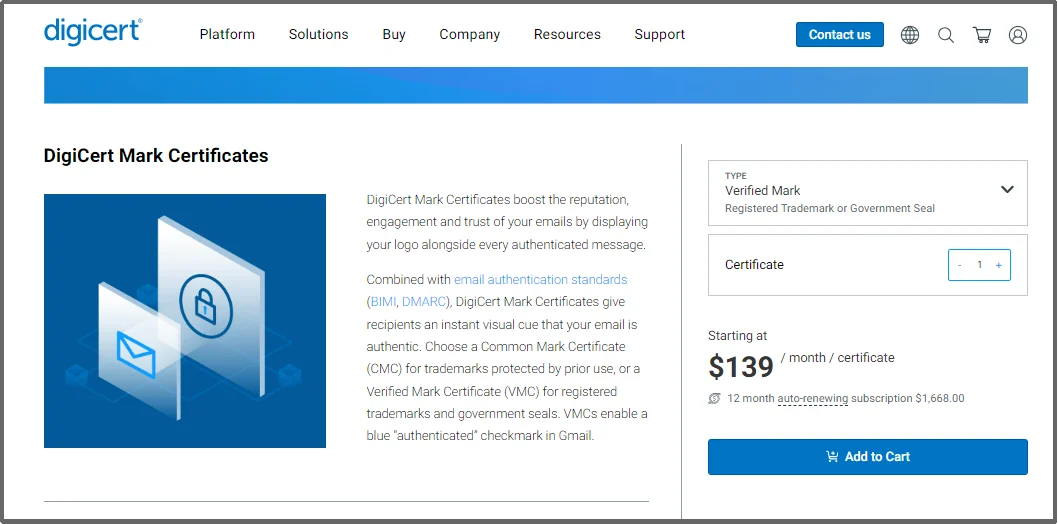
- Choose an Approved Certificate Authority: Currently, only a few authorized organizations can issue VMC, such as DigiCert and Entrust. Go to their website, select the “Verified Mark Certificate,” and pay the required annual charges, which may vary.
- Complete the Verification Process: Finally, a real person will check your given details, including the SVG logo. In some cases, you may need to have a video call with a notary or provide notarized documents to prove your identity.
- Receive your PEM file: Once approved, the authority will send you a PEM (Privacy Enhanced Mail) file. This is a text file containing your certificate data. The verification process can take from a few days to a few weeks, depending on how quickly you provide your documentation.
Step 4: Host Your Files and Publish Your Record
To make your logo appear, your files must be hosted on a public server that email providers (like Gmail or Yahoo) can access 24/7. Also, the files must be served over HTTPS. Using standard HTTP will cause BIMI to fail.
Most users create a dedicated folder for BIMI on the domain (e.g., https://yourdomain.com/bimi/logo.svg).
Now, you need to “announce” your BIMI status to the world. You do this by adding a TXT record to your DNS settings, similar to other email authentication protocols. Open a TXT file and add the following code:
v=BIMI1; l=https://yourdomain.com/bimi/logo.svg; a=https://yourdomain.com/bimi/certificate.pem;
Here’s what they mean:
- v=BIMI1: This tells the system you are using BIMI version 1.
- l= (Location): This points to your verified SVG logo.
- a= (Authority): This points to your VMC (.pem) file.
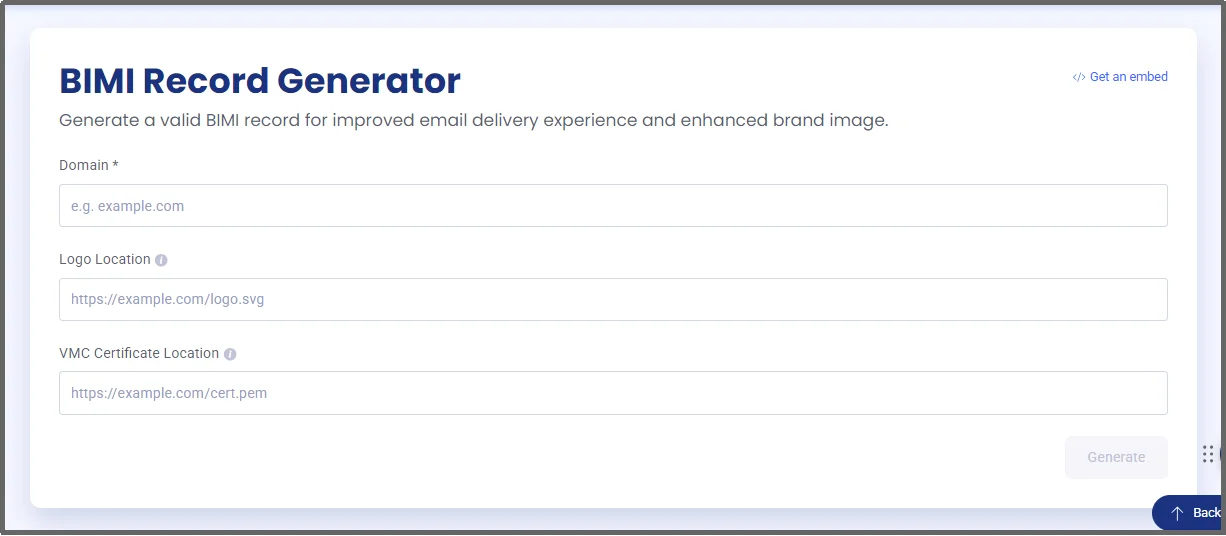
Alternatively, use an online BIMI record creator, such as EasyDMARC’s BIMI Record Generator.
That’s about it.
Take Control of Your Inbox Success with Post SMTP
Setting up BIMI is a massive step toward becoming a trusted sender, but your email health doesn’t stop there. Even a perfect logo won’t help if your underlying domain records are broken or if your emails are being flagged as spam.
To ensure your “Big Three” protocols (SPF, DKIM, and DMARC) are working perfectly, you should regularly monitor your domain’s reputation.
Before you hit “send” on your next big campaign, use the Post SMTP Domain Health Checker.
The tool lets you evaluate your domain’s health in seconds. All you have to do is send a test email to the address provided on the page. The tool will scan your setup and tell you instantly whether your authentication protocols are intact or if there are gaps in your security that could lead to spam ending up in your inbox.
If you want to move beyond basic checks and truly master your email delivery, Post SMTP Pro is the ultimate solution. While the free version gets you started, Pro users gain access to detailed email logs that provide a deep dive into every message sent.
If an email fails to deliver, the logs help you understand the “why” behind the failure. Whether it’s an authentication error or a server rejection, you’ll have the data you need to fix the issue immediately. Never lose an email again! Get Post SMTP Pro today.


