OpenAI
 Perplexity
Are you facing issues with WordPress emails after setting up Cloudflare? Whether your emails fail or the mailing server times out during SMTP requests, you’re not alone. Many WordPress users face this issue after switching to Cloudflare—but don’t worry!
In this guide, we’ll explain how Cloudflare affects WordPress email sending and show you how to fix both email delivery failures and SMTP timeouts step by step.
Why Cloudflare Might Be Blocking or Timing Out Your WordPress Emails?
First, let’s clear up a common misconception: Cloudflare does not directly handle email delivery, especially not SMTP traffic. However, if your DNS records are configured incorrectly inside Cloudflare or you are relying on WordPress’ default wp_mail function for email deliveries, it can interrupt how your emails are routed.
These issues usually show up in the form of:
- Emails from your site are not being delivered at all (no new user notifications, no WooCommerce order emails, etc.)
- Messages ending up in spam folders
- Error logs filled with SMTP timeout messages
- Cloudflare-specific timeout errors like 524 (timeout) or 504 (gateway timeout)
Pre-Check: Confirm the Exact Email Issue You’re Facing
Before jumping into any fixes, it’s important to identify exactly what’s going wrong. Not all email problems are caused by Cloudflare, and not all of them need the same solution. Taking a few minutes to pin down the issue will save you a lot of time (and guesswork) later.
Let’s break this down into the most common scenarios:
Are Emails Not Sending at All?
This is the most obvious red flag. If your contact forms, order confirmations, or password reset links never arrive, your WordPress is not sending emails in the first place. In most cases, this points to either:
- No SMTP plugin installed (WordPress uses the unreliable wp_mail() function by default)
- Misconfigured SMTP settings
- DNS records are not configured properly
Are Emails Landing in Spam?
If your emails are being sent, but they’re going straight to spam folders, the issue usually lies with your domain’s reputation or your DNS configuration. Cloudflare might be part of the problem if your SPF, DKIM, or DMARC records are missing or set up incorrectly.
This happens when people move their DNS to Cloudflare but forget to re-add those critical authentication records. Spam filters love that — and by “love,” we mean they’ll toss your emails in the spam folder without a second thought.
Are You Seeing Timeout Errors (e.g., 524 or 504)?
These are clear signs of a communication issue between your server and the external SMTP provider. Cloudflare might be timing out the connection, especially if:
- Your SMTP host’s DNS record is being proxied (the orange cloud icon is ON)
Timeouts are particularly common with transactional emails, where timing is everything. If your SMTP connection takes too long, Cloudflare throws a timeout error to “protect” the site and ends up blocking the email entirely.
03 Easy Steps to Fix Cloudflare Not Sending WordPress Emails
Let’s fix all the issues we have discussed one by one.
Step #1: Fix WordPress Not Sending Emails After Moving to Cloudflare
So you’ve added your site to Cloudflare, expecting faster load times and better security, but now your WordPress emails have vanished into thin air. No contact form responses. No WooCommerce order emails. Nothing.
In this section, we will walk you through the exact steps to fix that and get your WordPress emails working reliably via the Post SMTP plugin.
Install and Configure the Post SMTP Plugin
The first (and most important) step is to stop relying on WordPress’s default wp_mail() function, which is one of the most common reasons WordPress does not send emails. Instead, we’ll replace it with SMTP (Simple Mail Transfer Protocol) using the Post SMTP plugin.
Post SMTP gives you full control over your email delivery and works with any transactional email provider. Even better, it shows you exactly what’s going on under the hood with detailed logs and error reporting.
Here’s why Post SMTP is the better choice:
- All popular SMTP API support
- Backup SMTP Connection support
- Real-time email delivery logs
- Free spam score checker tool
- Failure alerts via SMS, webhook, email, and Slack
- Connection test and debug tools, and more.
You’ll actually know why an email failed, not just that it did.
To install and set up Post SMTP, follow the steps below:
- Go to Plugins → Add New in your WordPress dashboard.
- Search for “Post SMTP.”
- Click Install Now, then Activate.
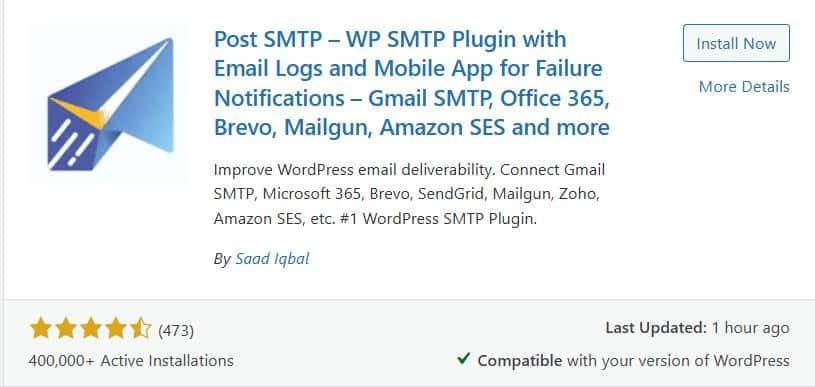
- After activation, launch the Setup Wizard.
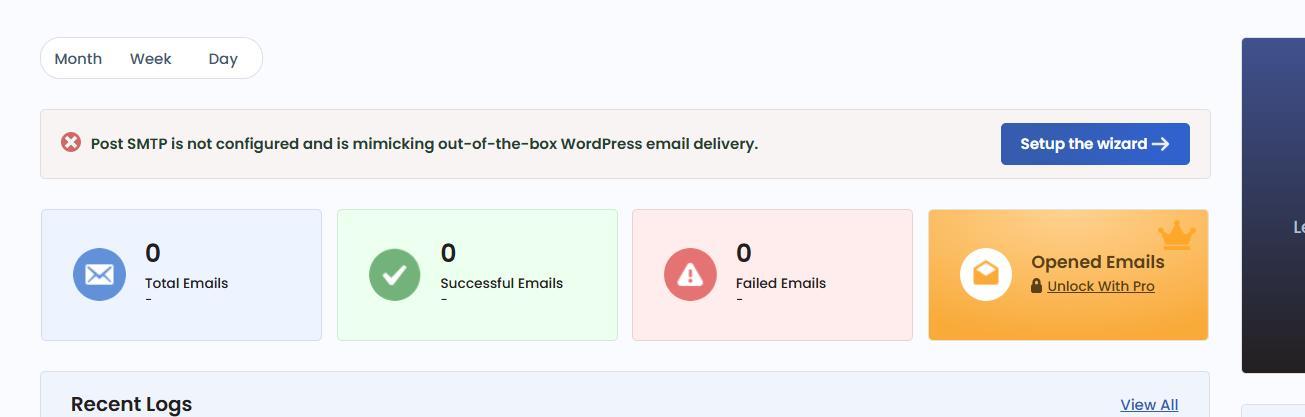
The Setup Wizard will guide you through connecting your email provider, adding credentials, and testing your connection.
- Next, you need an email service that can actually send your messages. The good news is that Post SMTP works with all popular ESPs, such as:
- Brevo (formerly Sendinblue)
- Gmail SMTP
- Amazon SES
- Microsoft 365
- SendGrid
- Zoho Mail
- Mailgun API
- SparkPost, etc.
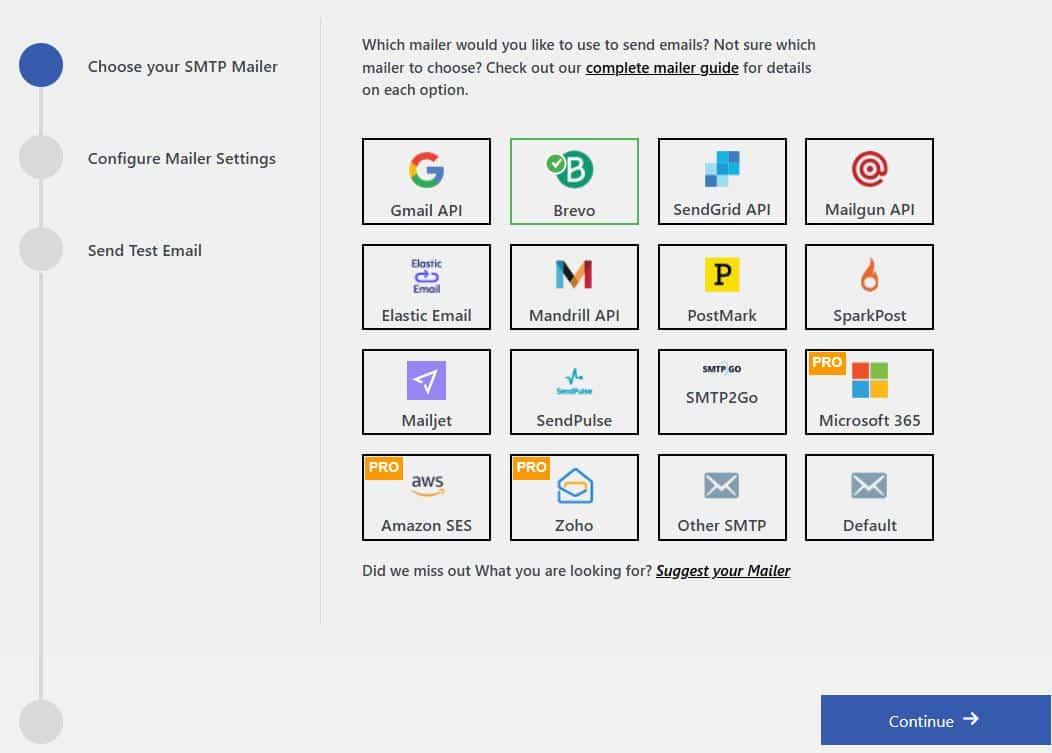
- For this guide, let’s say you choose Brevo and hit ‘Continue.’
- On the subsequent screen, you’ll be asked for:
- From Email: This should be an email address associated with your domain (e.g., hello@yourdomain.com).
- From Name: The name you want your recipients to see.
- Brevo API Key: You can get this from your Brevo account.
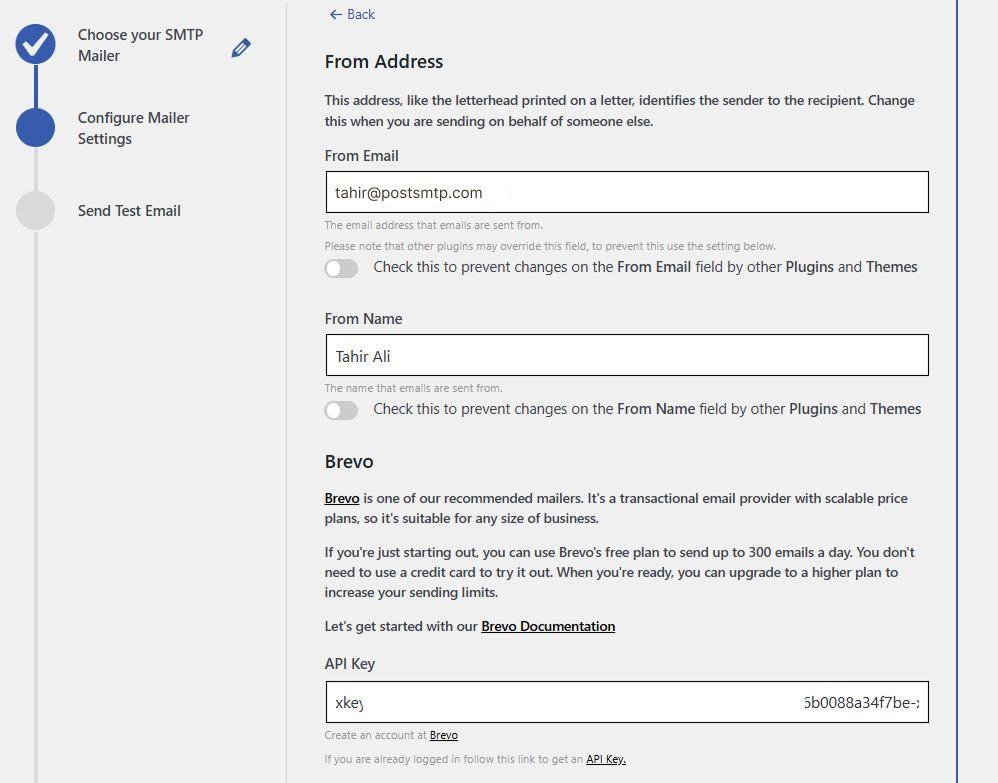
7. Click ‘Save and Continue’ to move forward.
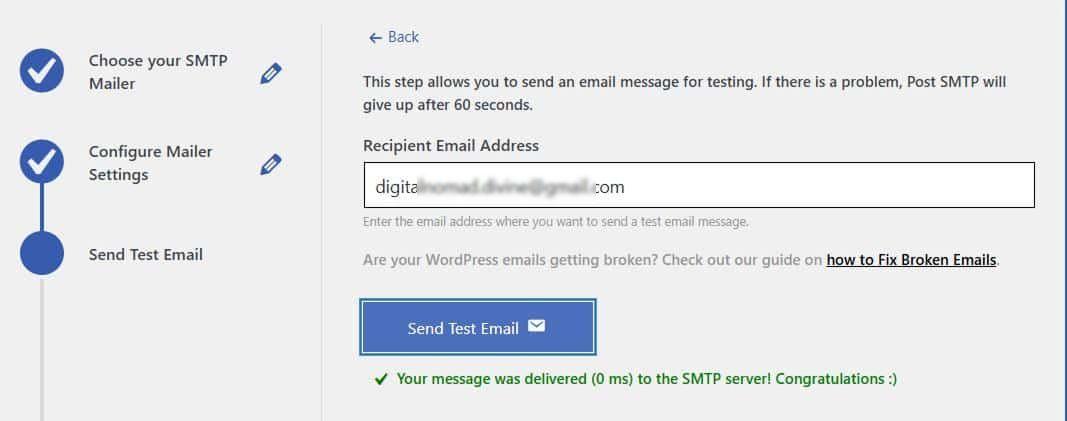
Now, you’ll be prompted to send a test email. Enter your email address and hit ‘Send Test Email.’ If everything is set up correctly, you’ll see a success message.
Once you complete the wizard, all emails from your WordPress site will be routed through your chosen SMTP provider, which substantially improves deliverability.
If you are still experiencing the issue, it’s time to check and update your DNS records in Cloudflare.
Step #2: Correctly Add DNS Records in Cloudflare
When you connect your domain to Cloudflare, it typically imports your DNS settings from wherever your domain was previously hosted. But if you’ve recently started using a new email service provider, there’s a good chance you’ll need to add or update a few DNS records to make sure your emails are sent properly and actually reach the inbox.
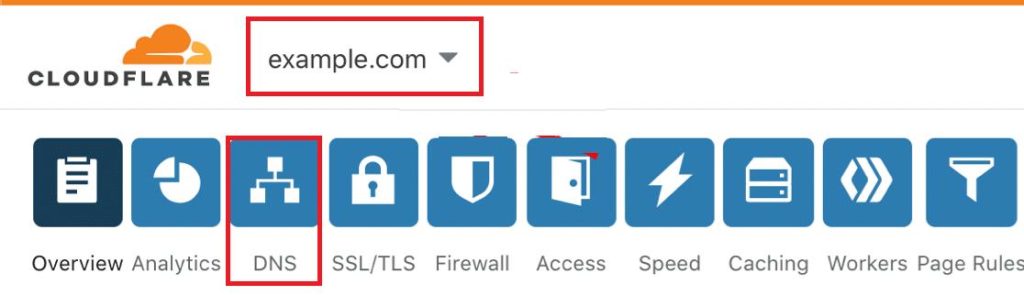
To start, log into your Cloudflare dashboard and select your domain from the list. Once you’re in, click on the DNS tab. This is where you’ll manage all the records related to your domain’s email.
If you don’t know what SPF, DKIM, and DMARC are, let’s explore these DNS records below:
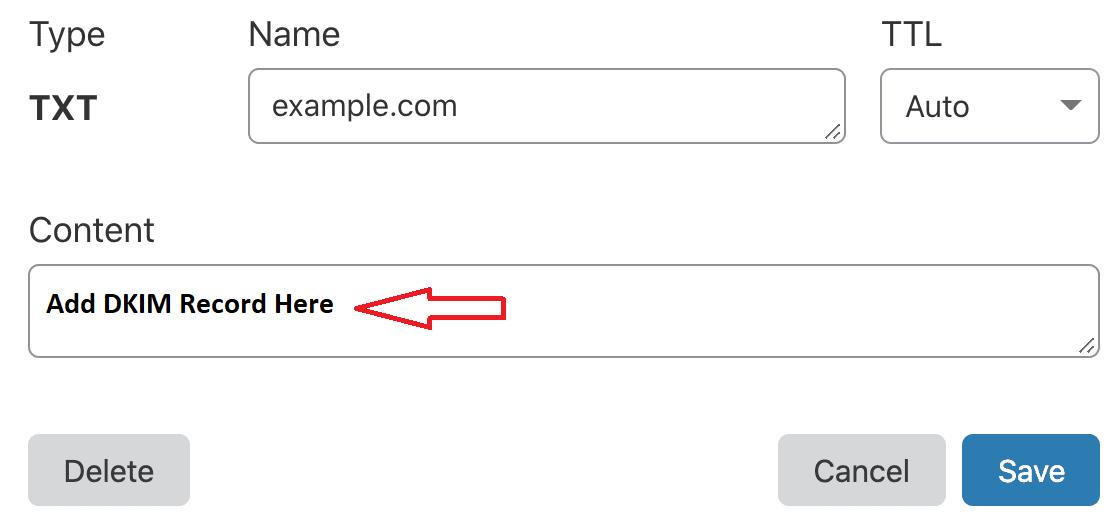
DKIM – Digitally Sign Your Messages
DKIM (DomainKeys Identified Mail) adds a digital signature to every email sent from your domain. Think of it as a tamper-proof seal that verifies the email really came from your domain and hasn’t been altered along the way.
Once you get your DKIM record details (usually a TXT record) from your email provider, add it in the Cloudflare DNS section under the correct host name. Each provider may have different formatting, so follow their instructions closely.
SPF – List Authorized Sending Servers
SPF (Sender Policy Framework) is a TXT record that tells email servers which services are allowed to send emails on behalf of your domain.
If your domain is already being used to send emails through another platform — like a newsletter tool or a support ticket system — there’s a good chance an SPF record already exists in your DNS settings. And that’s where people often run into problems: you can’t have more than one SPF record per domain.
Instead of creating a new one, you’ll need to merge your new email provider’s SPF entry into the existing one. That means editing the existing record and adding the new server’s entry within it.
Not sure how? Here’s our quick guide to merging SPF records that’ll walk you through it step by step.
DMARC – Get Reports and Protect Your Domain
DMARC, short for ‘Domain-based Message Authentication, Reporting, and Conformance,’ takes things a step further by telling mail servers what to do if a message fails SPF or DKIM checks. It can also be used to receive reports about how your domain is being used (or misused) across the internet.
Most email providers recommend DMARC settings for you. If not, you can use a basic (generic) record that works for most domains. This generic record might look something like this:
v=DMARC1; p=none; rua=mailto:you@example.com
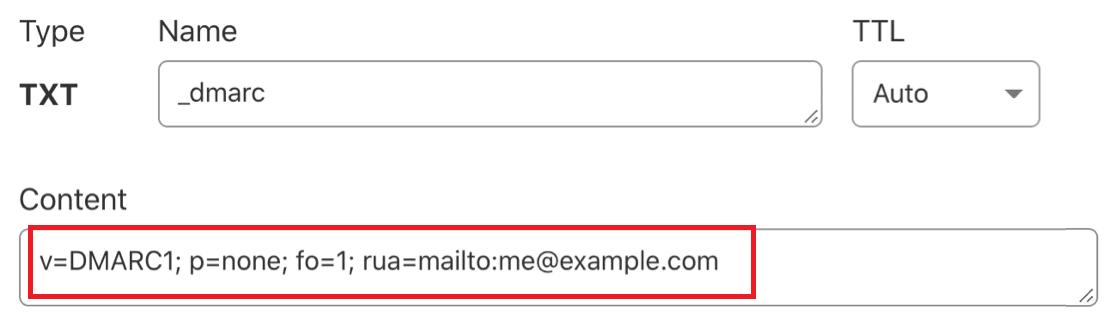
That tells email providers not to block anything yet, but to send you reports about suspicious activity.
If you’re unsure how to format it, check out this guide to creating a DMARC record.
CNAME, TXT, and MX Records (Optional)
Some services will also ask you to add CNAME, TXT, or MX records for features like link branding, bounce handling, or domain verification. These aren’t as common, but if your provider specifically asks for them, you’ll need to add those too.
Just follow the provider’s instructions word for word — especially when it comes to what to enter in the “Name” or “Host” field, which can be a little confusing in Cloudflare’s interface.
If the provider doesn’t mention these records, you can skip them. No need to add extra records that aren’t doing anything.
Step #3: Fix SMTP Timeouts or Cloudflare 524 Errors
Sometimes, the issue isn’t that WordPress can’t send emails — it’s that the SMTP connection itself is timing out. If you’ve seen Cloudflare’s 524 A timeout occurred error or Post SMTP is stuck on connecting, this section is for you.
These timeouts usually mean your site can’t reach the SMTP server, often because of a misconfiguration in Cloudflare’s DNS settings.
Let’s break it down step-by-step.
Disable Proxy on Mail Server A Record in Cloudflare
One of the most common mistakes we see is trying to route email traffic through Cloudflare’s proxy. But here’s the thing: Cloudflare doesn’t support SMTP, POP, or IMAP traffic. Trying to proxy these protocols leads to timeout errors, especially 524 and 504.
Here’s how to fix it:
- Log in to your Cloudflare dashboard.
- Select your domain.
- Go to the DNS tab.
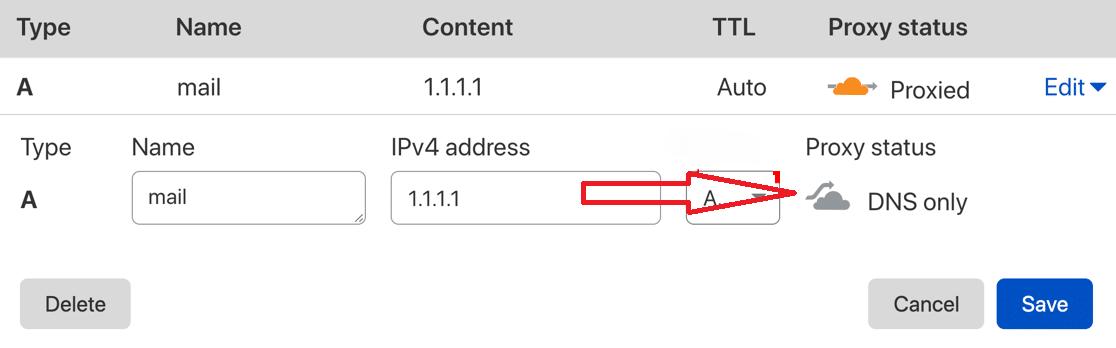
- Look for the A record for your mail server (usually named mail or something similar).
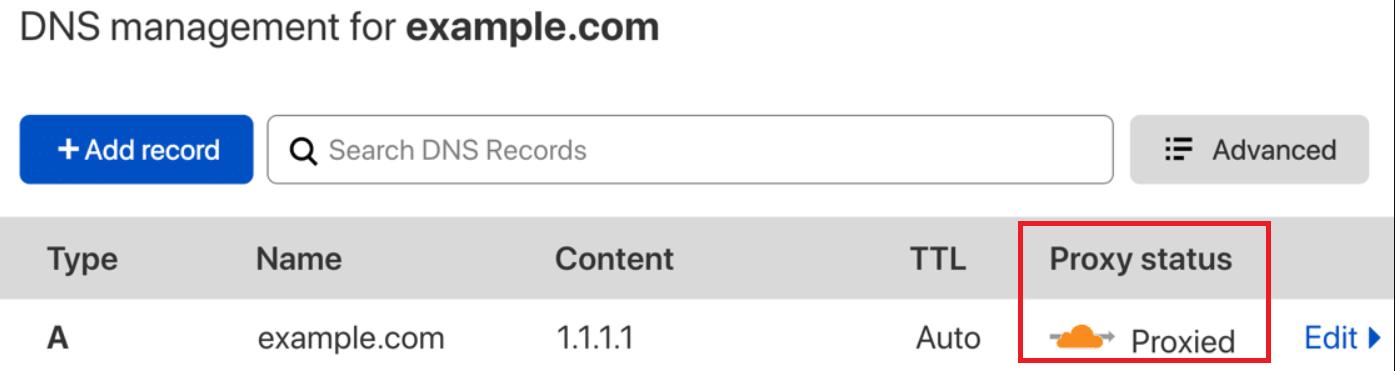
- If it has an orange cloud under the Proxy Status column, click it to turn it gray.

To understand it easily:
Orange cloud = Proxied = Timeout or dropped connection.
Gray cloud = DNS Only = SMTP works properly.
- Click it until it turns into a gray cloud that says DNS only.
Please Note: If you’re using a third-party SMTP provider like SendLayer, Brevo, or Mailgun, you typically don’t have to add an A record — just make sure the relevant TXT records are added correctly.
Step #4: Check Your Domain’s Spam Score (Optional but Recommended)
Even if your emails are technically being sent, there’s still a big problem if they land in the spam folder. That’s where your spam score comes in — it’s a measure of how trustworthy your domain and message content appear to spam filters.
A high spam score doesn’t just affect open rates—it can ruin customer relationships, especially for WooCommerce stores, contact forms, or membership sites that rely on timely communication.
To check the Spam Score for your email domain, follow the steps below:
- Go to Post SMTP >> Dashboard.
- Click Spam Score Checker under the Troubleshooting section.
- Send a test email from your domain to the mentioned address.
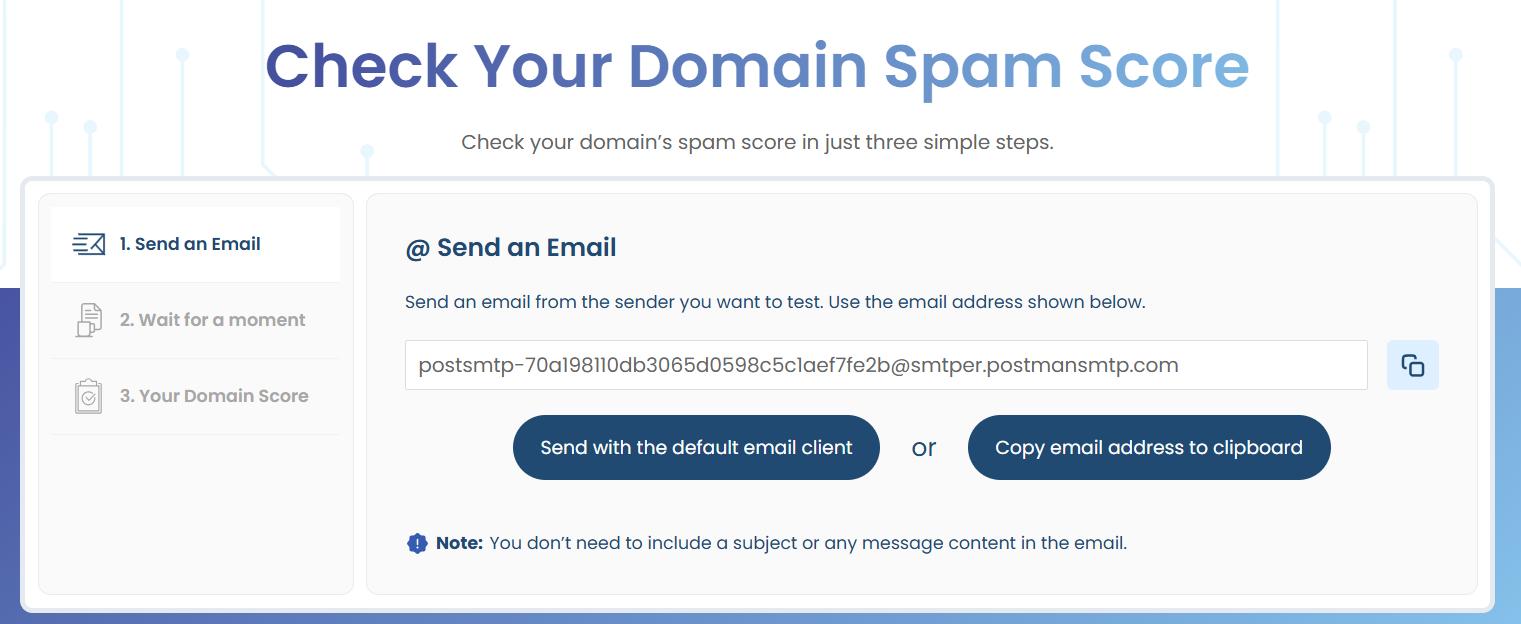
- Wait a few moments, and the tool will return a score from 0 (perfect) to 10 (very likely spam).
You’ll also get a breakdown of what triggered the score, like missing DNS records, suspicious phrases, or an unauthenticated sending domain.
Common Cloudflare + WordPress Email Questions (FAQs).
Do I Need a PTR Record in Cloudflare?
Typically, no. Your email provider or host manages PTR records for you. So, it’s usually not necessary to create or modify this record in Cloudflare yourself. Unless you’re running your own dedicated mail server, Cloudflare doesn’t require you to set up a PTR record for email functionality.
Should I Use the Cloudflare Plugin for SMTP?
Cloudflare’s role is primarily related to website traffic routing and security, not email sending. Therefore, you don’t need to use the Cloudflare plugin for SMTP to work properly with WordPress.
Instead, Post SMTP handles all email-related tasks like connecting to your SMTP provider and managing email delivery settings.
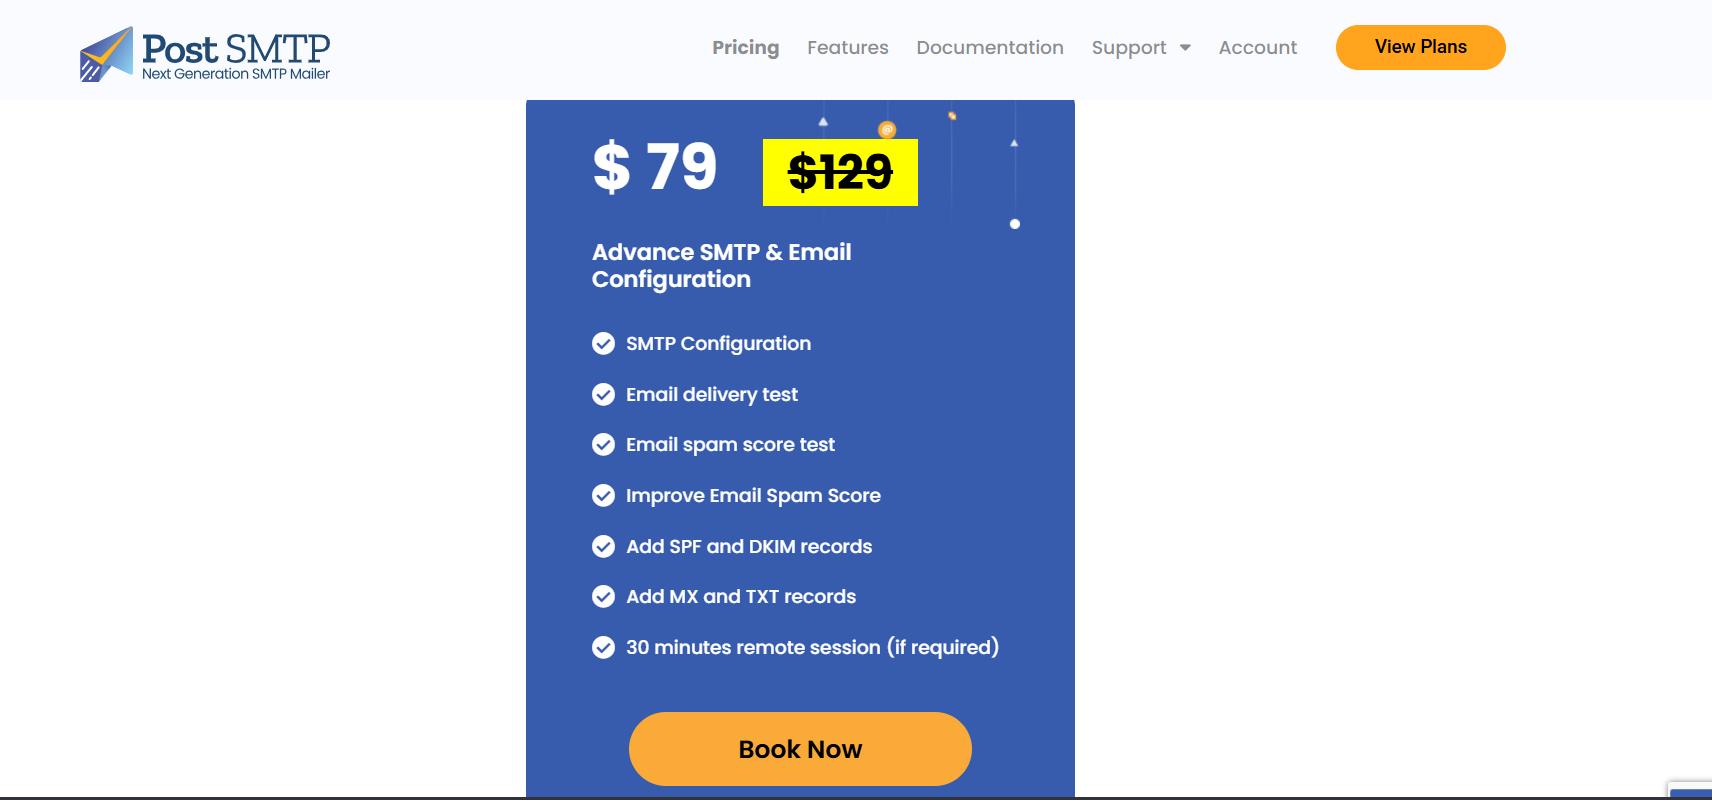
Need Expert Help? Let Post SMTP Handle It For You
If you’re still facing the ‘Cloudflare Not Sending WordPress Emails’ issue or need assistance in configuring your SMTP settings or DNS records, don’t worry! We have a team of email specialists who can help you set up your entire email system.
Services we offer include:
- SMTP setup: We’ll configure Post SMTP with your SMTP provider.
- DNS help: We’ll ensure your SPF, DKIM, and DMARC records are correctly set up in Cloudflare.
- Spam score fix: We’ll help you resolve any high spam scores by setting up proper DNS records and using best practices.
You can book a 30-minute session with one of our experts or contact our support email for assistance. Click here to book a remote session.