
 OpenAI
 Perplexity
Want to connect Microsoft Outlook to WordPress for better and more reliable email delivery? This is precisely what we are going to explain in this guide.

Using Post SMTP, you can not only easily connect your Microsoft Outlook with WordPress, but you can also benefit from comprehensive email logs, delivery failure notifications, configuration testing, and much more.
Throughout this guide, we will show you how to connect Microsoft Outlook to WordPress using Post SMTP in 4 easy steps.
So, without any further delay. Let’s get started!
Why Should You Consider Microsoft Outlook for WordPress Emails?
By default, WordPress uses a PHP-based mail function (wp-mail) to send transactional emails, and the wp-mail function uses your web hosting server to deliver the emails, which is normally not configured or optimized for email delivery.
Therefore, configuring an SMTP service such as Microsoft Outlook is a good option for business owners who frequently use Office 365.
There are many benefits of using Microsoft Outlook for WordPress emails, such as:
- Free Account: You can use your existing Outlook account or create a new one for free.
- High Daily Limit: With Outlook, you can send up to 10,000 emails daily, which is a high limit compared to other SMTP services.
- Better Email Delivery: It improves your WordPress email deliverability by replacing the default wp-mail function with SMTP and bypassing spam filters.
- OAuth 2.0 Authentication: You can authenticate your Microsoft 365 account without storing your email password in your WordPress database.
NOTE: Using the Post SMTP plugin, you can configure any SMTP service, including your Microsoft Outlook account, to your WordPress site. If you are a user of any other SMTP service, then consider our guide on how to configure SMTP for WordPress to send emails or check the documentation for your specific SMTP service.
Check Out How Post SMTP Makes 365 WordPress Integration a Breeze!
4 Easy Steps to Connect Microsoft Outlook to Send WordPress Emails
To connect Microsoft Outlook with your WordPress site, you need to use the Post SMTP plugin. This plugin lets you securely authenticate your Microsoft 3645 account using the OAuth 2.0 protocol.
In this tutorial, we will use the Post SMTP Pro version, which includes a Microsoft 365 integration.
Step #1: Install and Activate the Post SMTP Pro Version
To begin with, log in to your WordPress site Dashboard and navigate to Plugins → Add New Plugin to access the WordPress plugin directory.
- Search for Post SMTP and look for “POST SMTP – WordPress SMTP Plugin with…” by Saad Iqbal.
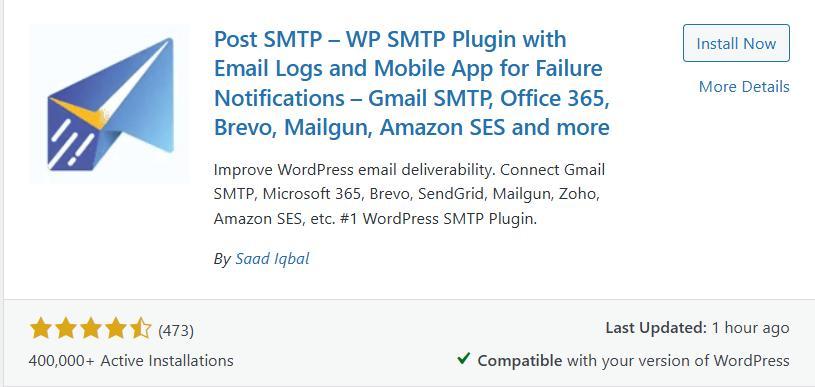
- Now click on the Install Now button, wait for a few seconds, and then click Activate.
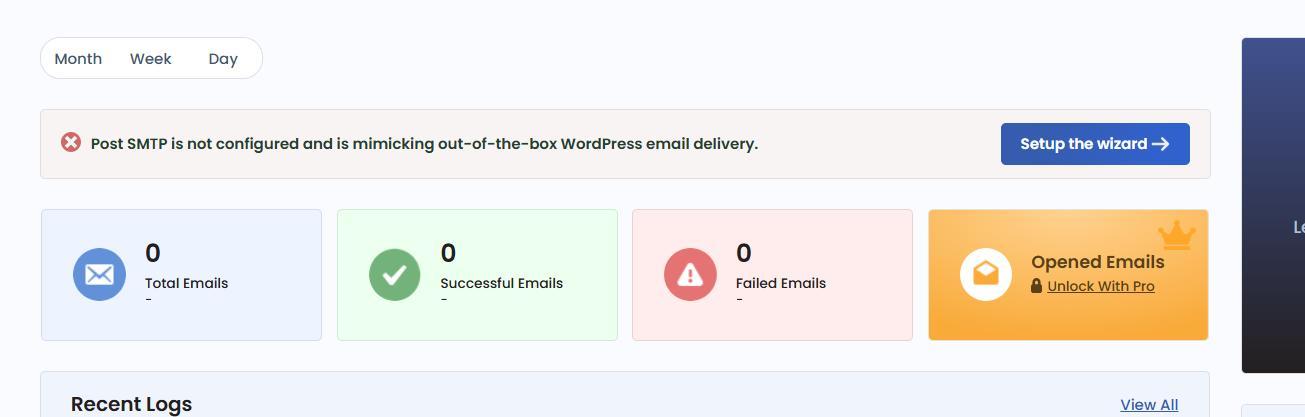
- After activation, navigate to Post SMTP >> Dashboard from the side menu of your WordPress dashboard.
- Select the “Start the Wizard” button to initiate the Post SMTP configuration.
Next, as we told you earlier, you’ve to buy the Post SMTP Pro Version. For that, simply go to Post SMTP → Get Pro Bundle in the right-hand side menu of your WordPress dashboard.
This will take you to the pricing page, where you simply choose your desired subscription plan and hit Buy Now. We recommend that you select the lifetime option to get the best price.
After buying the plan, you will receive the welcome email, which includes your subscription details, license key, and .zip file.
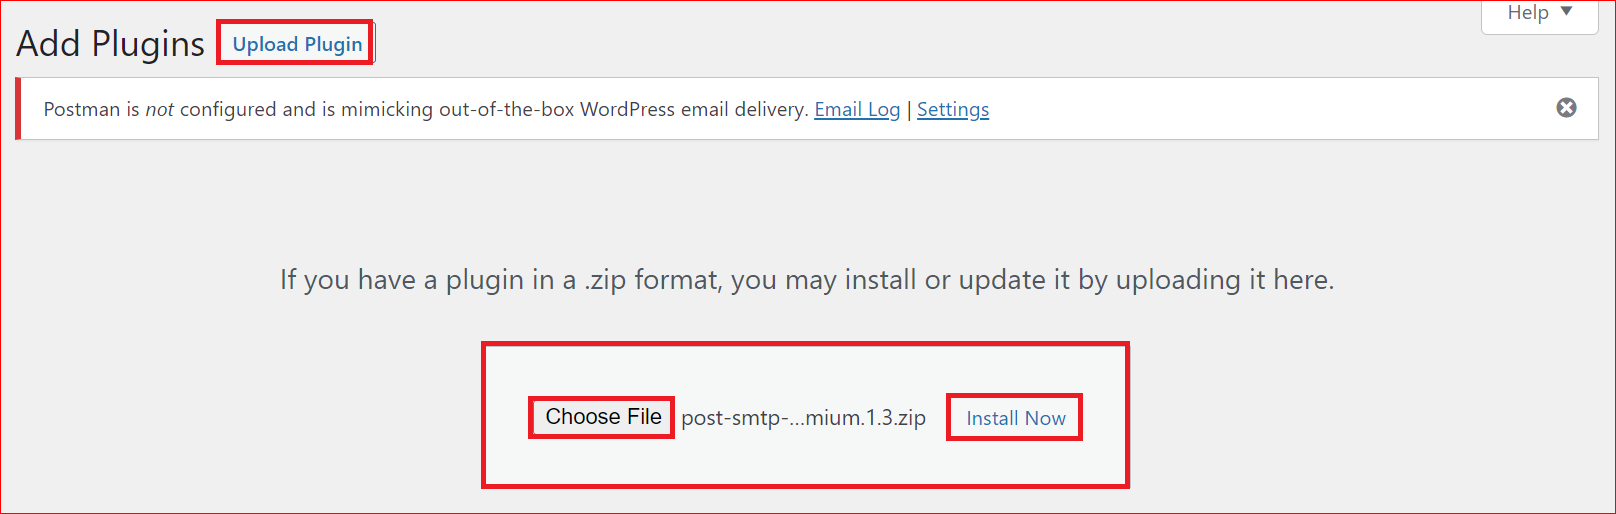
Then, go to Plugins → Add New → Upload Plugin and click on the Choose File button, select the “post-smtp-extension-office 365-premium.1.3” file, and click Install Now.
After installing the plugin:
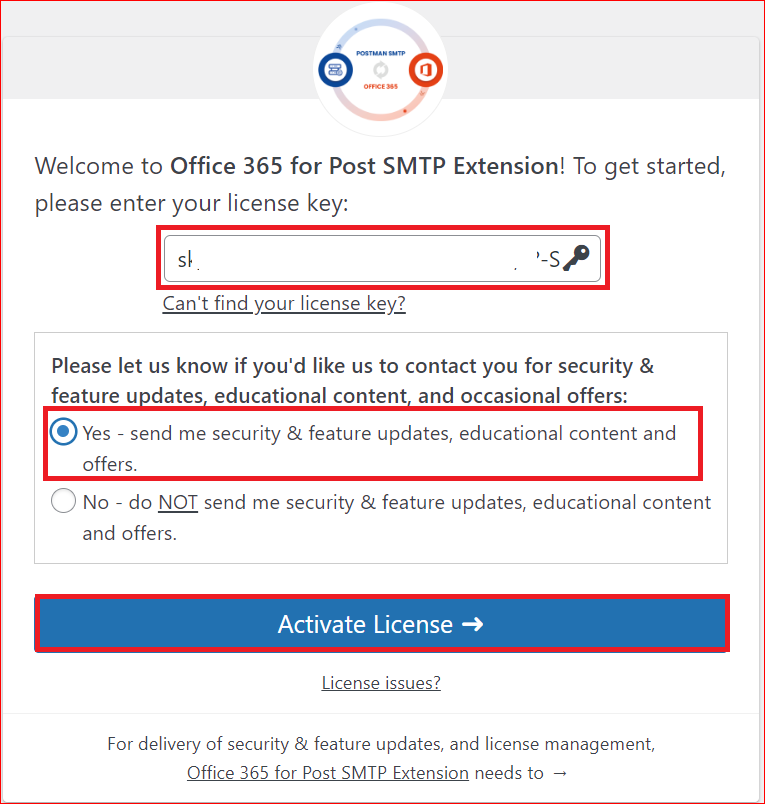
- Click on the Activate Plugin button.
- Enter the License Key that you’ve received in the welcome email.
- Click Activate License.
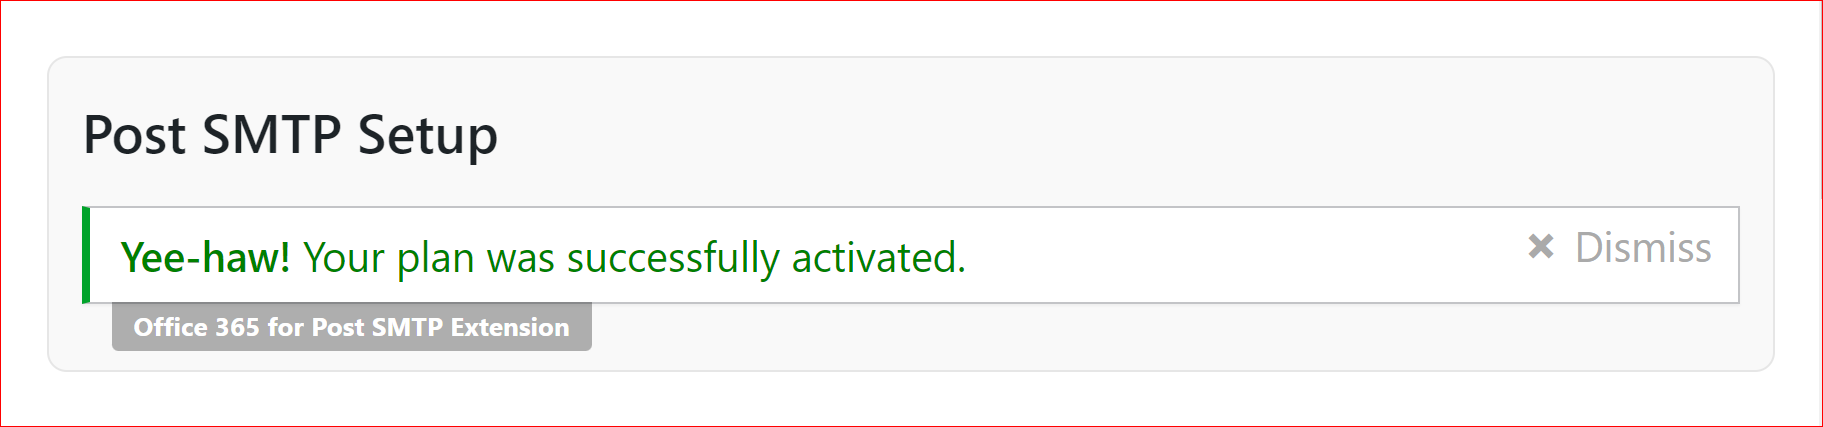
Upon successful activation, you will see the below congratulation screen.
Now, it’s time to generate new APIs in your Azure portal. To do so, follow the steps below.
Step #2: Configure and Get APIs from your Azure Account
To generate an API, begin by creating a new application within the Azure portal. This Application makes it simple to connect your WordPress site and Office 365 account via APIs. To get started, follow these steps:
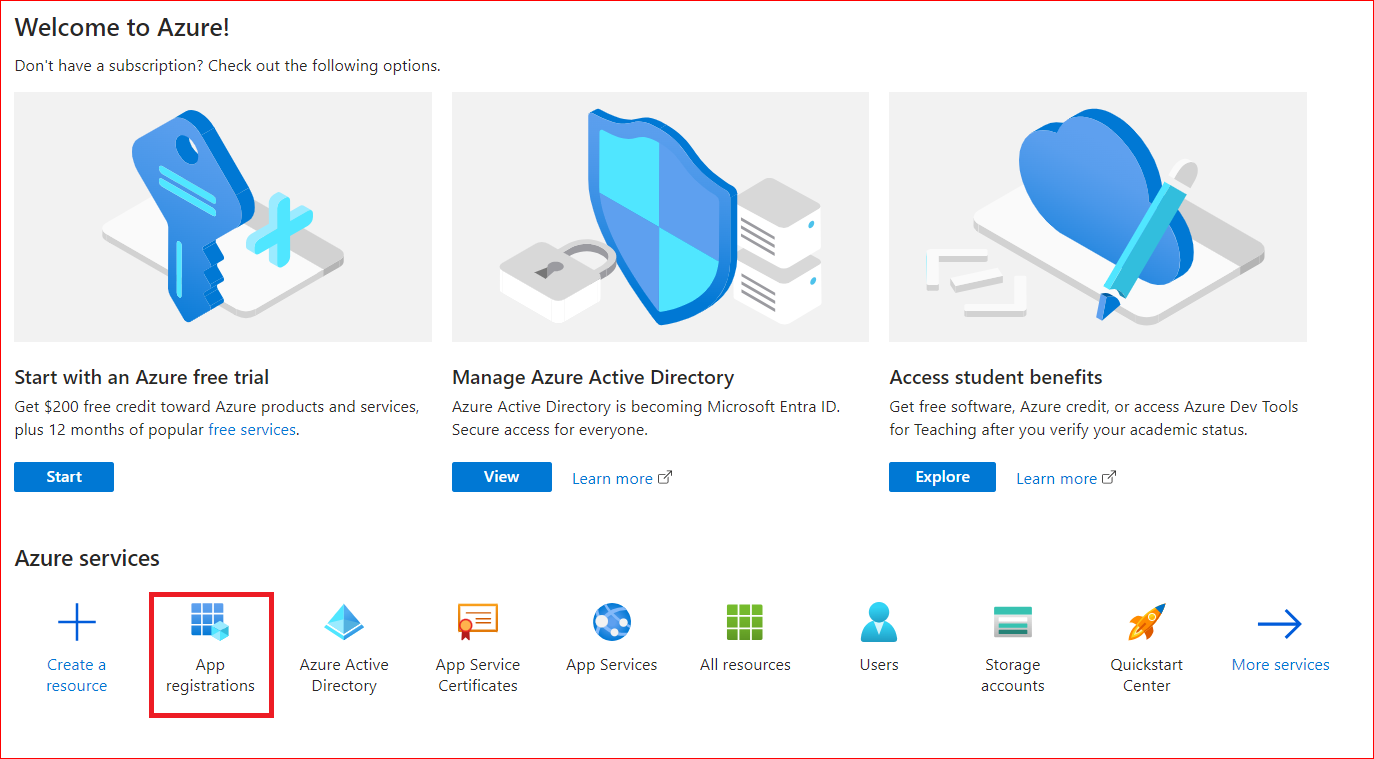
- Access the Azure Portal and log in using your Office 365 credentials.
- Locate and click on the “App Registrations” button located at the bottom of the page.
- On the top of the page, select “New Registration” to register a new app.

On the subsequent screen,
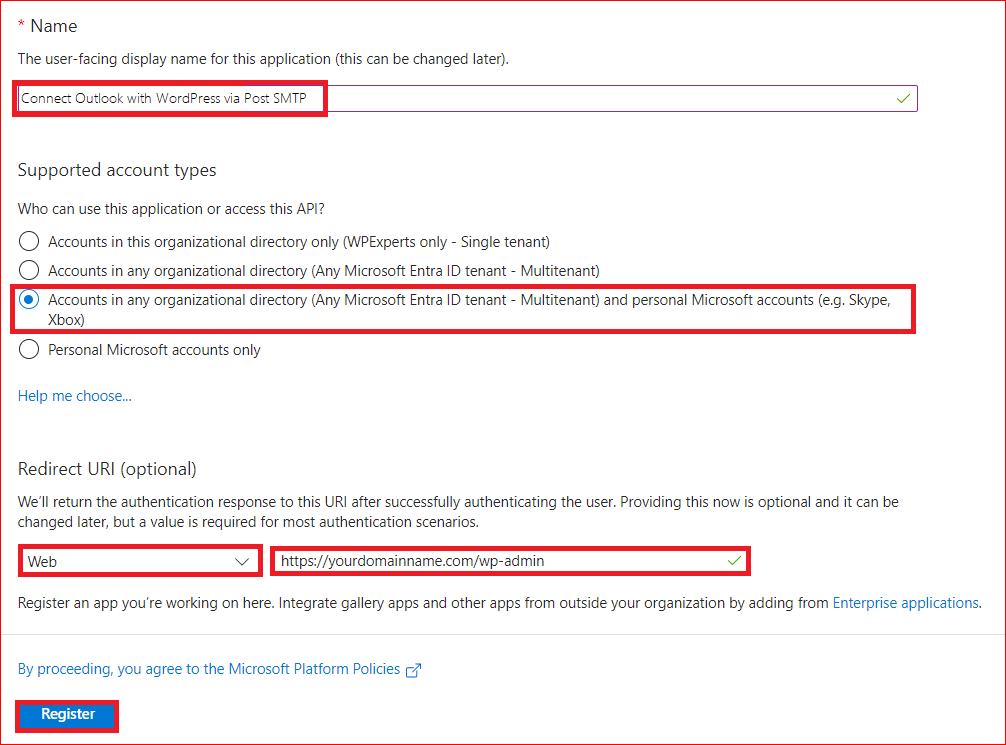
- Fill out the “Name” field appropriately. For instance, you can name it “Connect Outlook with WordPress via Post SMTP.”
- Choose the option “Accounts in any organizational directory (Any Microsoft Enterprise ID tenant – Multitenant) and personal Microsoft accounts (e.g., Skype, Xbox).”
- In the “Redirect URI” field, choose “Web” from the dropdown menu, and then input your WordPress site’s domain name, such as “https://yourdomainname.com/wp-admin,” as the redirect URI.
- Afterward, click the “Register” button to create the new APIs.
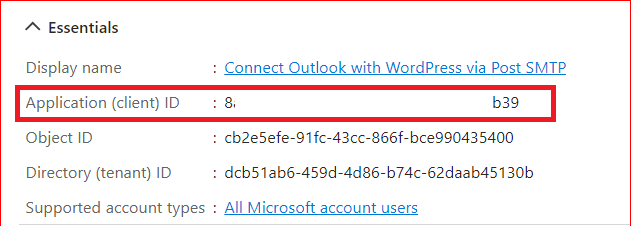
- Upon successful registration, copy the “Application (client) ID” and store it in a notepad or a sticky note for later use during the Post SMTP setup wizard.
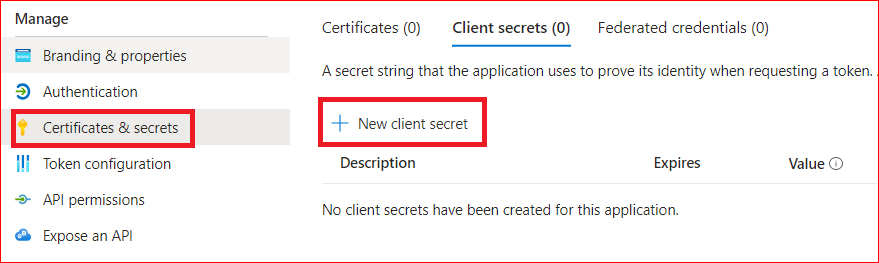
- Now, navigate to the left sidebar and select “Certificates & Secrets.”
- On the next screen, click on the “+ New Client Secret” button.
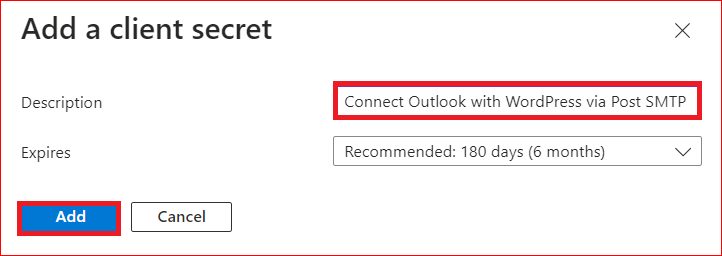
- Enter a description, such as “Connect Outlook with WordPress via Post SMTP,” and specify an expiration time, then click “Add.”
- On the following screen, make sure to copy the “Client Secret Value” as you can see in the screenshot below.
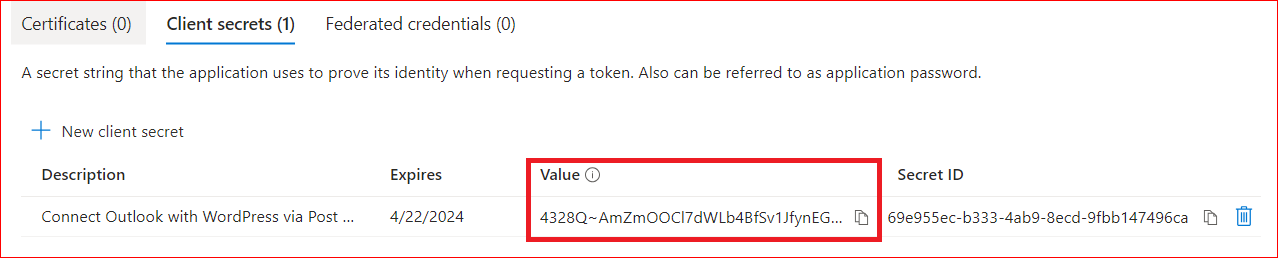
Please Note: Throughout the above process, we’ve copied two essential values, the “Application (client) ID” and the “Client Secret Value,” which we will use during the Post SMTP configuration process when connecting the Office 365 Outlook mailer with WordPress.
Step #3: Set Up and Authenticate Your Outlook Mailer Account
Now, get back to the WordPress Dashboard, where we just completed the Post SMTP Pro installation process.
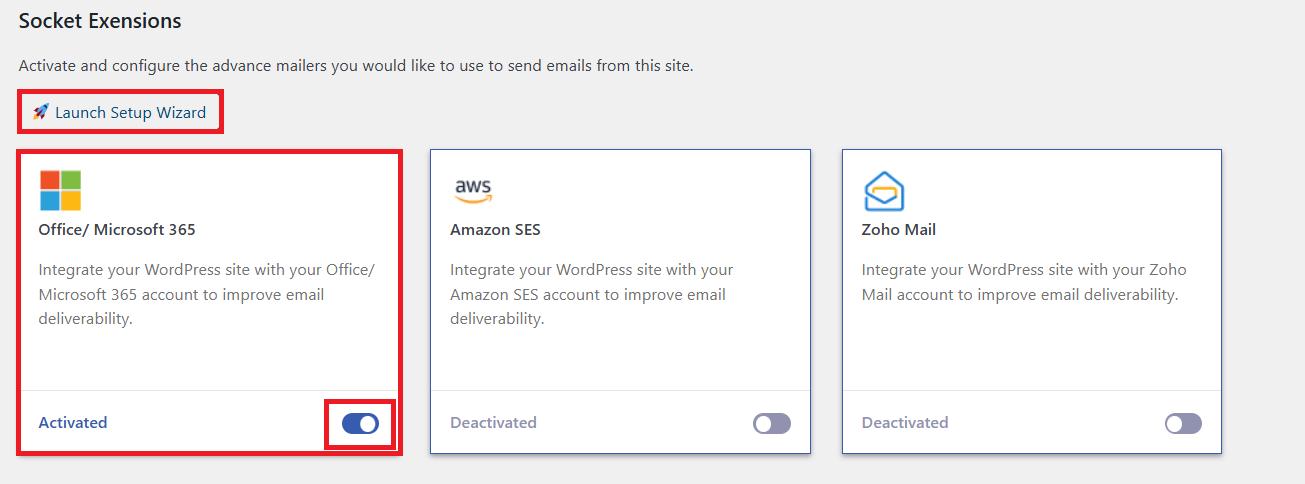
- Navigate to the Post SMTP >> Extensions submenu under Post SMTP. Here, you’ll find various extensions, including the essential socket extensions for Office/ Microsoft 365, Amazon SES, and Zoho Mail.
- Activate the “Office / Microsoft 365” extension by toggling it on.
- After that, click on the “Launch Setup Wizard” button.
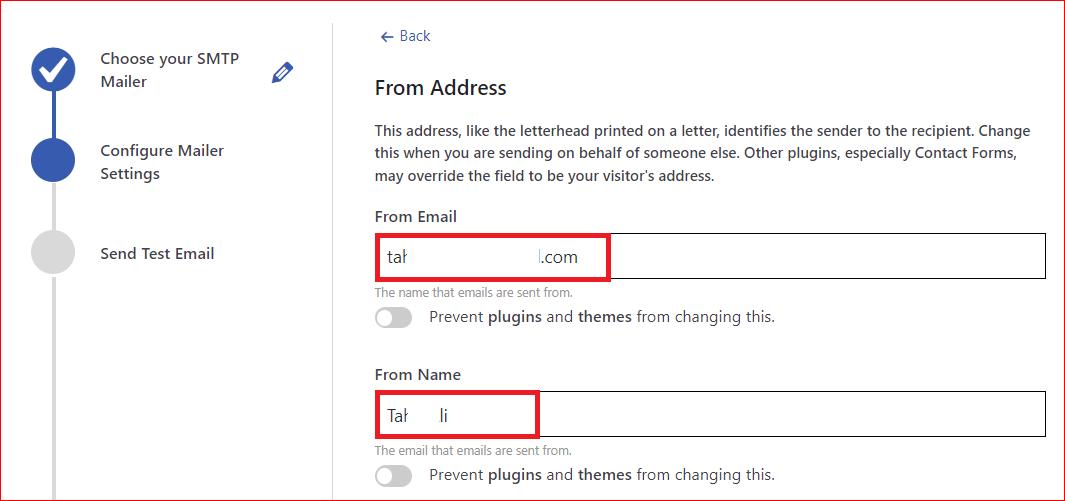
- In the From Email Address and From Name fields, provide your Outlook email address and name (in case you don’t provide the name, then the API will get it from your Outlook settings).
- Paste the Application (client) ID and the Client Secret (Value) in the relevant field that you had previously copied from the Azure portal.
- Additionally, input the exact domain into the Redirect URI field that you had included during the API creation process in the Azure Portal.
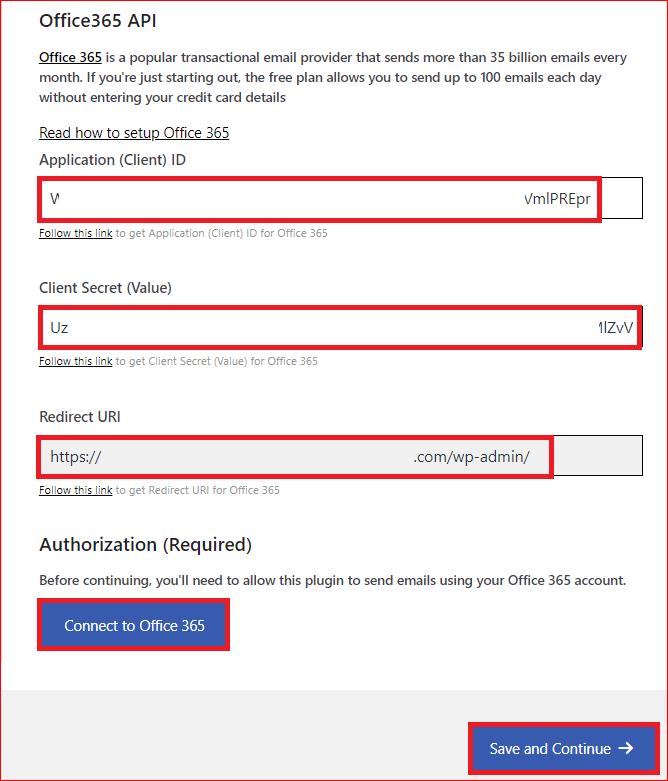
- Next, select the “Connect to Office 365” button to authorize Post SMTP to connect to your Office 365 account.
- Upon the successful connection, you will be redirected back to the Post SMTP setup wizard, where you must simply click “Save and Continue” to proceed further.
At this point, you’ve successfully connected Microsoft Outlook to WordPress. Now, you only need to send a test email to verify email deliverability.
Step #4: Send a Test Email to Check WordPress Email Deliverability
In this last step, simply input the recipient’s email address into the “Recipient Email Address” field on the Send Test Email screen and press the “Send Test Email” button.
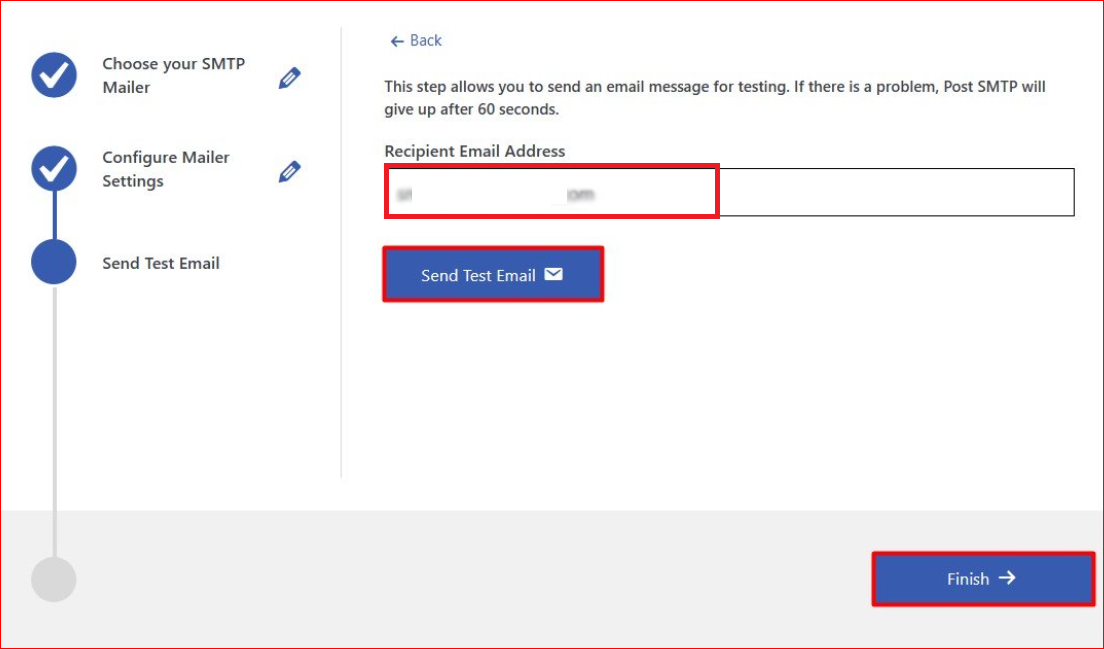
After sending the test email successfully, click “Finish” to complete the process.
That’s it! Now, you’ve successfully configured Microsoft Outlook with WordPress to send transactional emails using Post SMTP.
IMPORTANT: For better email delivery, along with SMTP, you also need to configure the SPF, DKIM, and DMARC records for your domain. If you don’t know how to do so, then click here, fill out the form, and our WordPress expert will reach out to you and add all three DNS records for your domain.
In Summary – Install Post SMTP to Connect Microsoft Outlook with WordPress
If you are a user of Microsoft 365, then using your Outlook account to send WordPress emails is an excellent option. As you can see, it is quite easy to connect Microsoft Outlook to WordPress using Post SMTP. You just need to install and activate the plugin, configure it with your Microsoft 365 account, and send a test email.
This way, you can improve your email deliverability and reliability and avoid any issues with sending emails from your WordPress site.
Lastly, we hope you’ve found this article helpful to connect Microsoft Outlook with WordPress, but if you still find it difficult or need any technical assistance, feel free to contact us to get expert assistance. Our team of WordPress experts is always ready to help you with all your email deliverability issues.
Frequently Asked Questions
u003cstrongu003eHow do I integrate Outlook with WordPress?u003c/strongu003e
To integrate Outlook with WordPress, you need to install the Post SMTP Pro Version on your WordPress site, which helps you connect your WordPress site via your Microsoft 365 API.
u003cstrongu003eDoes Outlook email work with WordPress?u003c/strongu003e
Yes, Outlook email works with WordPress. To configure your Outlook email with WordPress, you need to install the Post SMTP plugin, which lets you configure your Microsoft 365 account with WordPress. This way, you can use your Outlook email to send WordPress emails.
u003cstrongu003eHow to set up Outlook Office 365 SMTP in WordPress?u003c/strongu003e
To set up Outlook Office 365 SMTP in WordPress, install and activate the Post SMTP Pro Version and then follow the Setup Wizard to configure and authenticate your Microsoft 365 account. After that, simply send a test email to verify the email delivery.
u003cstrongu003eHow do I connect my Outlook email to WordPress?u003c/strongu003e
To connect your Outlook email to WordPress, you need to install the Post SMTP plugin and input your Outlook email in the From Email field while configuring your Microsoft 365 account in the setup wizard process.
u003cstrongu003eWhat are the SMTP settings for Outlook 365?u003c/strongu003e
The SMTP settings for Outlook 365 are:u003cbru003eu003cbru003e● u003cstrongu003eServer: u003c/strongu003esmtp.office365.comu003cbru003e● u003cstrongu003ePort: u003c/strongu003e587u003cbru003e● u003cstrongu003eEncryption:u003c/strongu003e TLSu003cbru003e● u003cstrongu003eUsername: u003c/strongu003eYour Microsoft 365 account full email addressu003cbru003e● u003cstrongu003ePassword: u003c/strongu003eYour Microsoft 365 account passwordu003cbru003eu003cbru003eHowever, if you want to connect it to your WordPress without providing your ID and password, then install the Post SMTP plugin, which lets you connect your Microsoft 365 account with WordPress via API using OAuth 2.0 protocol.


