
 OpenAI
 Perplexity
You probably need help with the WP Cerber Security not sending email alerts. Don’t worry! In this guide, we’ve provided a complete step-by-step solution to this problem.
Usually, WP Cerber Security sends you email alerts when it detects suspicious activity on your website, such as unauthorized login attempts or malware detection. However, if these email alerts fail, your website will be vulnerable to security risks.
Fortunately, this is a common issue that you can fix using Post SMTP!!!
Keep reading—we will walk you through the four-step process to fix the “WP Cerber Security not sending email alerts” issue. We’ll explain how to correctly configure your email settings and switch to a more reliable SMTP method using the Post SMTP plugin.
Ready? Let’s get started!
WP Cerber Security Plugin –Brief Intro
WP Cerber Security is a powerful security plugin for WordPress. It acts as a defense system that protects your site from a WordPress brute-force attack, malicious bots, and other security threats.
Also, the plugin allows you to monitor suspicious activities, such as multiple failed login attempts, unauthorized file changes, and potential malware attacks.
One of the plugin’s core features is the ability to send email alerts when it detects unusual activity. These alerts provide real-time notifications of potential threats and allow you to respond quickly to security issues.
In addition to its primary function of detecting suspicious logins, WP Cerber Security offers features that are particularly useful for WooCommerce sites.
For instance, it includes anti-spam measures in the checkout process, which protects against automated bot submissions and provides a smoother shopping experience for your customers.
NOTE: If you rely on email alerts to monitor your website’s security status, a failure in email notifications can leave your site vulnerable to attacks.
Reasons Why WP Cerber Security Not Sending Email Alerts?
Before we get into the solution, we should understand why WP Cerber Security might stop sending email alerts. In general, there are two main factors that cause this issue:
- Default WordPress Email Function
- Incorrect WP Cerber Security Email Alerts Settings
To understand how each of these issues can lead to WP Cerber Security email alerts not working, let’s take a closer look at each.
Reason #1: Default WordPress Email Function
WordPress uses the PHP mail function (wp_mail) to send emails by default. While this function is easy to use, it is often unreliable for sending emails from WordPress.
Many hosting providers block outgoing emails sent through the PHP mail function to reduce the chances of spam and fraudulent emails. This means that even if WP Cerber Security attempts to send an email, it may not reach the intended recipient.
Additionally, emails sent via the “wp_mail” function lack proper email authentication mechanisms, such as SPF, DKIM, and DMARC, which are the industry standard protocols to prevent emails from being marked as spam.
Therefore, if an email server cannot verify that your email is legitimate, it sends the email to the spam folder or blocks it entirely.
Reason #2: Incorrect WP Cerber Security Email Alerts Settings
WP Cerber Security comes with predefined email alert settings. On top of that, the plugin provides various customizable email notification settings. For example, it allows you to configure:
- Email Alert Preferences: You can create an email alert to receive notifications of certain security events.
- Miscellaneous Settings: Also, you can set additional email alert settings such as email address to receive email alerts, weekly email reports, number of alerts per hour, etc.
If these settings are not properly configured, the plugin may not send email alerts as expected.
Now that we’ve discussed why this problem occurs, let’s explore how to fix it.
4 Easy Steps to Fix WP Cerber Security Not Sending Email Alerts
Step #1: Set Up Email Alerts for Security Activities
WP Cerber Security sends two types of email alerts by default:
- Lockout alerts: These notify you of failed login attempts or blocked users.
- Weekly security reports: A summary of recent security activity on your site.
However, you can also create additional email alerts for specific security activities. This is helpful if you want to receive notifications for events that aren’t covered by the default settings.
Follow the steps below to create and manage custom email alerts:
- Navigate to “WP Cerber Security” → “Dashboard” from your WordPress admin panel.
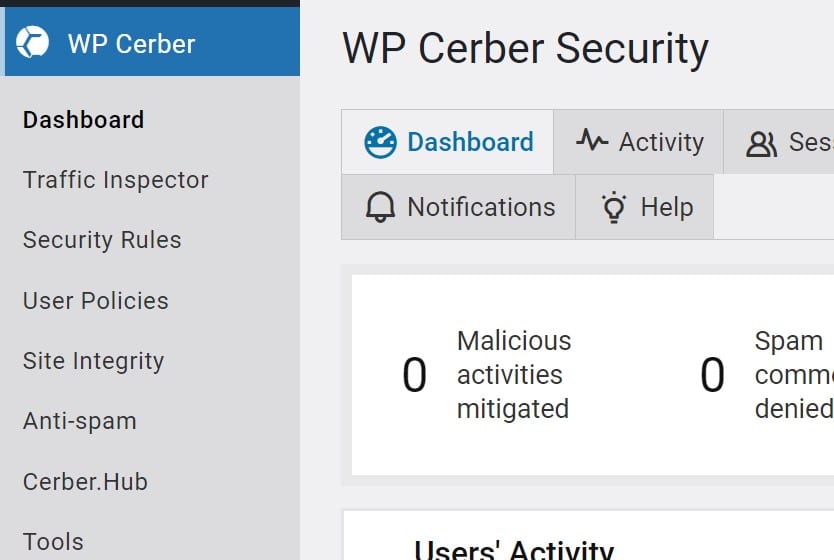
- In the dashboard, click the “Activity” tab. This tab displays all the security activities that the plugin has logged.
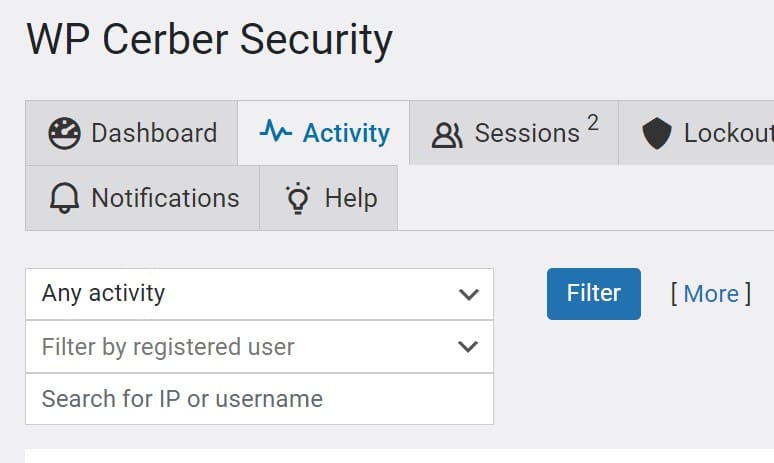
- From the dropdown menu on this page, select a specific activity (e.g., Logged in, Logged out, IP blocked detection).
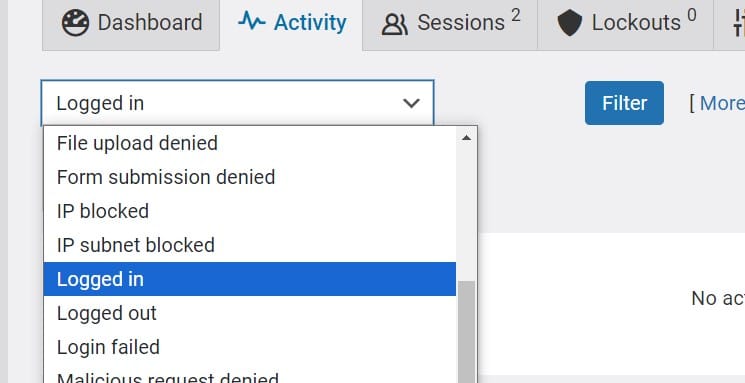
- After selecting the activity, click “Filter” to review the event logs.
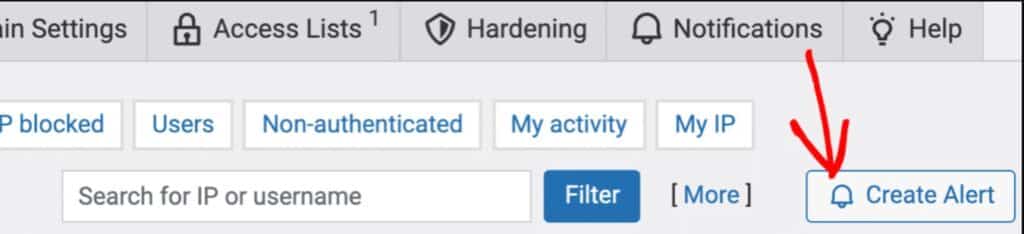
- To receive email notifications for this activity, click the “Create Alert” button. This will automatically send email notifications whenever this specific security event occurs.
After setting up these custom alerts, let’s review the plugin’s email notification settings.
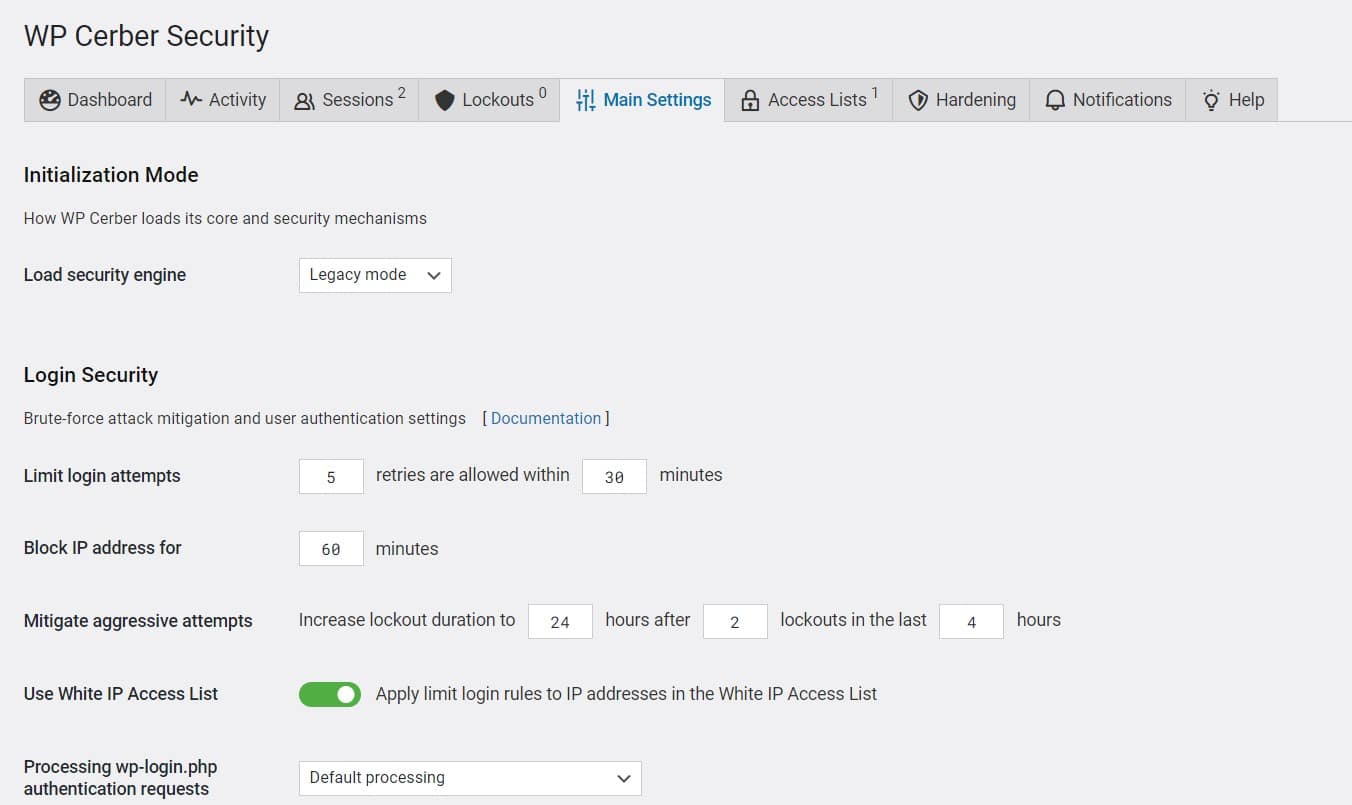
Step #2: Review WP Cerber Security Email Settings
To make sure you’re receiving the correct notifications, review the “email settings” in WP Cerber Security:
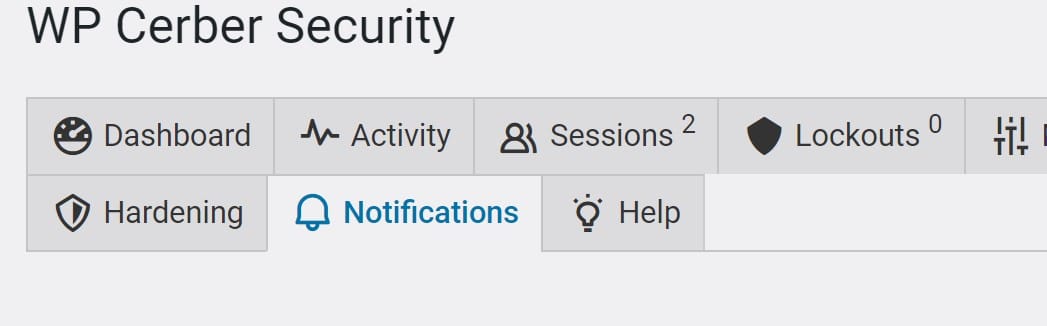
- In WP Cerber Security settings, go to the “Notifications” tab.
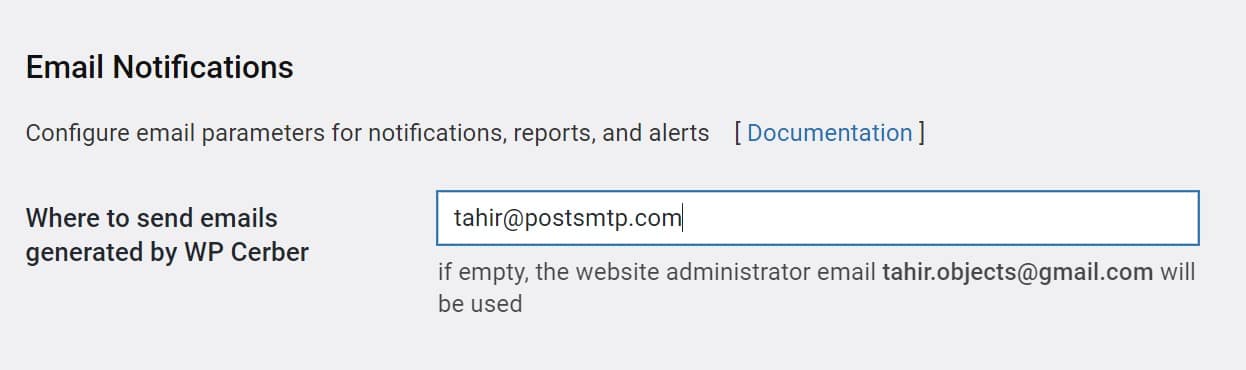
- In the “Email Notifications” section, verify that the correct email address is set to receive alerts. By default, WP Cerber Security sends notifications to the site administrator’s email address. If you prefer to receive alerts at a different email, enter it here.
- Next, review the settings for “lockout alerts.” Set the number of alerts you want according to your email service provider’s subscription plan.

- After that, scroll down to the “Activity Reports” section. To receive weekly email summaries of your site’s security activities, enable weekly reporting. You can also choose the day and time when you would like to receive these reports.
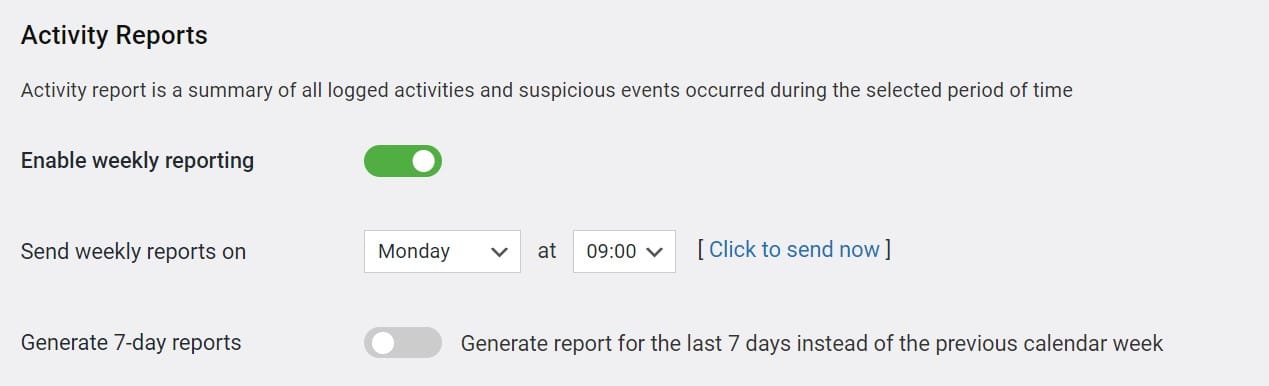
- Also, add the receiver email address for the weekly email report.
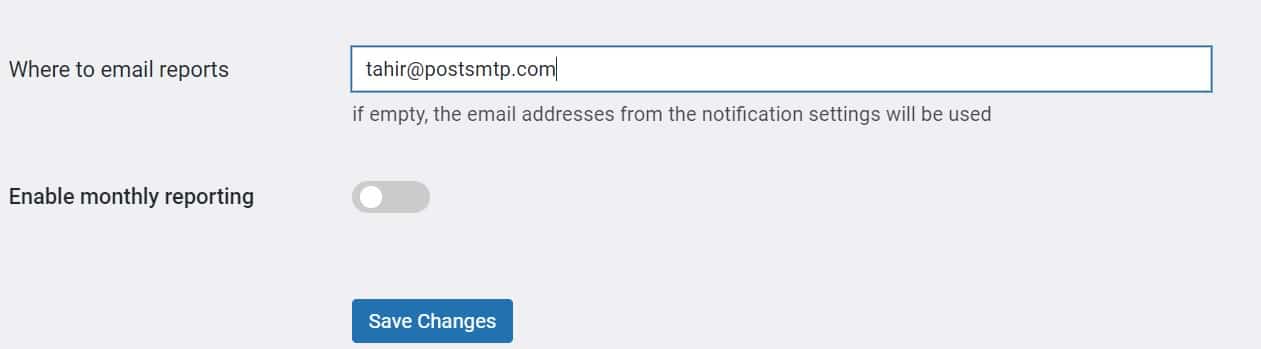
- Lastly, don’t forget to apply the changes by selecting the “Save Changes” button.
Once you’ve configured the email settings correctly, you can move on to fixing the email deliverability issues by setting up SMTP for WordPress.
Step #3: Install and Set Up Post SMTP Plugin
Since the default WordPress email function is not reliable, you need to switch to SMTP (Simple Mail Transfer Protocol), which is the best way to send emails reliably over the Internet.
The Post SMTP plugin makes SMTP integration extremely simple. It allows you to connect WordPress with all popular SMTP services, such as Gmail SMTP Server, Brevo, SendGrid, Amazon SES, Mailgun, Microsoft 365, and others.
To install and configure the Post SMTP plugin, follow the steps below:
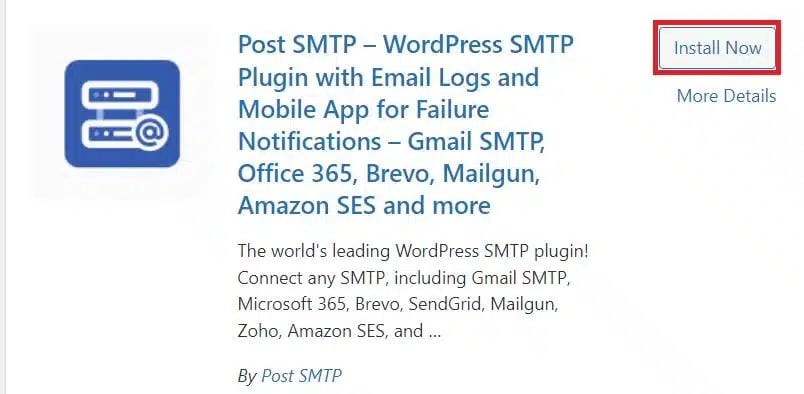
- Access your WordPress admin dashboard and navigate to “Plugins” → “Add New Plugin.”
- In the search bar, type “Post SMTP” and find the plugin with the title “Post SMTP – WordPress SMTP Plugin….”
- Click “Install Now” and then “Activate” the plugin.
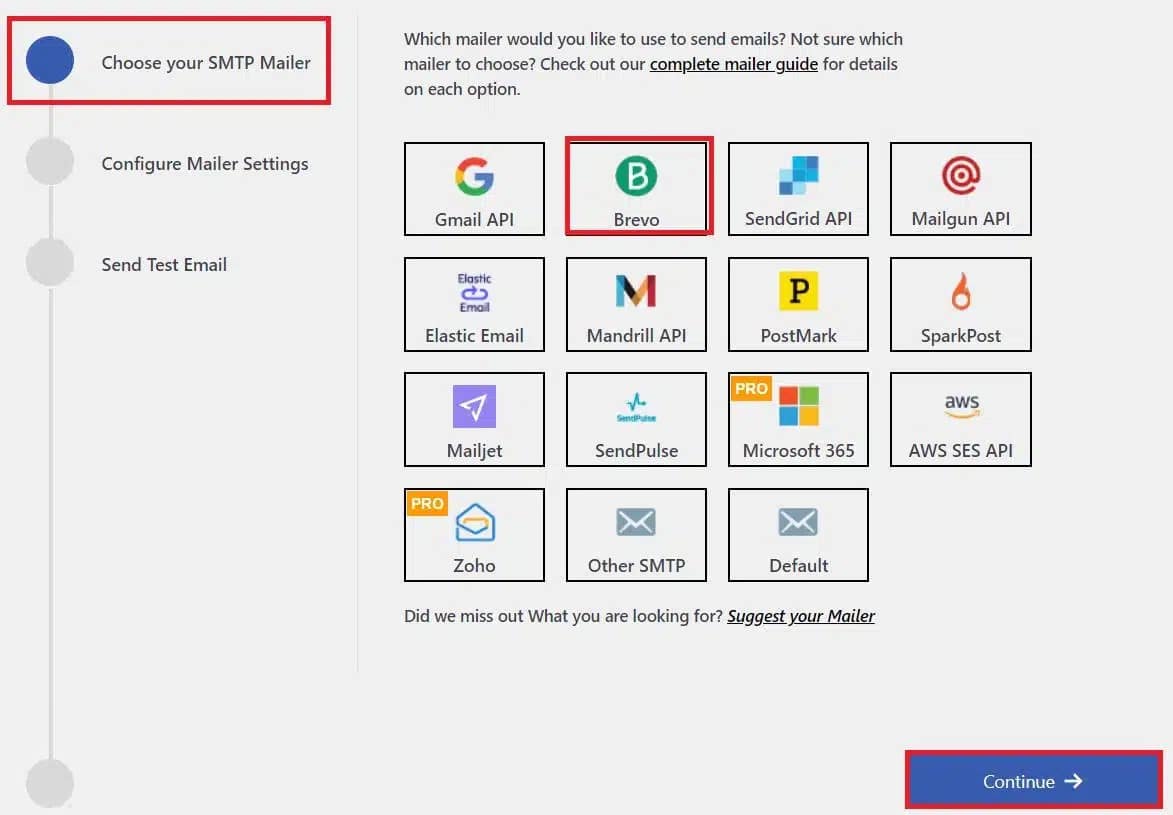
Once the plugin is activated, you’ll be guided through a “3-step setup wizard” to configure your SMTP service. Here’s how to complete the SMTP setup:
- Select your “SMTP service provider” from the available options. For this setup, we choose “Brevo.” After that, click “Continue.”
- On the next screen, enter the “From Email” and “From Name”—these will appear as the sender details in your outgoing emails.
- Also, input your SMTP provider’s “API key” (you can obtain this by logging into your chosen provider’s dashboard).
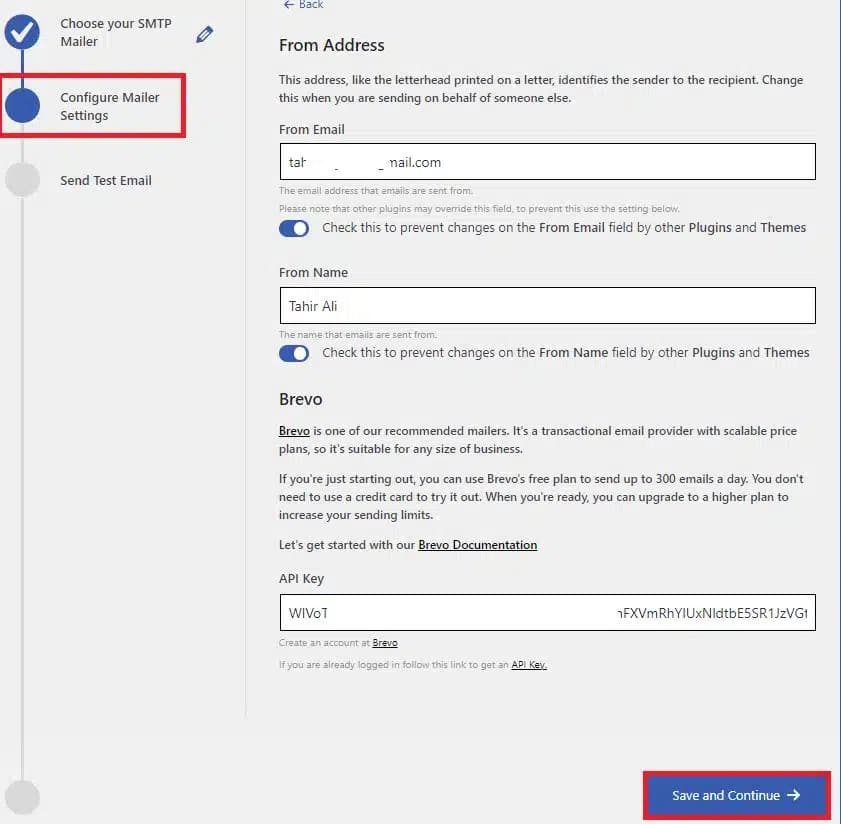
- Click “Save and Continue” to finish the setup.
After completing these steps, it’s crucial to test the configuration:
- Enter a valid email address in the “Recipient Email Address” field and click the “Send Test Email” button.
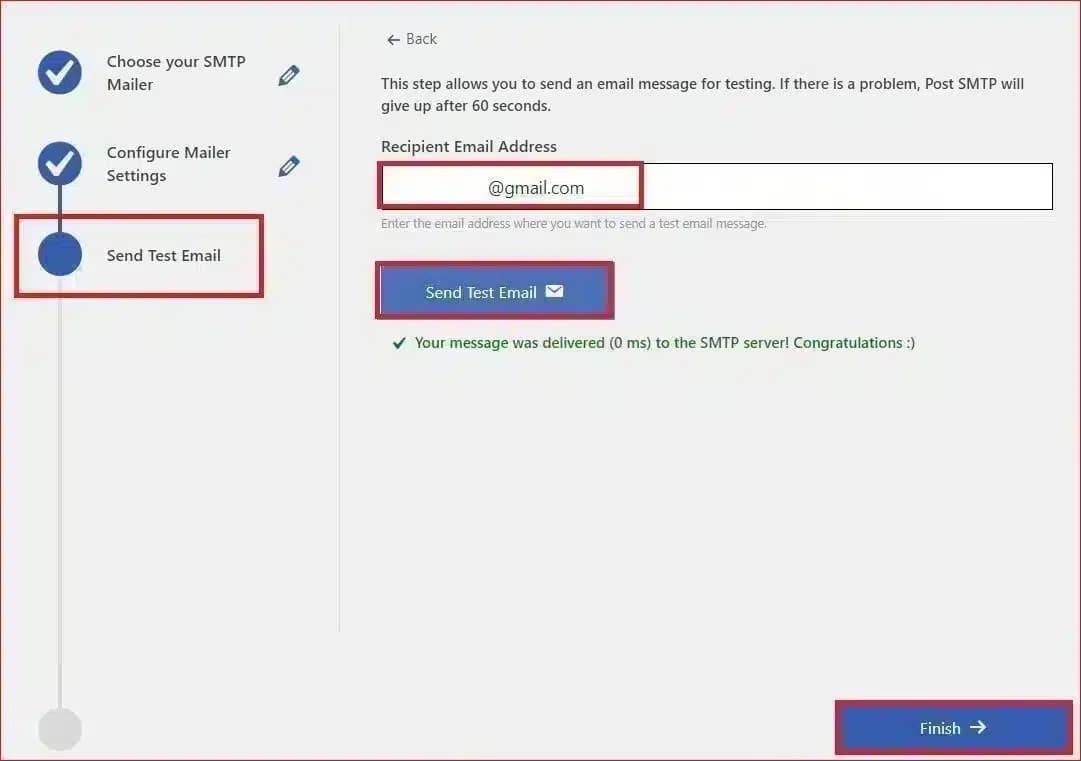
If everything is configured correctly, you should receive a test email in your inbox.
- Finally, click on the “Finish” button to end the process.
Step #4: Force the From Email Address
In some cases, the “WordPress not sending emails” issue occurs because WordPress or another plugin uses an incorrect “From” email address. This can result in deliverability issues, where emails either don’t arrive or get flagged as spam.
To fix this, you can use the Post SMTP plugin to force a consistent “From” email address for all outgoing emails. To do so, follow these steps:
- Navigate to “Post SMTP” → “Settings” from your WordPress dashboard.
- Click on the “Message” tab.
- In the “Email Address” field, enter the email address you want all outgoing emails to use (this is typically the same address you configured in Step #3).
- Check the box labeled “Prevent plugins and themes from changing this.” This ensures that no other plugin or theme can override this email address.
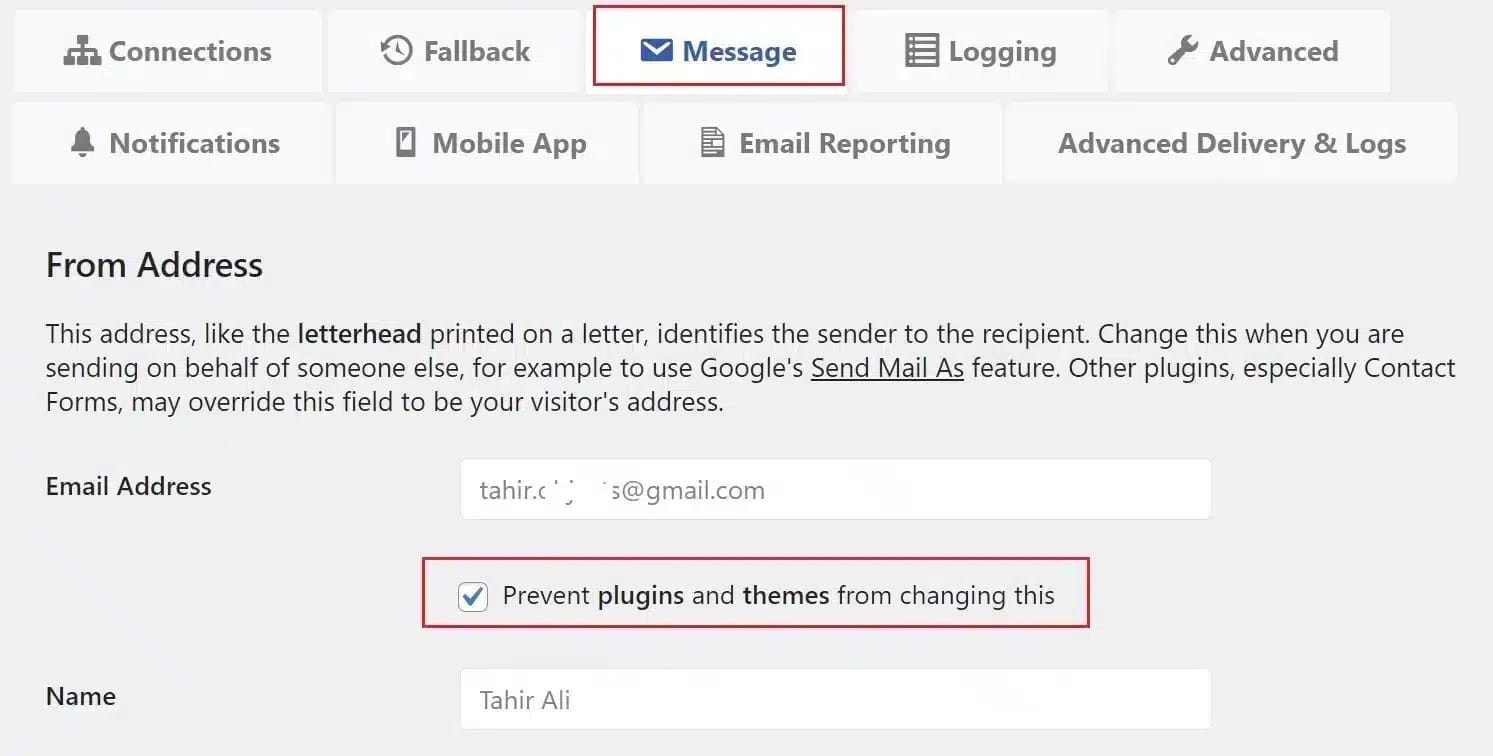
- Click “Save Changes.”
This guarantees that all outgoing emails from your site will use the same “From” email address and reduces the chances of emails being flagged as spam.
Time to Check Your Email Domain Spam Score
If the emails from your site still don’t get delivered, one common issue could be your email domain’s spam score. A high spam score means your emails are more likely to end up in recipients’ junk folders instead of their inboxes.
The spam score is a measure that email servers use to determine how likely an email is to be spam based on factors like content, formatting, and authentication protocols (such as SPF, DKIM, and DMARC).
To check whether your emails are reaching users, you should regularly check (at least once a week) your domain’s spam score. Our tool, “Spam Score Checker,” helps you analyze your domain’s score and provides a detailed report.
This report highlights any issues causing your emails to be flagged as spam and gives you actionable insights to improve deliverability.
Final Remarks on WP Cerber Security Not Sending Emails
If WP Cerber Security is not sending email alerts, then you need to address the issue right away to maintain the security of your WordPress site. Failing to receive security notifications can leave your website exposed to potential threats.
To fix this issue, set up SMTP with the Post SMTP plugin and review your email notification settings. Also, always remember to test your email deliverability after making any changes.
If the issue persists, do not hesitate to contact us. Our team of WordPress experts is always ready to assist you and fix all your email-related issues.


