Are you searching for how to configure WordPress with SendGrid to enhance WordPress email deliverability? If so, you’ve landed on the right page!
Whether you are struggling with WordPress not sending emails or your emails end up in the spam folder, it is probably because of WordPress’ default mail function (wp_mail).
To resolve these issues, you need to connect WordPress with SendGrid, as it’s one of the best SMTP services out there.
In this guide, we will show you how to set up WordPress with SendGrid using the Post SMTP plugin.
Ready? Let’s get started!
What is SendGrid?
If you’re looking for a reliable SMTP service provider to improve email delivery for your WordPress website, SendGrid is an excellent choice.
SendGrid is a powerful email delivery service that offers an API-based solution to improve the reliability and security of sending emails from your WordPress website. Unlike traditional SMTP, SendGrid’s API integration provides better deliverability rates and ensures that your emails land in the recipient’s inboxes.

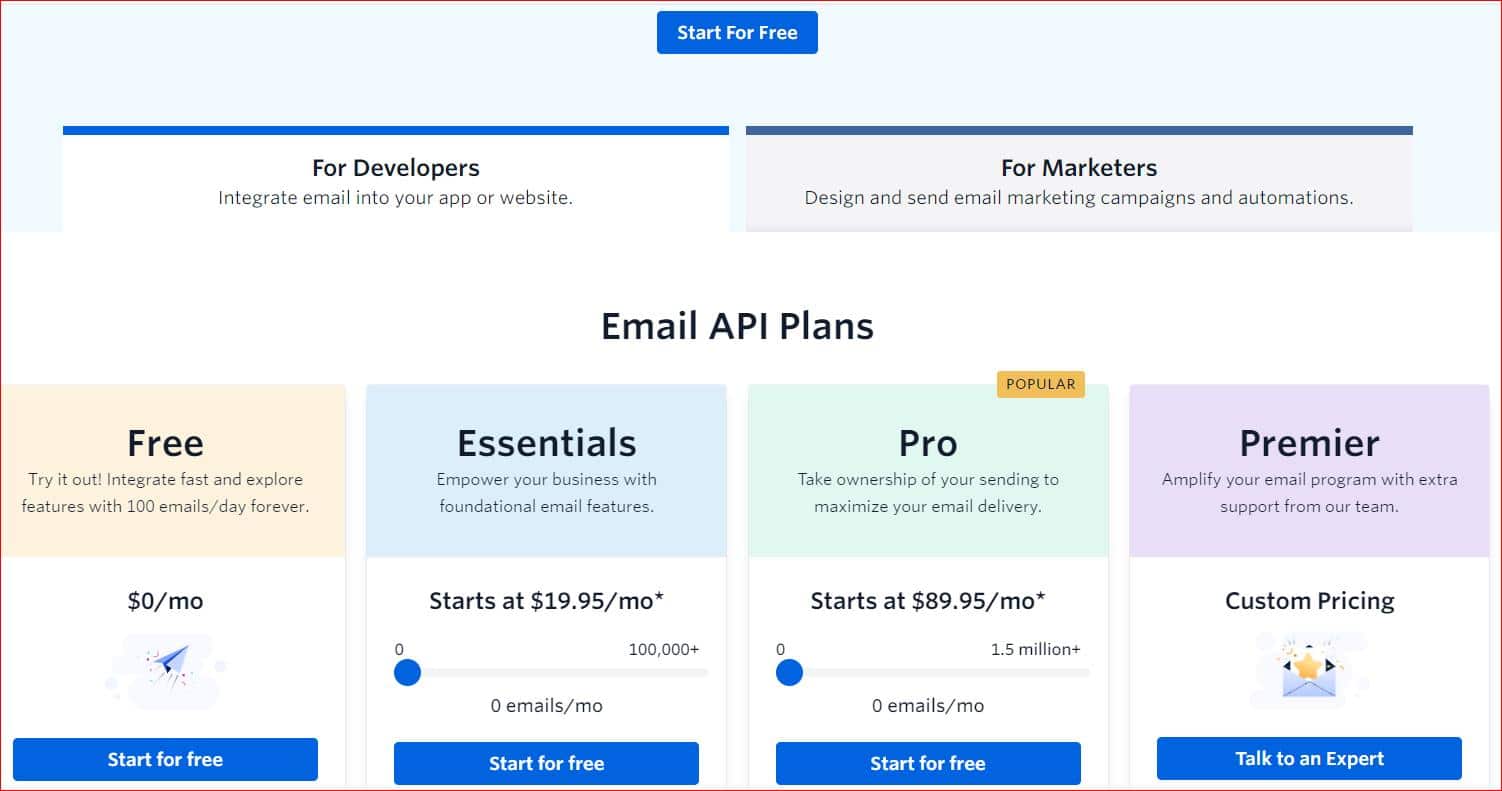
One of the standout features of SendGrid is its free plan, which allows you to send up to 100 emails daily. This is perfect for small businesses and personal websites. For higher email volumes, you can choose from various paid plans that meet your needs.
IMPORTANT NOTE: SendGrid works best when used with an email address associated with your domain. Email addresses like @gmail.com or @yahoo.com are not recommended for use with SendGrid.
3 Easy Step Guide to Configure WordPress with SendGrid
To connect WordPress with SendGrid, just follow these three easy steps.
Step #1: Set Up SendGrid Account
The first step is to create a SendGrid account if you haven’t already. Follow these simple instructions to set up your SendGrid account:
- Sign Up for SendGrid: Visit the SendGrid Pricing page and choose the plan that best suits your needs. For this guide, we’ll use the free plan, which allows you to send up to 100 emails per day.
- Create Your Account: Enter your name, email address, and password to create your SendGrid account. You must provide additional information about your business to personalize your account.
- Get Started: After filling out the required fields, click “Get Started” to create your SendGrid account.

Once you are logged in, you need to create a seder identity. To do so:
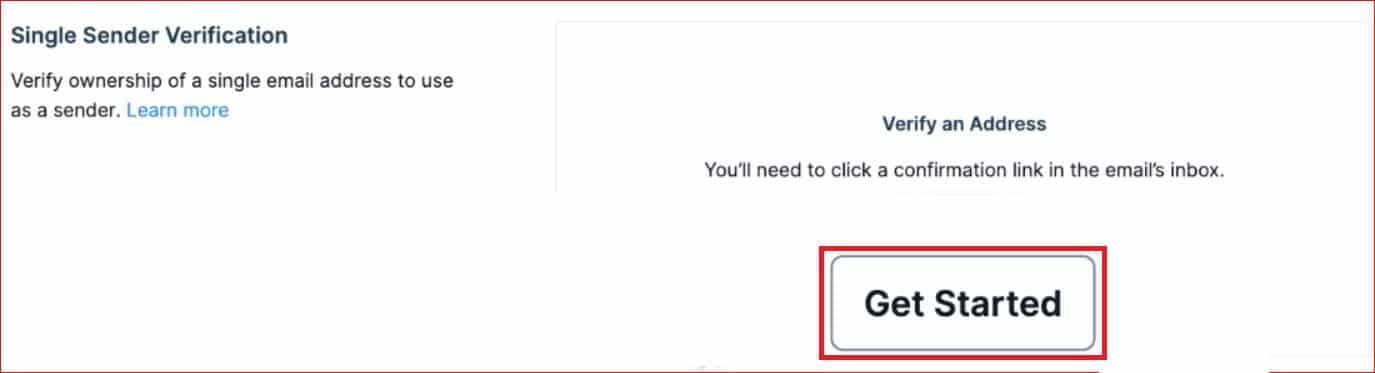
- Click on the “Create Idently” button on your welcome screen or navigate to Settings → Sender Authentication, as shown in the screenshot below.

- Next, click on “Get Started.”
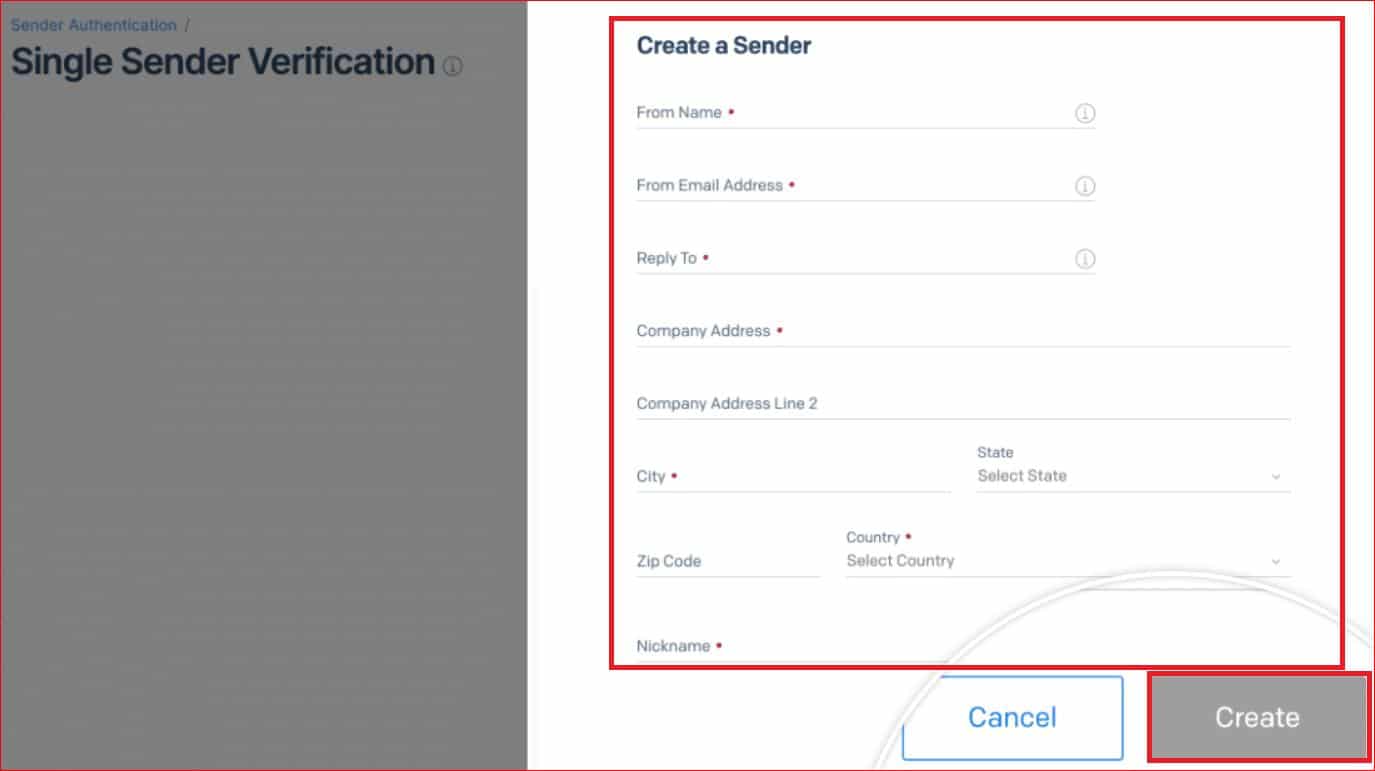
- Now, you’ll see a pop-up that asks you to provide details such as name, email address, company address, city, etc. After providing the details, select the “Create” button.
NOTE: The email address you provide here must match the email address you’ll use to send emails from your website. Also, you can use a different “Reply to” email if needed.
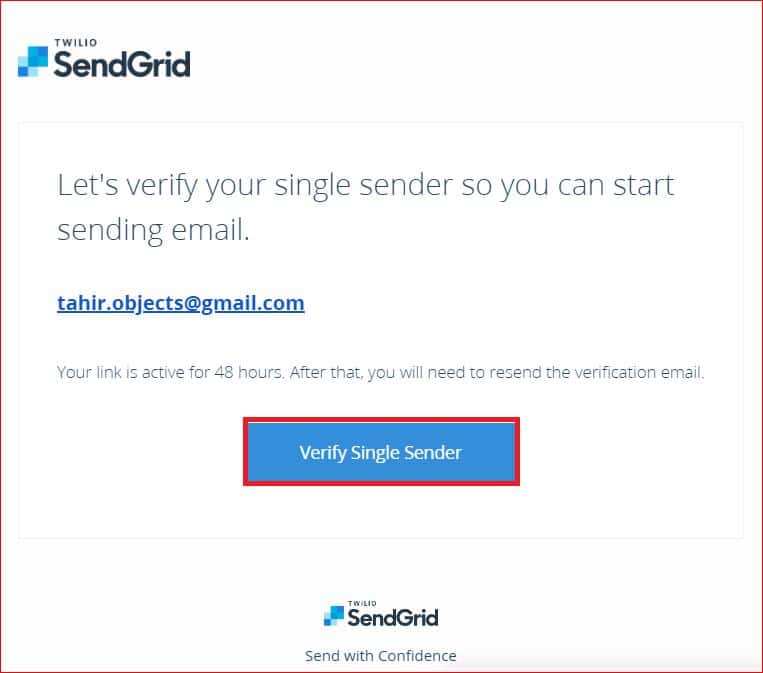
- Go to your email inbox and look for the verification email from SendGrid. Click on the “Verify Single Sender” button to authenticate your single sender identity.
Step #2: Create an API Key
Now that you have a SendGrid account, the next step is to generate an API key. This key will allow WordPress to securely connect your SendGrid account with WordPress via the Post SMTP plugin.
Follow these detailed steps to create an API key:
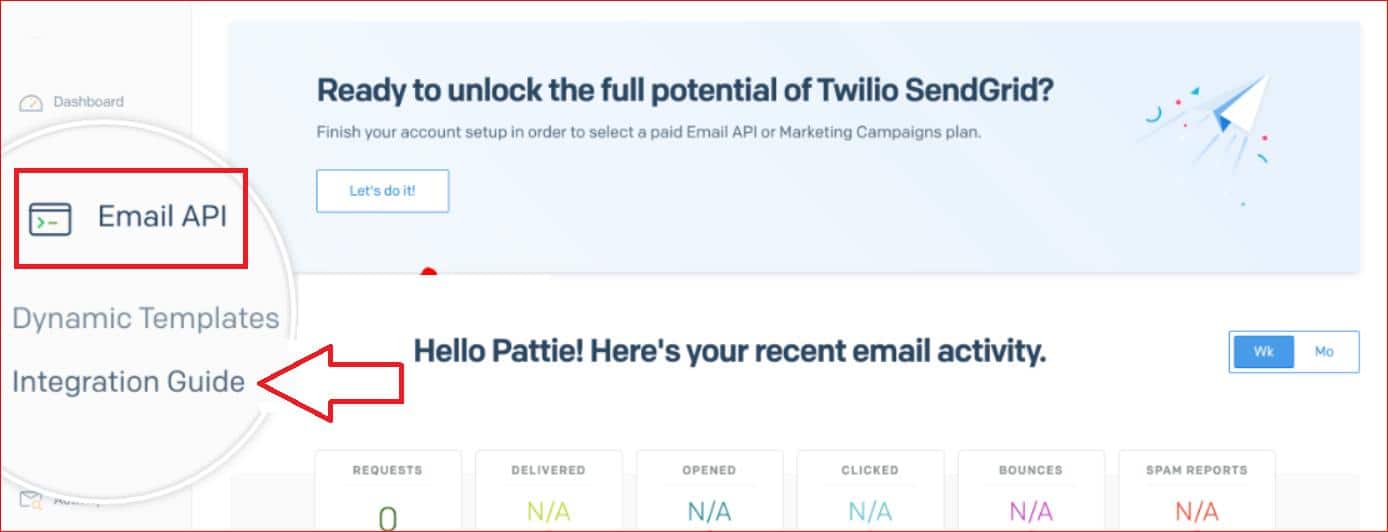
- Navigate to API Settings: In your SendGrid account dashboard, go to “Email API” and then “Integration Guide” in the left-hand menu.
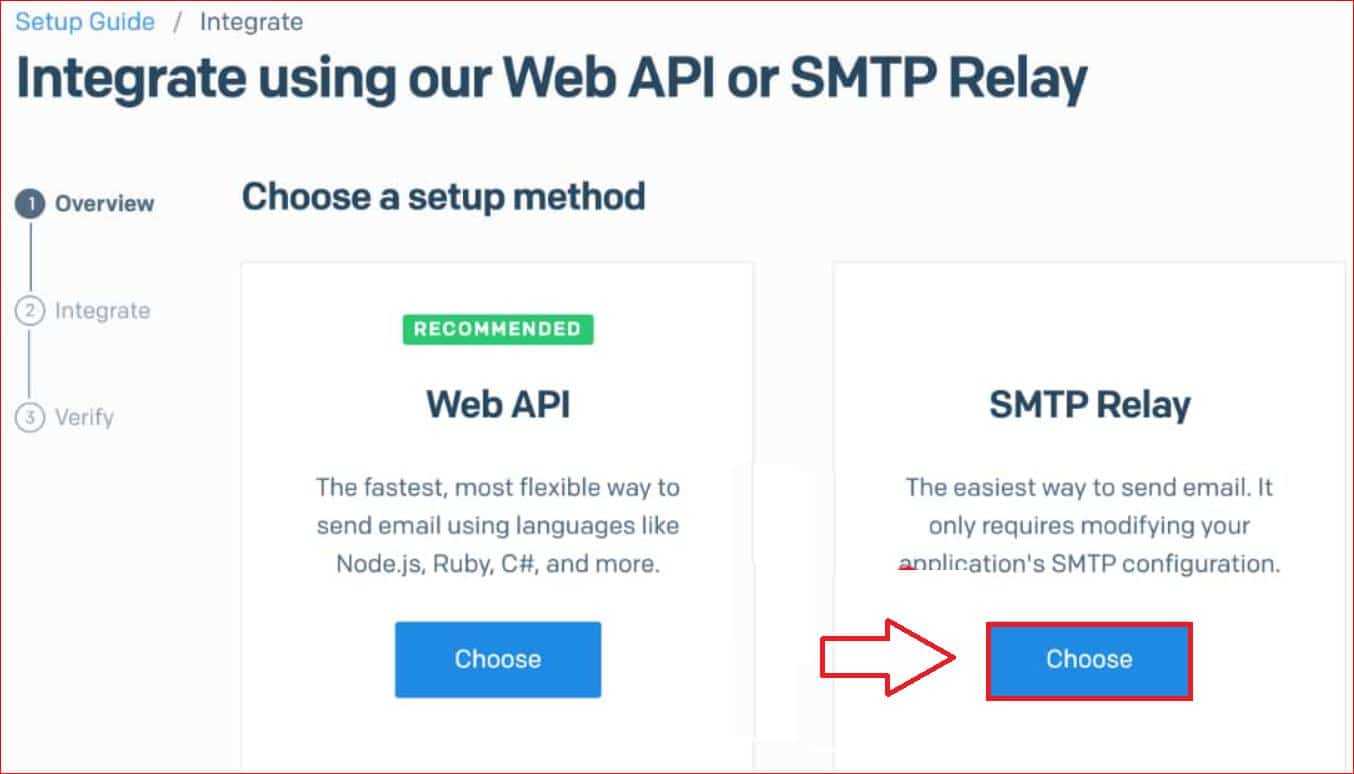
- Choose Setup Method: Select the “Choose” button under the “SMTP Relay” option.
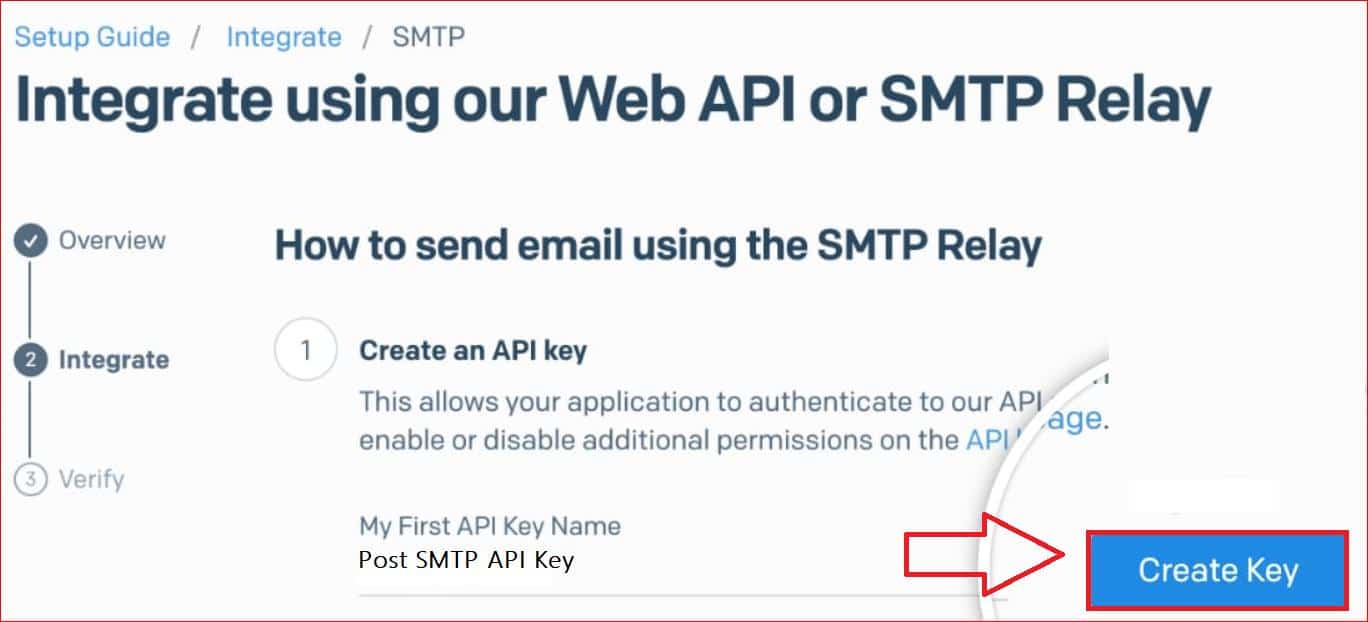
- Create API Key: Enter a name for your API key (e.g., “Post SMTP API Key”) and click “Create Key.”
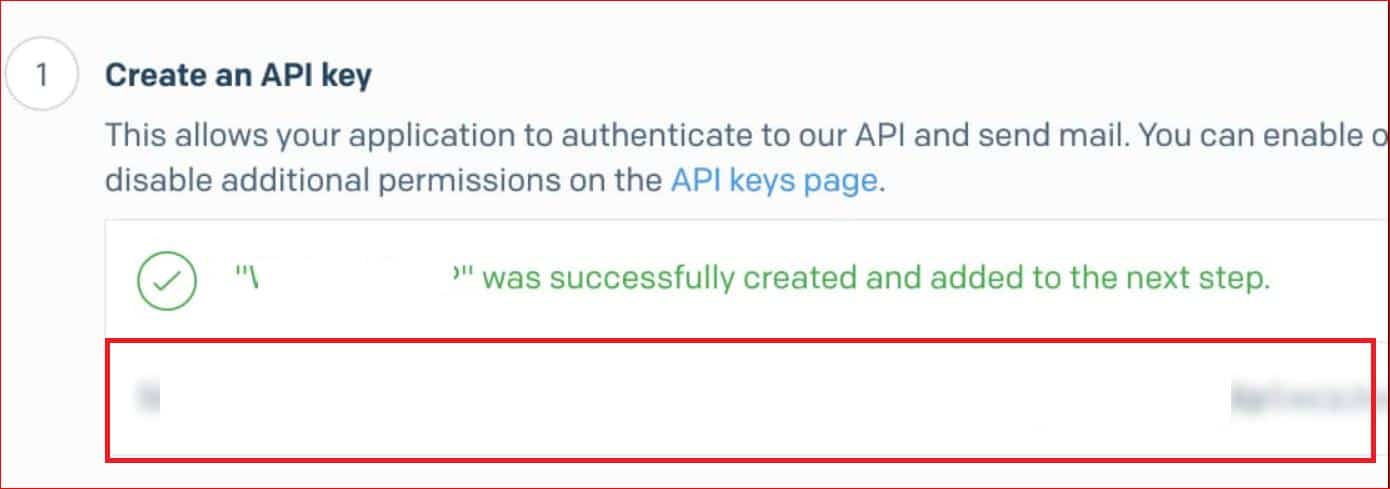
- Copy API Key: A new API key will be generated. Make sure to copy this key and keep it secure, as you’ll need it in the next step.
Step #3: Install Post SMTP to Connect WordPress with SendGrid
Post SMTP is the #1 WordPress SMTP plugin that makes it easy to configure your email settings and connect with external SMTP services like SendGrid, Microsoft 365, Gmail SMTP Server, Amazon SES, Mailgun, Brevo, Elastic Email, etc.
With Post SMTP, you don’t need to enter SendGrid SMTP settings manually; instead, it allows you to connect WordPress with SendGrid via API Key.
In short, Post SMTP is the best SendGrid WordPress plugin. To install and set up Post SMTP, follow these steps:
- Install the Post SMTP Plugin: In your WordPress dashboard, navigate to “Plugins,” click “Add New Plugin,” and search for “Post SMTP.” Install and activate the plugin that says “POST SMTP Mailer—POST SMTP—The #1 WordPress SMTP…..” by Post SMTP.
- Configure Post SMTP: Once activated, you’ll be redirected to the 3-step setup wizard below.” This will guide you through the SendGrid WordPress setup process.
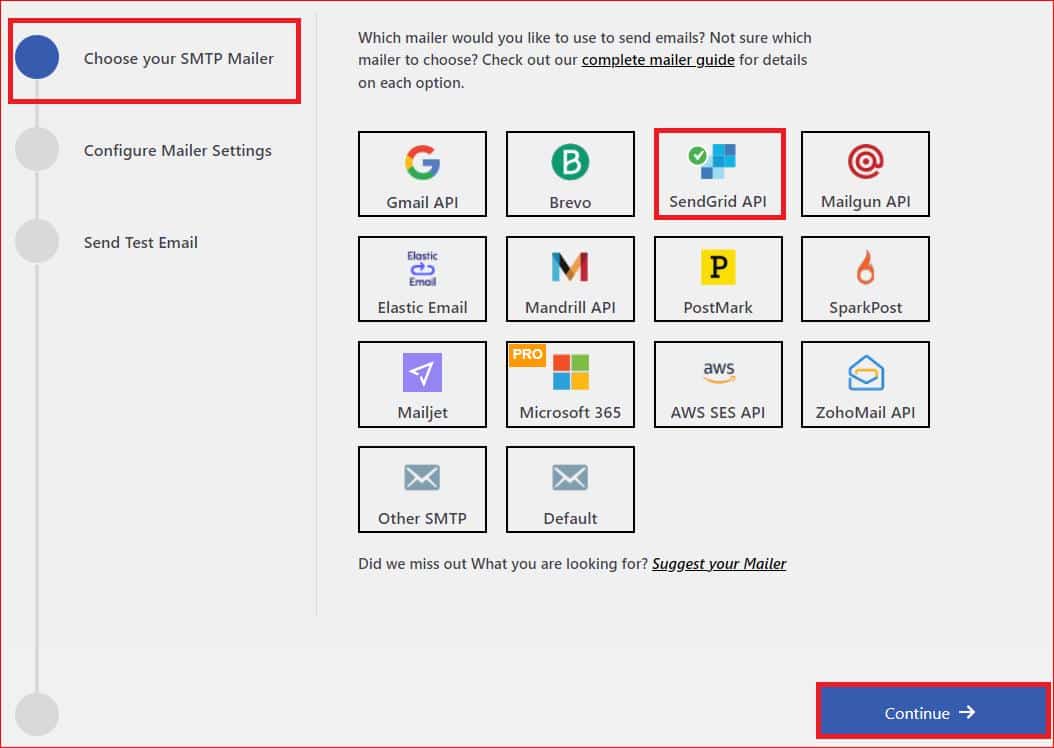
- Choose SendGrid as Mailer: During the setup wizard, you’ll be asked to select a mailer. Choose “SendGrid” from the list and hit “Continue.”
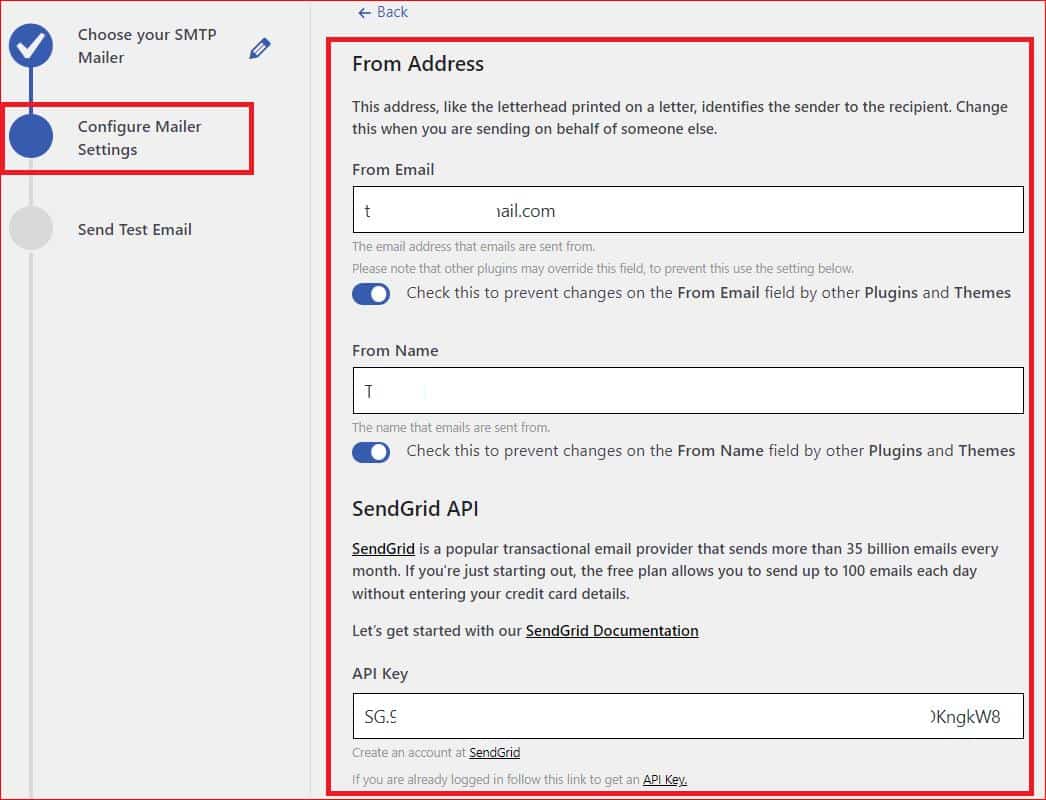
- Enter From Address and SendGrid API Key: In the From Email field, type in the email address you’ve used for the single sender identity inside your SendGrid account. Also, paste the API key you generated in Step #2 into the designated field and hit “Save and Continue.”
- Test SMTP Connection: After completing the setup, enter a valid email address in the “Recipient Email Address” field and send a test email to ensure that Post SMTP is properly connected to SendGrid.
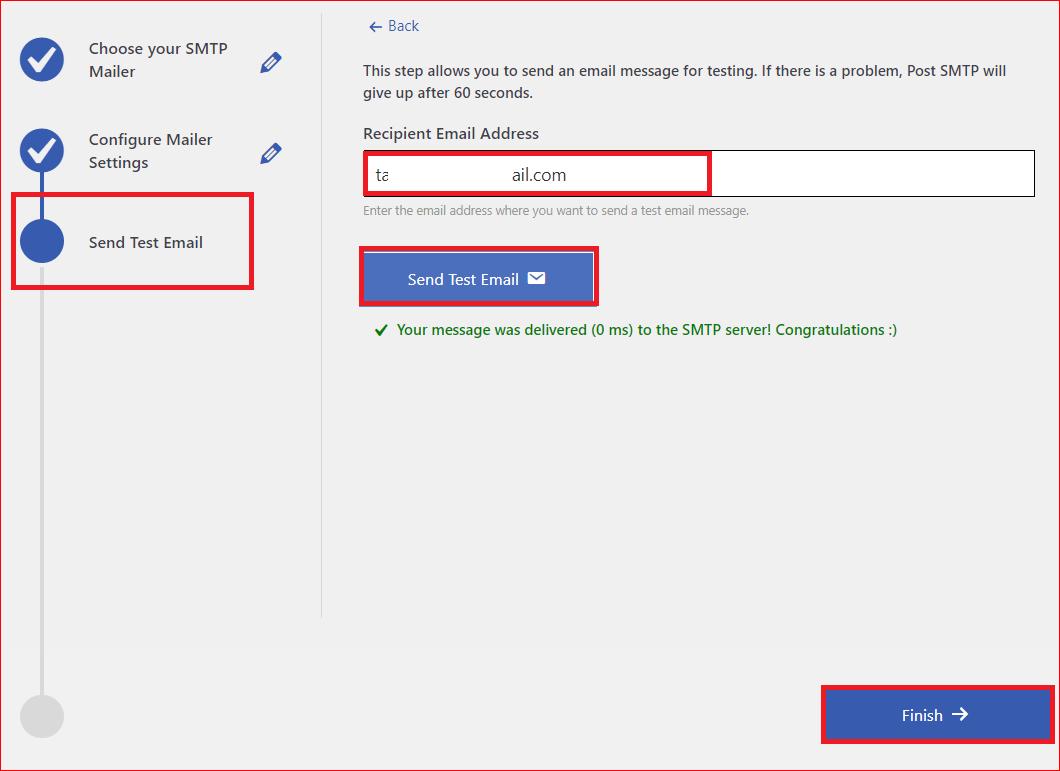
If you see the green Congratulations status, as shown in the screenshot above, then you’ve successfully configured WordPress with SendGrid.
Final Remarks
We understand the frustration of facing failed WordPress email deliveries. That’s why Post SMTP makes it easy to configure SendGrid for WordPress.
By following the three easy steps mentioned in the guide—setting up your SendGrid account, creating an API key, and installing Post SMTP—you can streamline your email delivery process and improve the overall communication experience for your site users.
Remember to regularly monitor your email logs within Post SMTP to track the status of your email deliveries.
However, if you encounter any issues, such as missing email authentication (SPF, DKIM, and DMAR), or are unable to configure SMTP for WordPress, feel free to contact the Post SMTP support team. We will troubleshoot and resolve any potential problems as soon as possible.