


 OpenAI
 Perplexity
You are probably experiencing issues with Ninja Forms not sending email notifications from WordPress. Remember, missing out on email notifications could mean losing valuable leads – something you definitely don’t want to miss out on.
Ninja Forms is a popular contact form builder that is built specifically for WordPress websites. However, as with any other WordPress contact form, errors can happen, and you might run into email issues.
In this WordPress email guide, we will walk you through the step-by-step process to fix the Ninja Forms not sending email notifications, including the Ninja Forms troubleshooting.
Let’s get started.
Why Ninja Forms Not Sending Email Notifications?
Understanding why Ninja Forms is not sending email notifications is essential for troubleshooting. Typically, there are two primary reasons for this:
- WordPress WP_Mail Function.
- Incorrect Email Notification Settings.
Let’s explore each of these factors and their implications for WordPress email delivery.
Reason #1: WordPress WP_Mail Function
By default, WordPress utilizes the wp_mail() function for sending emails, which is one of the most common issues for WordPress not sending emails. Many web hosting providers also block emails sent through the PHP mail function to prevent potential fraud and spam.
Furthermore, emails sent via wp_mail() lack proper authentication, making them appear suspicious to email servers. Consequently, these emails frequently land in spam or junk folders instead of reaching their intended recipients.
Reason #2: Incorrect Spam and Notification Settings
Ninja Forms includes multiple email notification settings for different events. Any issue with the notification setup may result in Ninja Forms not sending email notifications, particularly when you don’t configure the ‘From’ email smart tag correctly or if there is an incorrect ‘From’ email address.
Moreover, if you’ve not properly configured Google reCaptcha settings, which means an incorrect value in the Site Key and Secret Key, this can disrupt the functionality of the reCaptcha feature, which in turn prevents form submission.
4 Steps Guide to Fix Ninja Forms Not Sending Email
After understanding why Ninja Forms is not sending email notifications, let’s explore how to resolve the issue. We’ll guide you through four simple steps to resolve the specific issue that might be the cause of Ninja Forms not sending email notifications.
Step #1: Submit a Test Entry for Ninja Forms
When troubleshooting Ninja Forms, the first step is to examine the form.
In some cases, WordPress contact forms stop working without any obvious indication. This can happen due to various factors, such as installing a new plugin or theme that conflicts with the form’s functionality.
Let’s proceed by submitting a test entry, as shown in the screenshot below.
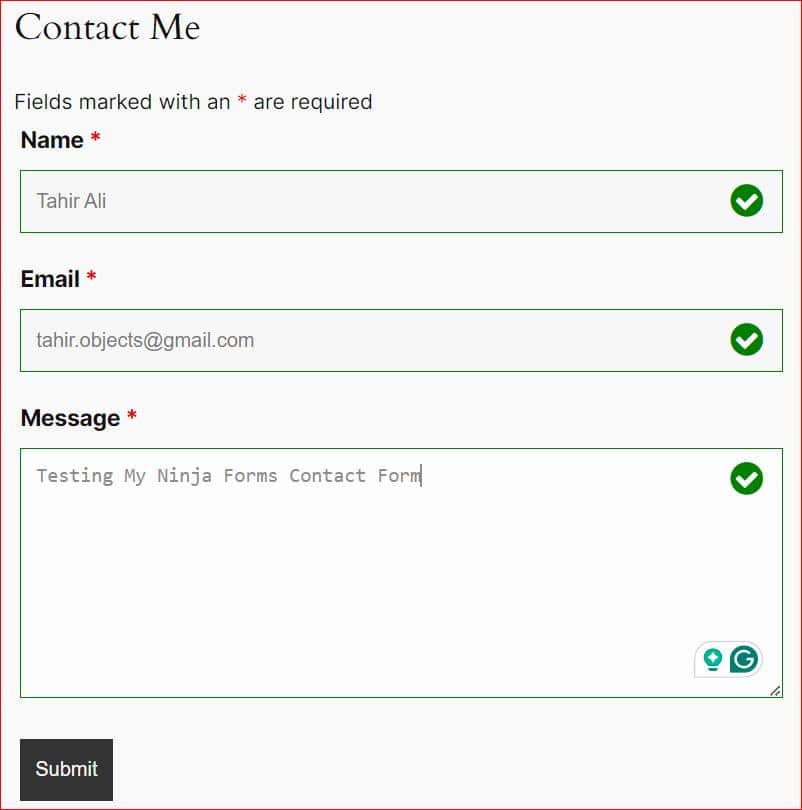
Upon submission, if the form functions correctly, you should see a Thank You page or a Success Message, depending on your form’s configuration.

If your Ninja Forms contact form has an issue, you probably won’t see a Thank You page or Success Message. In that case, we recommend you contact Ninja Forms support to find out why your Ninja Forms is not working.
However, even after successful submission you are not getting email notifications then it’s time to check the email notification settings which we will show you in the following step.
Step #2: Double-Check Ninja Form Settings
Now let’s check the settings of your Ninja Form to troubleshoot the email notifications issue.
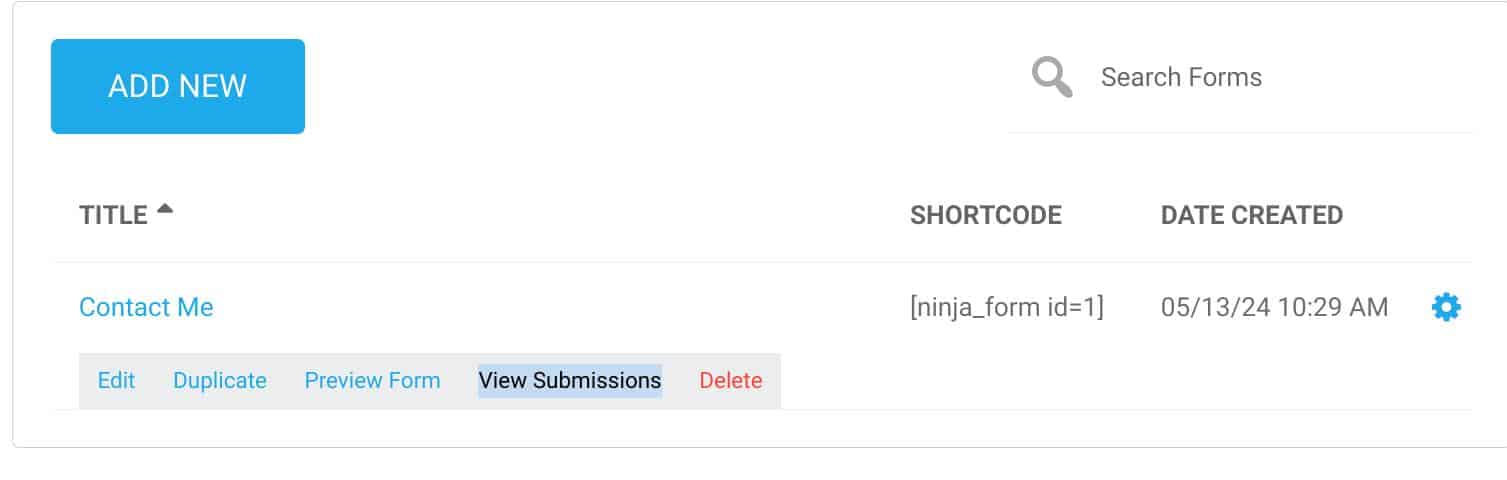
- First, navigate to the Ninja Forms >> Dashboard from the left-side menu.
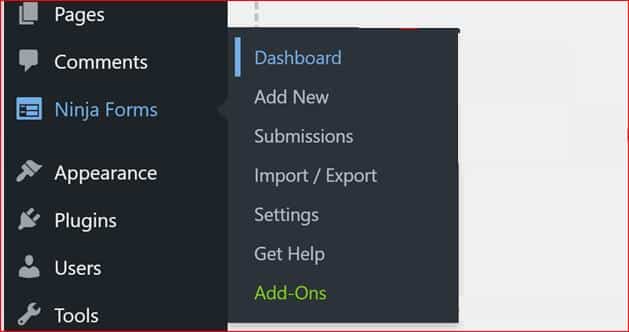
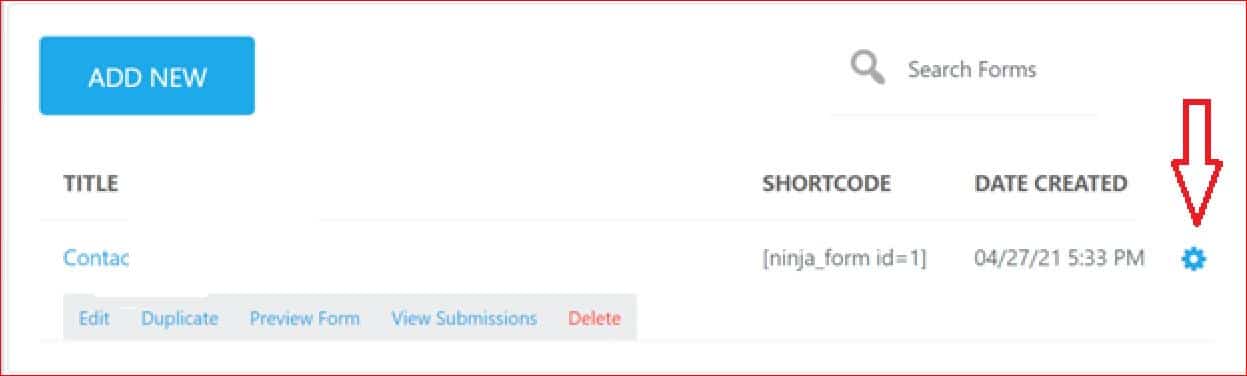
- Next, locate your form and click the gear icon on the right to access the options panel below. After that, click Edit.
Within Ninja Forms, you can configure various actions triggered upon form submission. While we’ll focus on the defaults, there may be a slight difference in your settings.
By default, Ninja Forms includes four actions on our sample form, all of which are currently enabled. You can find them under the ‘Email & Actions’ tab.
As we know, the Success Message is working since we’ve already tested the form. So, we’ll only examine the remaining actions individually.
- Click the gear icon next to each action to review them sequentially.
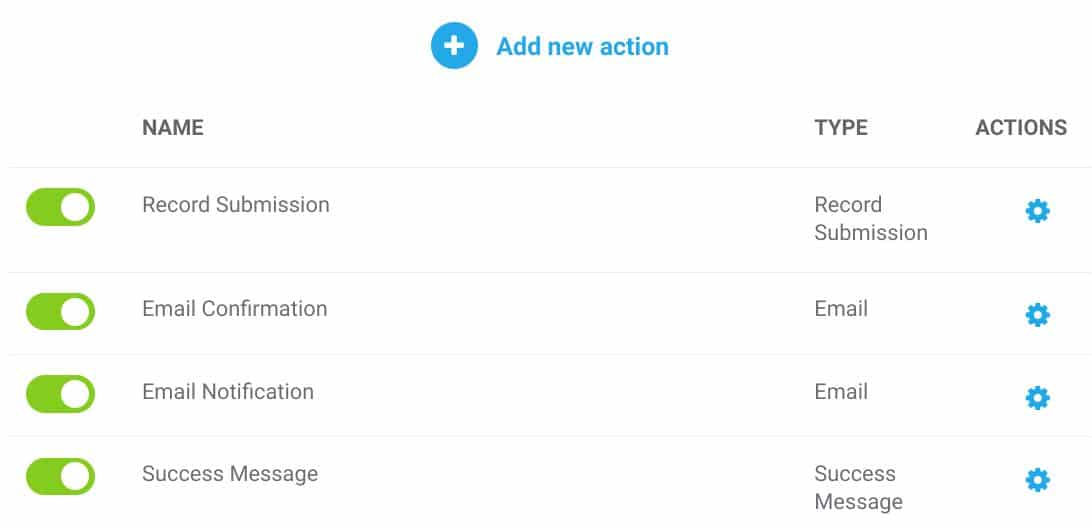
- Record Submission: This action stores your entry as a simple list within WordPress.
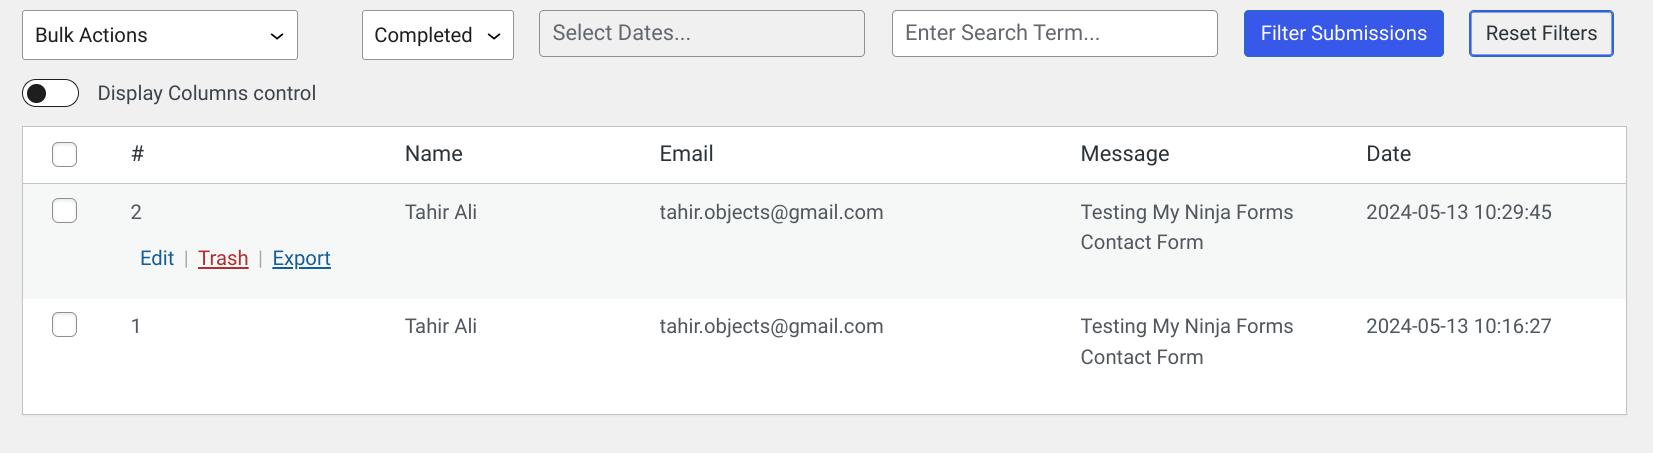
You can access entries for any form by clicking View Submissions under the form’s name.
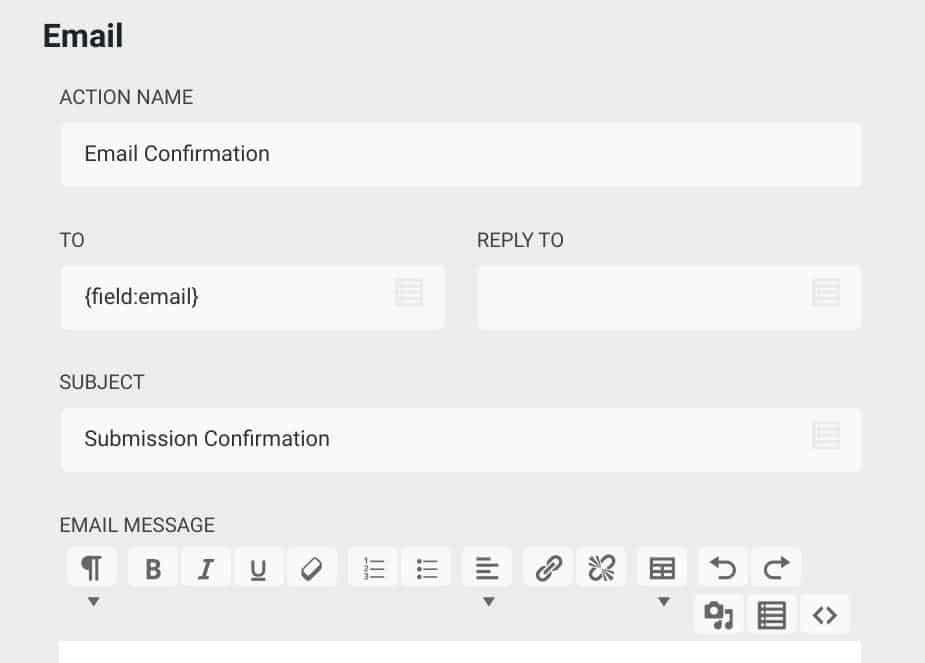
- Email Confirmation: This action sends an email to your visitor upon form submission. By default, it’s sent to the email address provided on the form using the {form:email} Smart Tag.
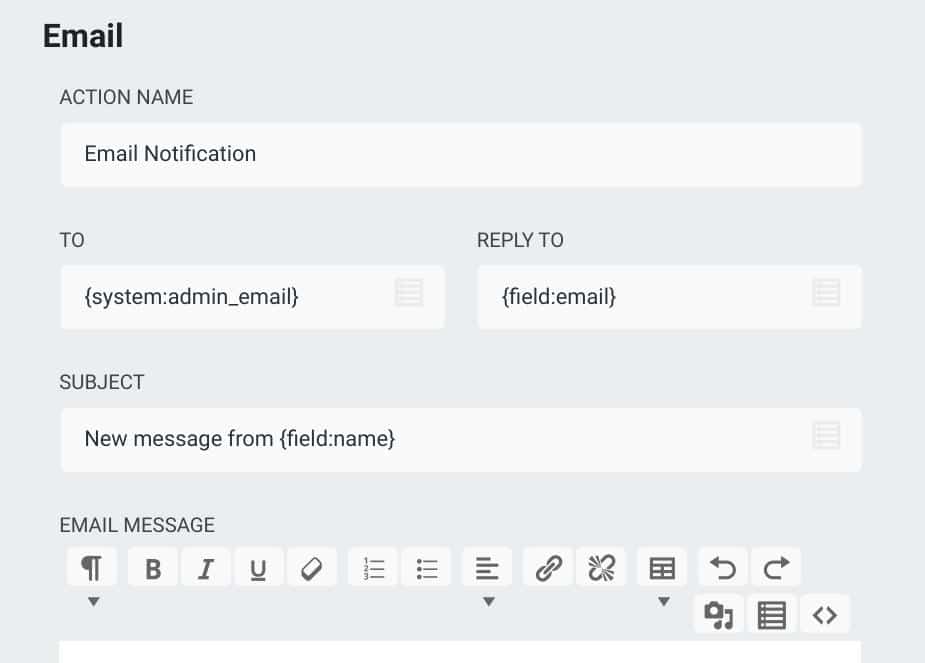
- Email Notification: It sends an email to the site owner, including the complete content for the form submission. By default, it’s sent to {system:admin_email}.
Ninja Forms also offers two other email Smart Tags, which are as follows:
- {wp:user_email}
- {wp:post_author_email}.
Do not use these tags, as they can cause emails to be sent to the wrong recipient.
Lastly, let’s review the spam protection settings.
- Go to Ninja Forms >> Settings.

Verify that you’ve entered the correct ‘Site Key’ and ‘Secret Key’ under the reCAPTCHA Settings.
If there are no errors in the settings thus far, move on to the next step where we will fix the Ninja Forms not sending email notifications with the Post SMTP plugin.
Step #3: Install and Set Up Post SMTP for Ninja Forms
As we told you earlier, the WordPress mail function is one of the most common reasons for WordPress email delivery failure. To fix this issue, we’ll install the Post SMTP plugin.
Post SMTP is the next-generation WordPress SMTP plugin that allows you to replace the default wp_mail function with SMTP. Using the plugin, you can easily connect your site to all major SMTP service providers, such as Gmail (Gmail SMTP Server), Microsoft 365, Amazon SES, Mailgun, SendGrid, and even a private SMTP server.
Here’s a step-by-step guide to install and set up the Post SMTP plugin:
- Sign in to your WordPress dashboard as an Administrator.
- Navigate to ‘Plugins’ >> ‘Add New Plugin.’
- Search for ‘Post SMTP’ and install the plugin named ‘Post SMTP – The ultimate WP SMTP plugin….’
- Once installed, click “Activate.”
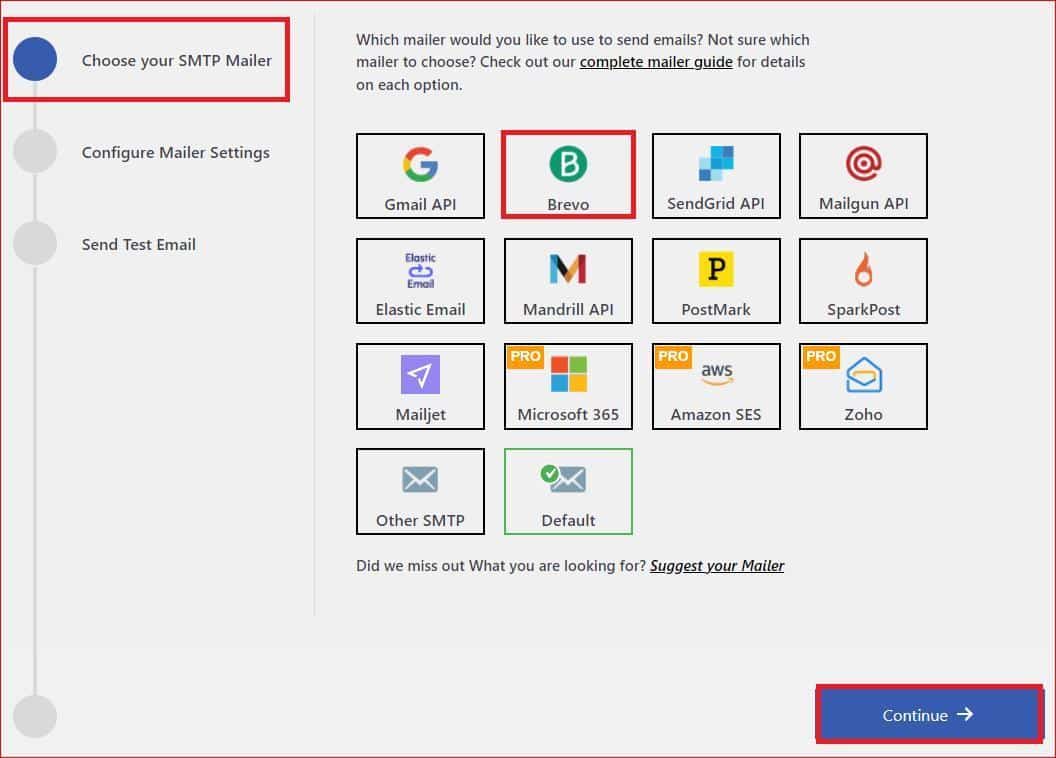
Upon activation, you’ll be prompted to the 3-Step Setup Wizard screen, guiding you through the configuration process.
- Select the SMTP service you prefer, then click “Continue.”
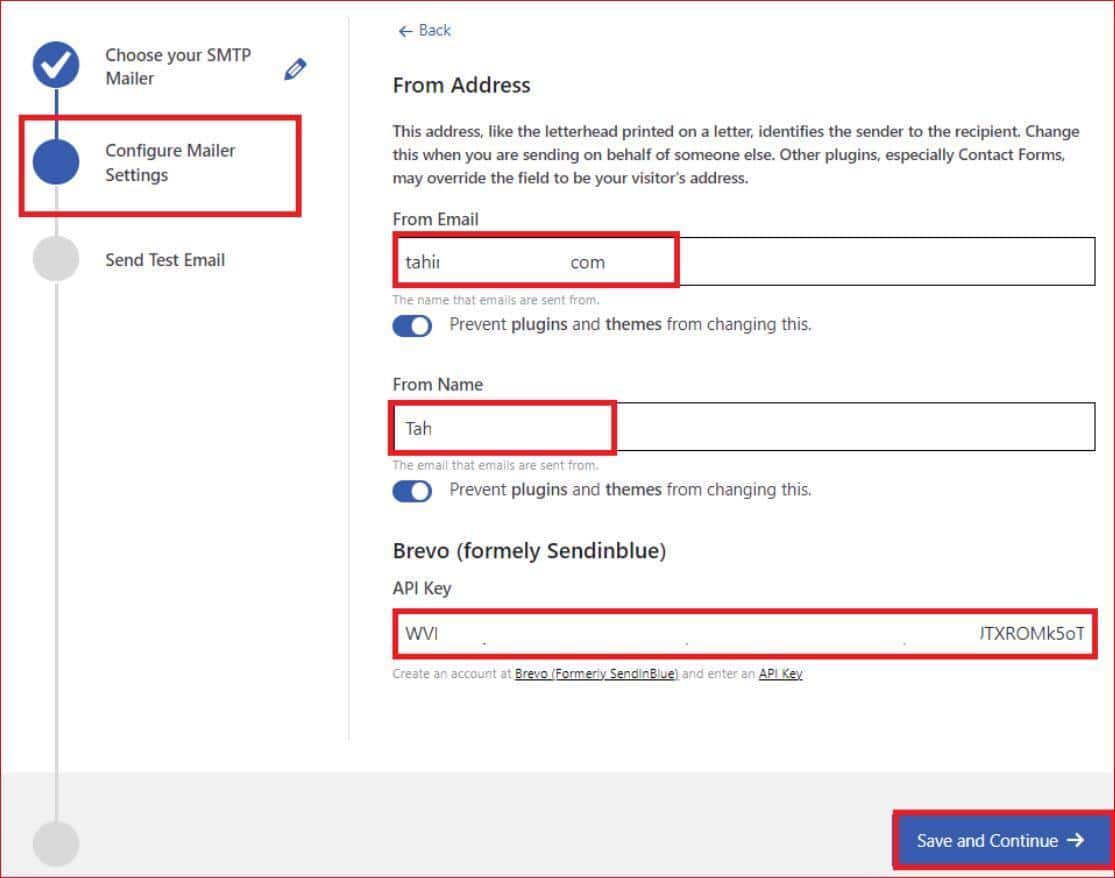
- Provide your email address and name in the “From Email” and “From Name” fields, respectively.
- Enter your API Key to authenticate your SMTP service, then click “Save and Continue.”
- Enter a valid “Recipient Email Address” and click “Send Test Email.”
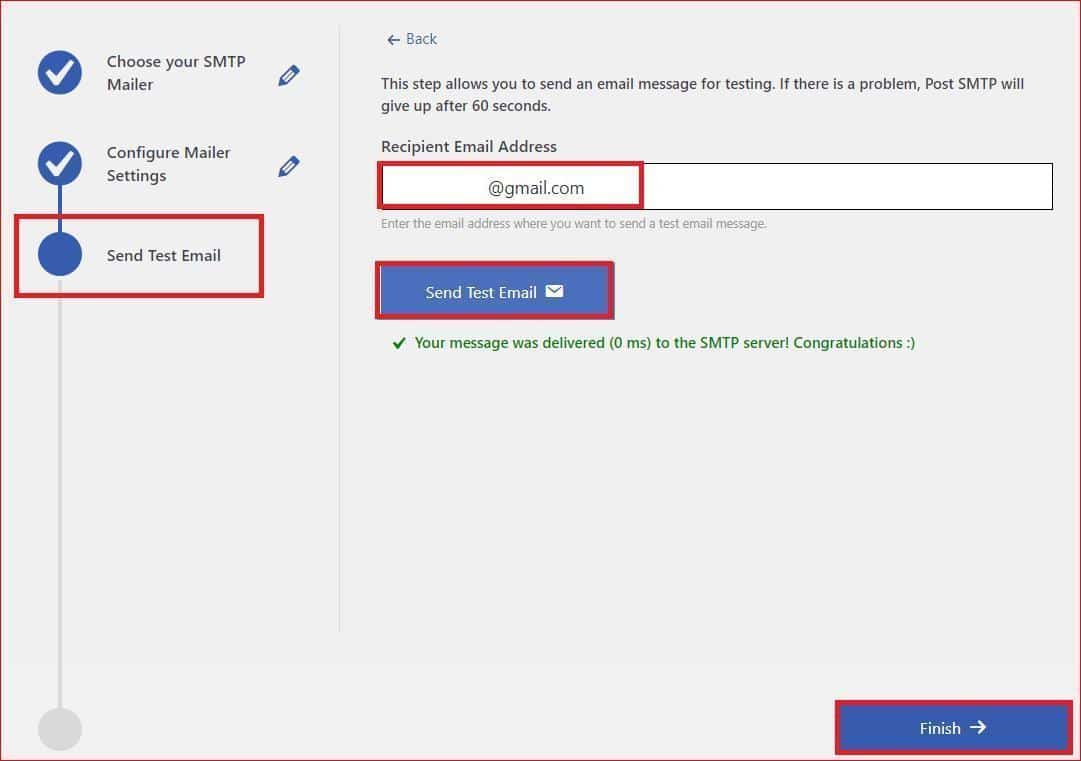
- Upon successful configuration, you will see the green ‘Congratulations’ status. Click “Finish” to finalize the SMTP configuration.
With the Post SMTP plugin set up, your Ninja Forms contact form should reliably send email notifications; however, if issues remain, follow the last step, where we’ll guide you through enforcing the ‘From’ email address via the Post SMTP plugin.
NOTE: To set up a backup SMTP server for your website, go to Post SMTP >> Settings >> Fallback tab. Here, you can manually set up any SMTP server you want.
Step #4: Use the Same ‘From’ Email Address for All Emails
Sometimes, your Ninja Forms contact form uses the wrong or a different ‘From’ email address.
So, to maintain consistency and reliability in email deliverability from your WordPress site, you can enforce the use of the same ‘From’ email address for all emails sent, including those from your Ninja Forms contact form.
Here’s how to do it using the Post SMTP plugin:
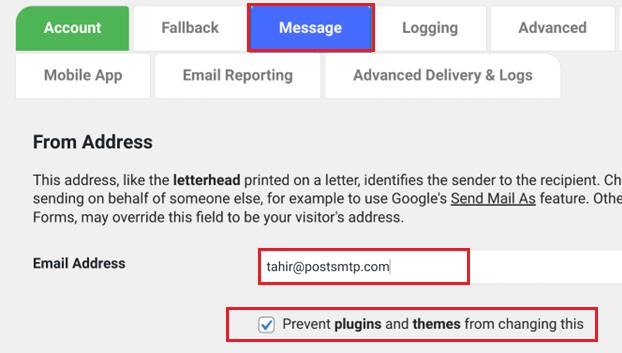
- First, access the Post SMTP plugin settings. Navigate to the Post SMTP → Settings → Message tab.
- Once you’re in the settings, locate the “Email Address” field and enter the email address you want to use as the ‘From’ address for all outgoing emails.
- To prevent other plugins and themes from changing this setting, check the box labeled “Prevent plugins and themes from changing this.”
- After making the necessary changes, scroll down the page and click “Save Changes” to apply the changes.
Enforcing the ‘From’ email address using the Post SMTP plugin will allow you to maintain control over the sender identity for all emails sent from your WordPress site. This will help enhance email deliverability and prevent Ninja Forms notification emails from being flagged as spam.
Final Remarks on Ninja Forms Not Sending Email
After every successful submission, your Ninja Forms contact form should send email notifications to both you and the user. However, if you’re experiencing the Ninja Forms not sending email notifications, it could negatively impact your business by causing you to miss out on vital inquiries, leads, and feedback.
To effectively address this issue, follow these steps:
- Submit a test entry to make sure your contact is functioning correctly.
- Double-check your Ninja Form settings for any discrepancies.
- Install and configure the Post SMTP plugin to enhance email deliverability.
- Enforce using the same ‘From’ email address for all outgoing emails.
This way, you can ensure that you and your users receive reliable email notifications upon each successful Ninja Forms contact form submission.
If the issue persists or you need assistance with any other WordPress email delivery matters, don’t hesitate to reach out to us. We’re here to help and support you with any email delivery issues.
