
 OpenAI
 Perplexity
Is your form styling working, but emails aren’t coming through? Let’s fix that.
You’ve built a beautiful form using Essential Addons for Elementor. It looks perfect on the page. But there’s just one big problem—it’s not sending emails.
Sound familiar?
This is a common issue for WordPress users, especially when you’re relying on styled forms to handle customer inquiries, lead generation, or support tickets. When those form submissions vanish into the void, it can seriously mess with your workflow.
The good news is that in this step-by-step guide, we’ll walk you through the exact process to get your Essential Addons for Elementor forms working and sending emails reliably. Whether you’re using WPForms, Contact Form 7, or another contact form plugin behind the scenes, we’ve got you covered.
Ready? Let’s get started!
What Is Essential Addons for Elementor & How Does It Handle Forms?
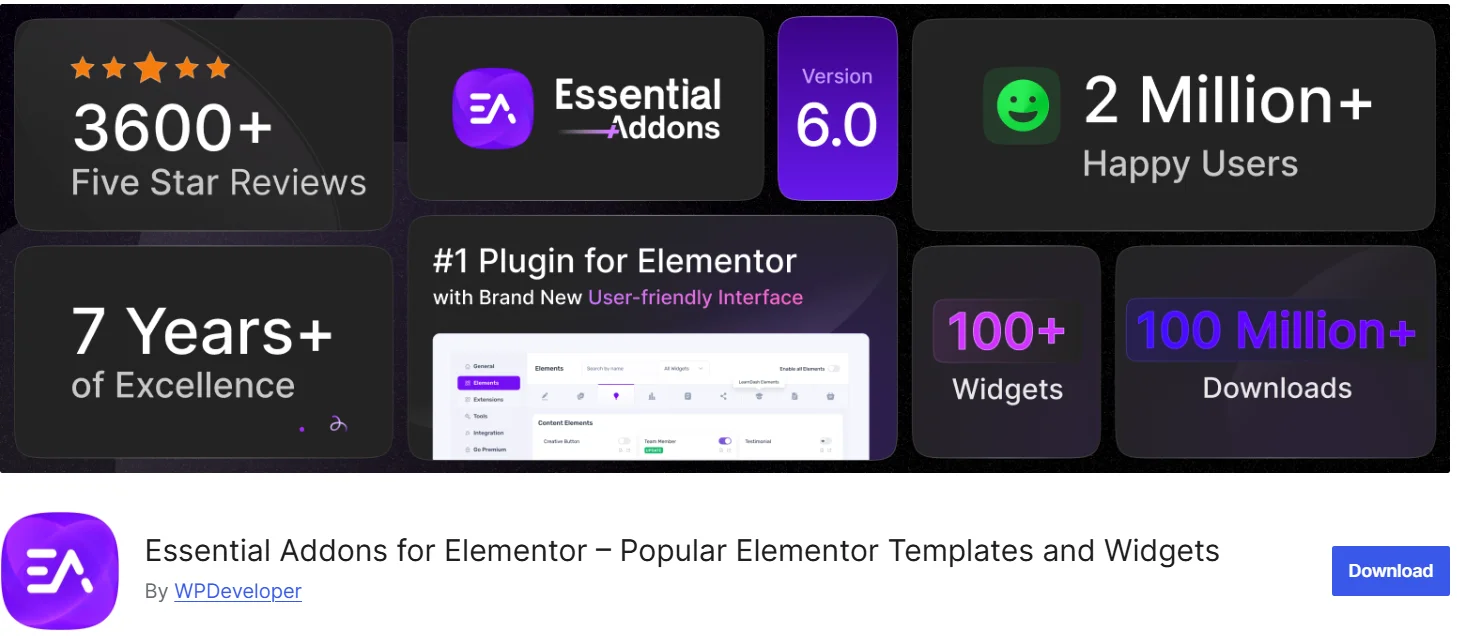
If you’ve been customizing your WordPress site with Elementor, chances are you’ve come across Essential Addons for Elementor—one of the most popular third-party add-on packs out there. With over two million active installs, it extends Elementor’s core functionality by offering dozens of extra widgets that help you build more dynamic and interactive websites.
Some of its standout widgets include:
- Content Protection – Hide your content with password protection.
- Image Hotspots – Add hotspot icons with tooltips in an image
- Reading Progress Bar – Display how much of the page is left to read.
- Fancy Effects – Like particles, parallax, or creative hover animations.
But here’s the part that matters for this guide: Essential Addons doesn’t have its own standalone form builder.
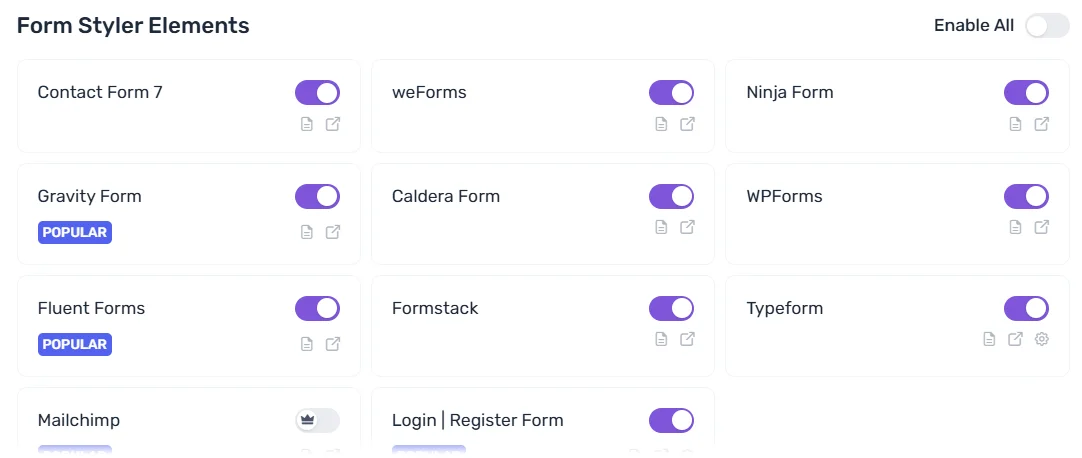
Instead, it offers Form Styler widgets that integrate with your favorite contact form plugins. That means it visually enhances the forms you create with other contact form plugins like:
- Contact Form 7
- Ninja Forms
- Fluent Forms
- Gravity Forms
- WPForms
- And others
So when something goes wrong—like emails not triggering—it’s usually not Essential Addons that’s broken. The issue lies deeper, often in the form plugin’s settings or WordPress’s email system.
That’s why the fix isn’t about styling—it’s about making sure your site is properly configured to send emails.
5 Easy Steps to Fix Essential Addons for Elementor Form Not Working
The issue could be technical, configuration-based, or even caused by your hosting environment. But don’t worry—we’re about to walk through each fix.
Step 1: Check Your Contact Form Plugin and Notification Settings
Before anything else, you need to confirm which contact form plugin is powering your form. Essential Addons doesn’t create forms on its own—it simply styles the forms made by other plugins.
So, let’s find out which contact form plugin your are using:
- Go to your WordPress Dashboard.
- Navigate to Plugins > Installed Plugins.
- Look through the list to find the contact form plugin you are using.
If you see more than one, check which one is used in the specific page or widget you’re working on. You can do this by editing the page with Elementor and clicking on the form widget—look for the name or shortcode of the form plugin being used.
Once you’ve identified your form plugin, the next step is to double-check how its email notifications are set up. Each plugin has a different interface, but they all have a similar concept. You must define who receives the form submission and what the email should contain.
For specific instructions, please see our detailed guides for each plugin:
Once you’ve confirmed your form plugin and its settings, it’s time to fix how WordPress actually sends those emails. For this, check out the following section.
Step 2: Install and Configure the Post SMTP Plugin
By now, you have set up the notifications settings in your contact form plugin correctly, but emails are still not arriving. That’s because WordPress sends emails using the wp_mail() function, which is one of the main reasons for WordPress not sending emails.
To fix this, we will install the Post SMTP plugin that replaces WordPress’s unreliable default email method with a reliable email service provider (like Gmail, Amazon SES, Outlook, Zoho, Mailgun, or Brevo).
To install and configure the Post SMTP plugin, follow the steps below:
- Go to your WordPress Dashboard
- Head over to Plugins > Add Plugin
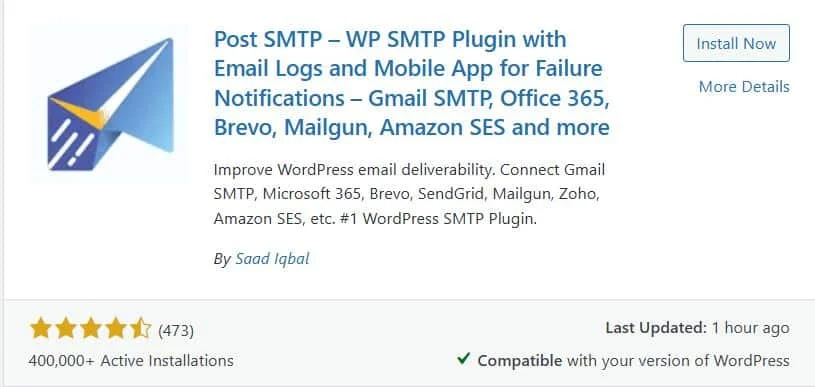
- In the search bar, type: Post SMTP
- Find the plugin labeled Post SMTP by Saad Iqbal
- Click Install Now, then Activate
Once activated, you’ll see a new Post SMTP option in the sidebar of your WordPress dashboard.
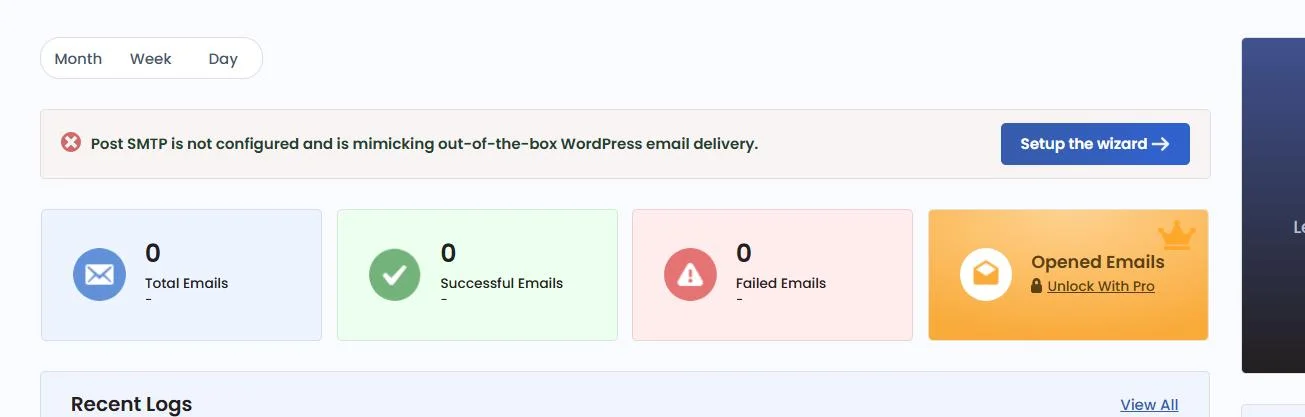
Post SMTP makes configuration beginner-friendly with the 3-step setup wizard. Here’s how to get started:
- Click on Post SMTP > Dashboard
- Hit the Start the Wizard button
- On the subsequent screen, choose your email service provider:
- Gmail (Google Workspace)
- Outlook (Microsoft 365)
- Zoho Mail
- Brevo (formerly Sendinblue)
- Mailgun
- SendGrid
- Amazon SES
- Or any custom SMTP service
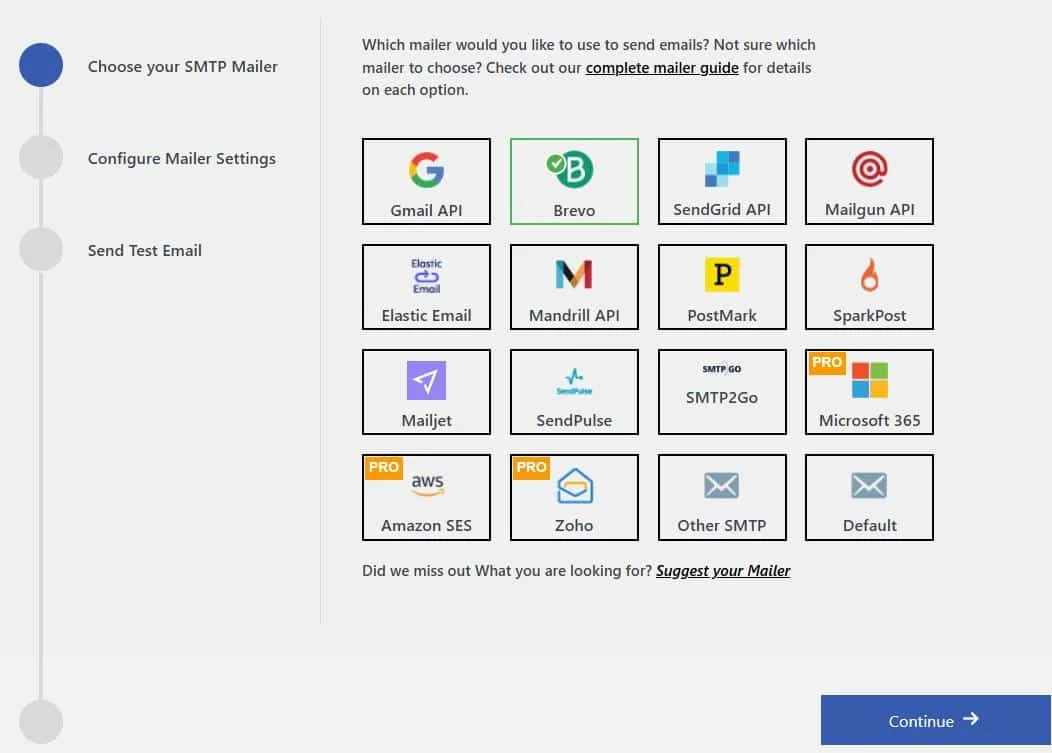
Let’s say you pick Brevo for this example—the steps are similar for most providers.
Next, You’ll be asked to provide the following:
- From Email: Use a domain-based email (like noreply@yourdomain.com)
- From Name: This is what recipients will see (like “Website Contact” or “Brand Name”)
- API Key or SMTP Credentials: You’ll get this from your chosen email provider
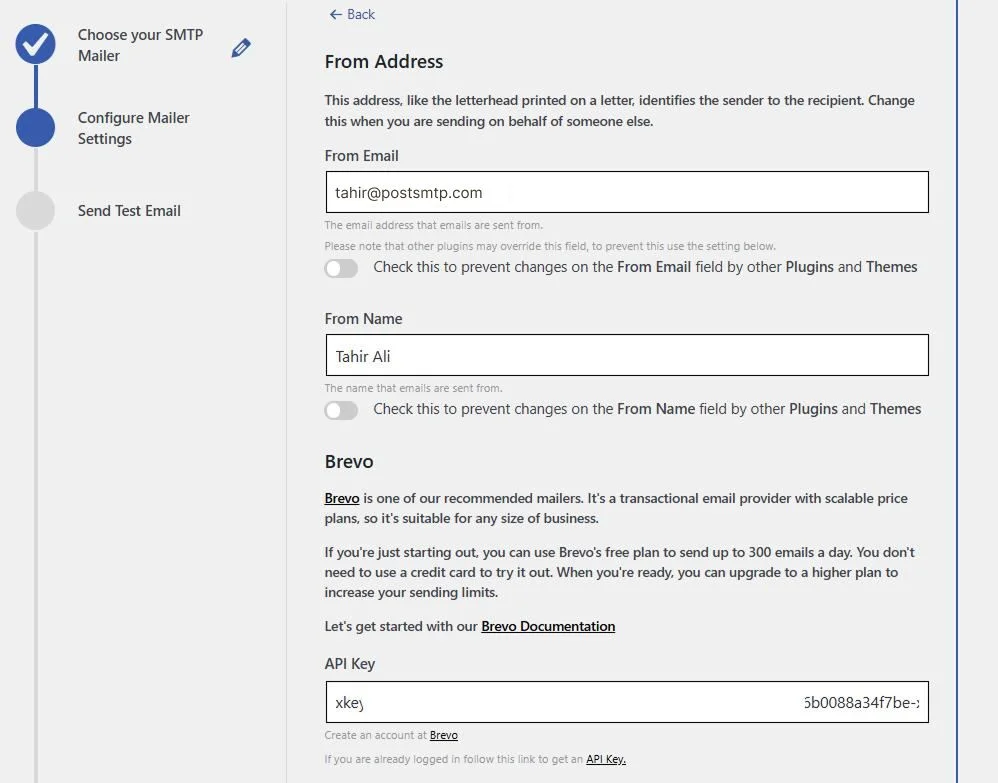
Once you’ve filled everything out, click Save and Continue.
Before finishing, Post SMTP lets you run a test email. Just enter your own address and hit Send Test Email. If everything’s set up correctly, you’ll see the green success message within seconds.
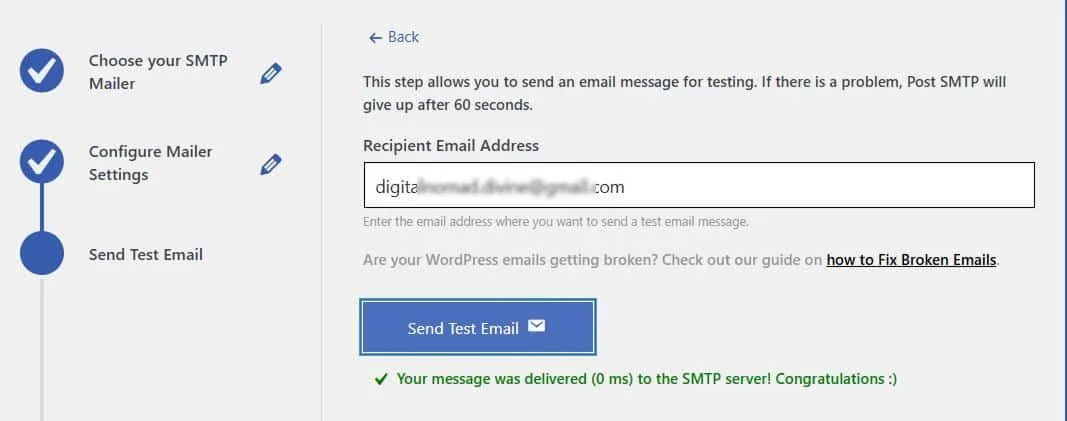
If you don’t receive any email then don’t worry—we’ll troubleshoot further in the next steps.
Click Finish to wrap up the wizard.
From now on, every outgoing email from your WordPress site—including those from your Elementor forms—will be routed through your configured SMTP provider.
Step 3: Force the “From” Email Address Across All Plugins
Even after you’ve set up Post SMTP and connected it to a proper email provider, some plugins can still cause trouble by overriding the sender email address. This happens more often than you’d think.
Contact form plugins, event ticket management plugin, or even WooCommerce might try to send emails from something like orders@yourserver.com or admin@randomhost.com—and that can lead to delivery failures or spam issues.
To fix this issue, lock in your sender address across the entire site.
Here’s How to Do It in Post SMTP
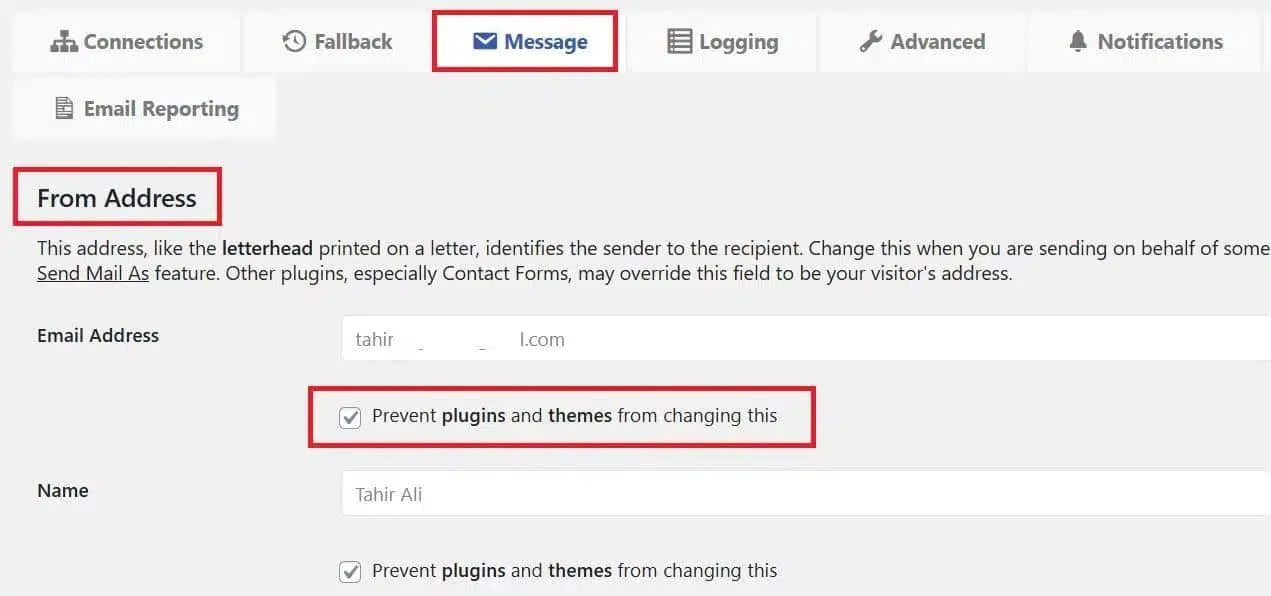
- From your WordPress dashboard, go to Post SMTP > Settings
- Click on the Message tab
- In the Email Address field, enter your verified sender email. This must be the email address you have entered in step 2.
- In the Name field, type something recognizable like:
- “Website Support”
- “Customer Inquiry”
- “Your Brand Name”
- Check the box that says “Prevent plugins and themes from changing this”
- Scroll down and click Save Settings
That’s it.
Next, we’ll make sure none of your earlier form submissions are lost—and if they are, we’ll recover them.
Step 4: Track and Resend Failed Emails with Post SMTP Logging
Once your SMTP is configured, you want to make sure things are actually working, and that you didn’t lose any messages while troubleshooting.
That’s where Post SMTP’s Email Log can help. It’s like a flight recorder for your website’s emails. Every message your site attempts to send—whether it succeeds or fails—gets logged here.
Here’s how to access the Email Log section:
- In your WordPress dashboard, go to Post SMTP > Email Log
- You’ll see a table with the following details:
- Subject line
- Recipient email
- Date and time sent
- Delivery status (Delivered, Failed, or Pending)
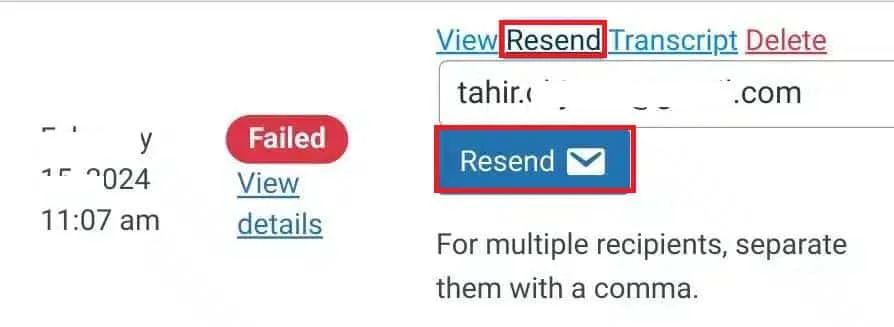
If your contact form submissions weren’t sending earlier, this is where they’ll show up.
Spot something with a Failed or Pending label?
Just click the Resend button under the action column. Post SMTP will attempt to send the message again through your newly configured SMTP provider.
At this point, your WordPress should send all emails reliably. However if you still face reliability issues then there might be something wrong with your domain reputation.
To fix this, next, we’ll show you how to check and fix your domain’s spam score.
Step 5: Check Your Spam Score and Improve Email Deliverability
Your domain’s spam score reflects how trustworthy your domain looks to email services like Gmail, Outlook, and others. A bad score means your messages could be flagged, filtered, or rejected altogether—even if they’re 100% legit.
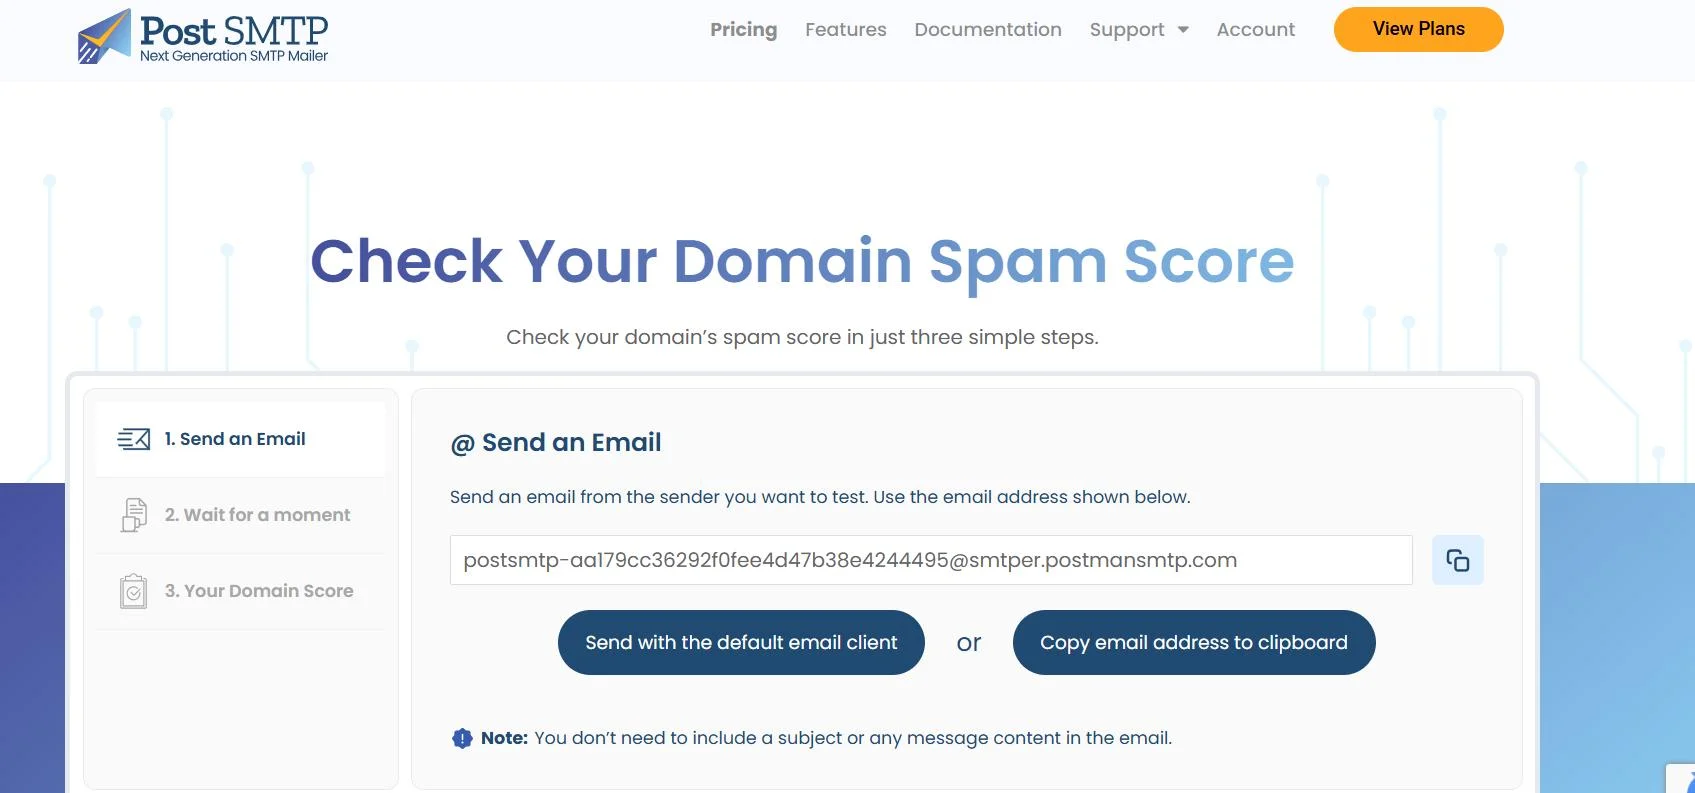
The good news? You can test and fix this easily using Post SMTP’s built-in Spam Score tool.
- Open the Spam Score Checker tool inside the Post SMTP settings.
- Click “Copy email address to clipboard.”
- Send a test email from your domain on the copied address.
- Return to the Spam Score tool and click “Confirm Email Sent.”
- Wait a few moments while it analyzes your message and shows the results.
If your spam score is high, here’s how you can fist it:
- Set up SPF, DKIM, and DMARC records in your domain’s DNS. These help email servers verify your messages.
- Stick to clean, professional content. Avoid trigger words like “FREE!!!” or sketchy-looking links.
- Use a domain-based email address (e.g., info@yourdomain.com). Avoid free emails like Gmail or Yahoo.
- Run your domain through a blacklist checker (like MXToolbox) to see if you’re listed.
- Avoid sending too many emails too quickly, especially from a new domain.
Improving your spam score makes a big difference—your emails land where they should-the inbox.
Still Not Working? Get Expert Help from Post SMTP Professionals
You’ve checked the form plugin settings, installed Post SMTP, connected it to a real email service, forced a consistent sender address, logged your messages, and even improved your spam score.
But somehow, your contact form still isn’t sending emails—or they’re landing into spam folders.
Don’t stress. The Post SMTP support team can fix these issues for you! We offer hands-on, personalized assistance. Here’s what they can do for you:
- Complete SMTP Configuration
- SPF, DKIM, and DMARC DNS Record Setup
- Spam Score Analysis & Fixes
- Real-Time Email Testing
- Live 1-on-1 Troubleshooting Session
It’s like having your own email deliverability specialists—without the stress of learning everything yourself.Click here to book a 1-on-1 session or simply submit a support ticket, if your issue isn’t urgent, send a detailed message. Our support team will respond within as soon as possible.


